

Up Potting Soil Blocks
Gardening enthusiasts often experiment with various techniques to optimize plant growth. One such method gaining popularity is starting plants in soil blocks. Soil blocks offer several advantages over traditional pots, including better aeration, reduced transplant shock, and healthier root development. However, once these seedlings outgrow their initial soil blocks, they require careful up potting to ensure continued growth and vitality. In this blog post, we delve into the process of up potting plants started in soil blocks, guiding you through the steps for a successful transition.

Signs it's Time to Up pot: As your plants thrive in their soil blocks, they will eventually outgrow the available space. Signs indicating the need for up potting include roots visibly emerging from the soil block, stunted growth despite adequate care, and the development of a dense root mass within the block. Monitoring your plants closely allows you to identify these signs and intervene at the right time.

Understanding Soil Blocks: Soil blocks are made by compressing a special soil mixture into cubes or blocks, providing an excellent medium for seed starting. These blocks are advantageous because they eliminate the need for plastic pots, promote air pruning of roots, and prevent transplant shock. Moreover, they encourage stronger root systems, ultimately leading to healthier and more vigorous plants.
The Up potting Process:
- Prepare Your Materials: Gather the necessary materials, including larger pots with drainage holes, high-quality potting soil, a trowel or spoon, and a watering can.
- Water the Soil Blocks: Before uppotting, water the soil blocks thoroughly. Moist soil ensures minimal disturbance to the roots during the transition.
- Remove the Seedlings: Gently tap the bottom and sides of the soil block to loosen it. Carefully lift the seedling from the block, handling it by the leaves to avoid damaging the delicate stem and roots.
- Prepare the New Pot: Fill the new pot with fresh potting soil, leaving enough space to accommodate the soil block and the roots.
- Planting: Dig a small hole in the center of the potting soil and place the soil block with the seedling into it. Ensure the top of the soil block is level with the surrounding soil level in the pot.
- Fill in the Gaps: Fill any gaps around the soil block with additional potting soil, gently pressing it down to secure the seedling in place.
- Watering: After uppotting, water the plant thoroughly to settle the soil and provide hydration to the roots.
- Post-Up pot Care: Place the newly up potted plant in a suitable location with adequate light and temperature. Continue to monitor its growth and water as needed.
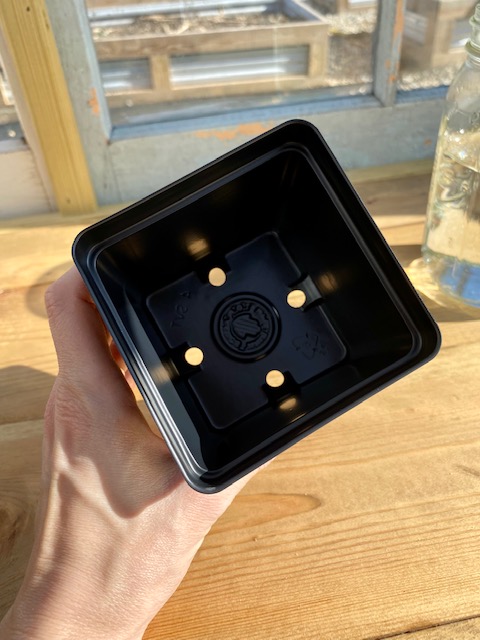
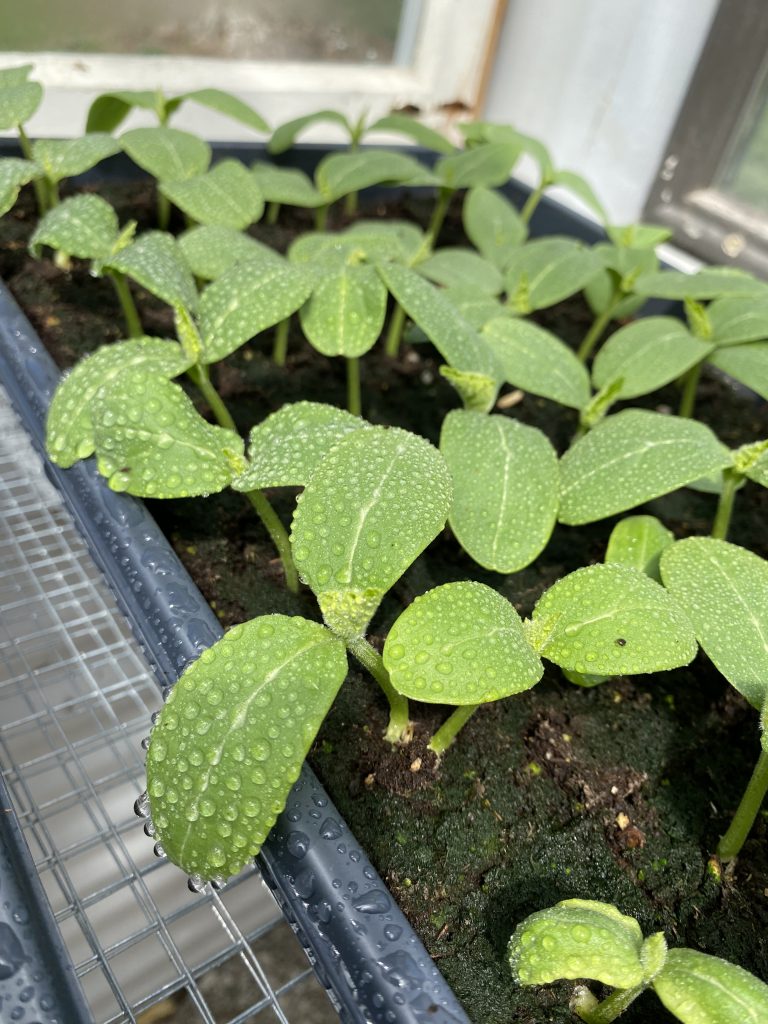
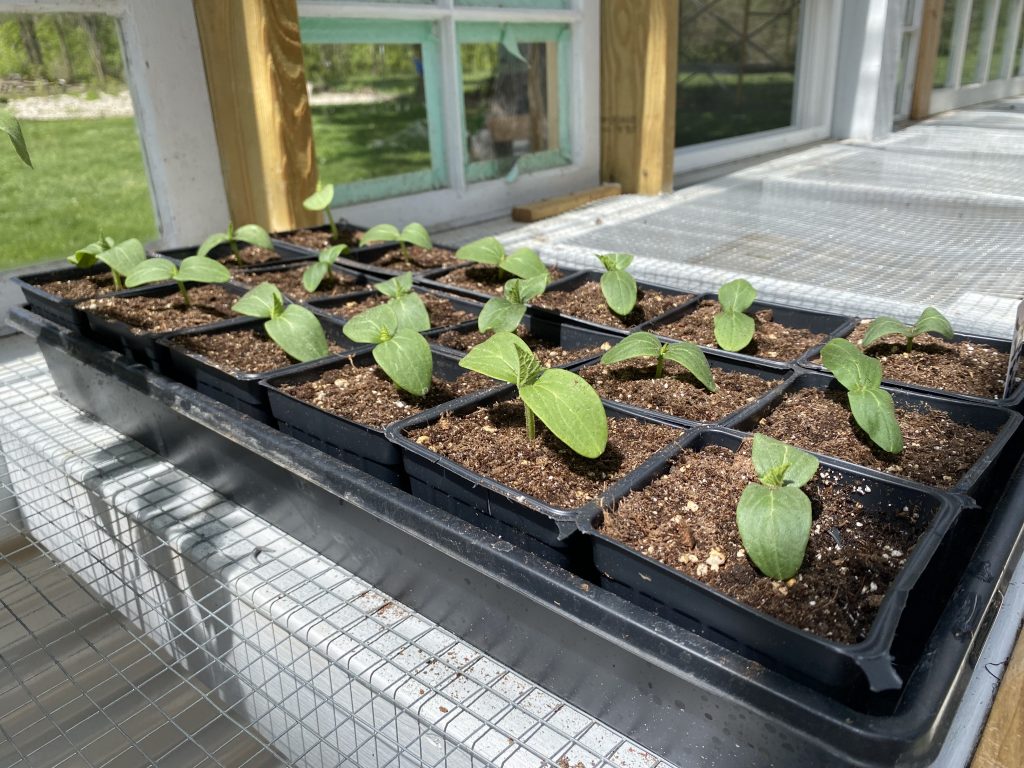
For example, these are cucumber seedlings that we started in soil blocks. A 1020 tray holds approximately 50 soil blocks. The 3" sheet pots fit 18 pots to a 1020 tray. It takes almost 3 1020 trays with 18 3" sheet pots to up pot 50 soil blocks.
Benefits of Up potting:
- Enhanced root development: Uppotting allows the roots to spread out and establish themselves in a larger space, promoting healthier growth.
- Increased nutrient availability: With more room for root expansion, plants can access a greater volume of soil, leading to improved nutrient uptake.
- Reduced competition: In larger pots, plants have more space and resources, minimizing competition for water and nutrients among neighboring plants.
In conclusion, up potting plants started in soil blocks is a crucial step in their growth journey, ensuring they have ample space and resources to thrive. By following the proper up potting process and providing ongoing care, you can support the continued health and vitality of your plants, ultimately reaping the rewards of a bountiful garden. So, embrace the art of up potting and watch your plants flourish in their new homes!
