
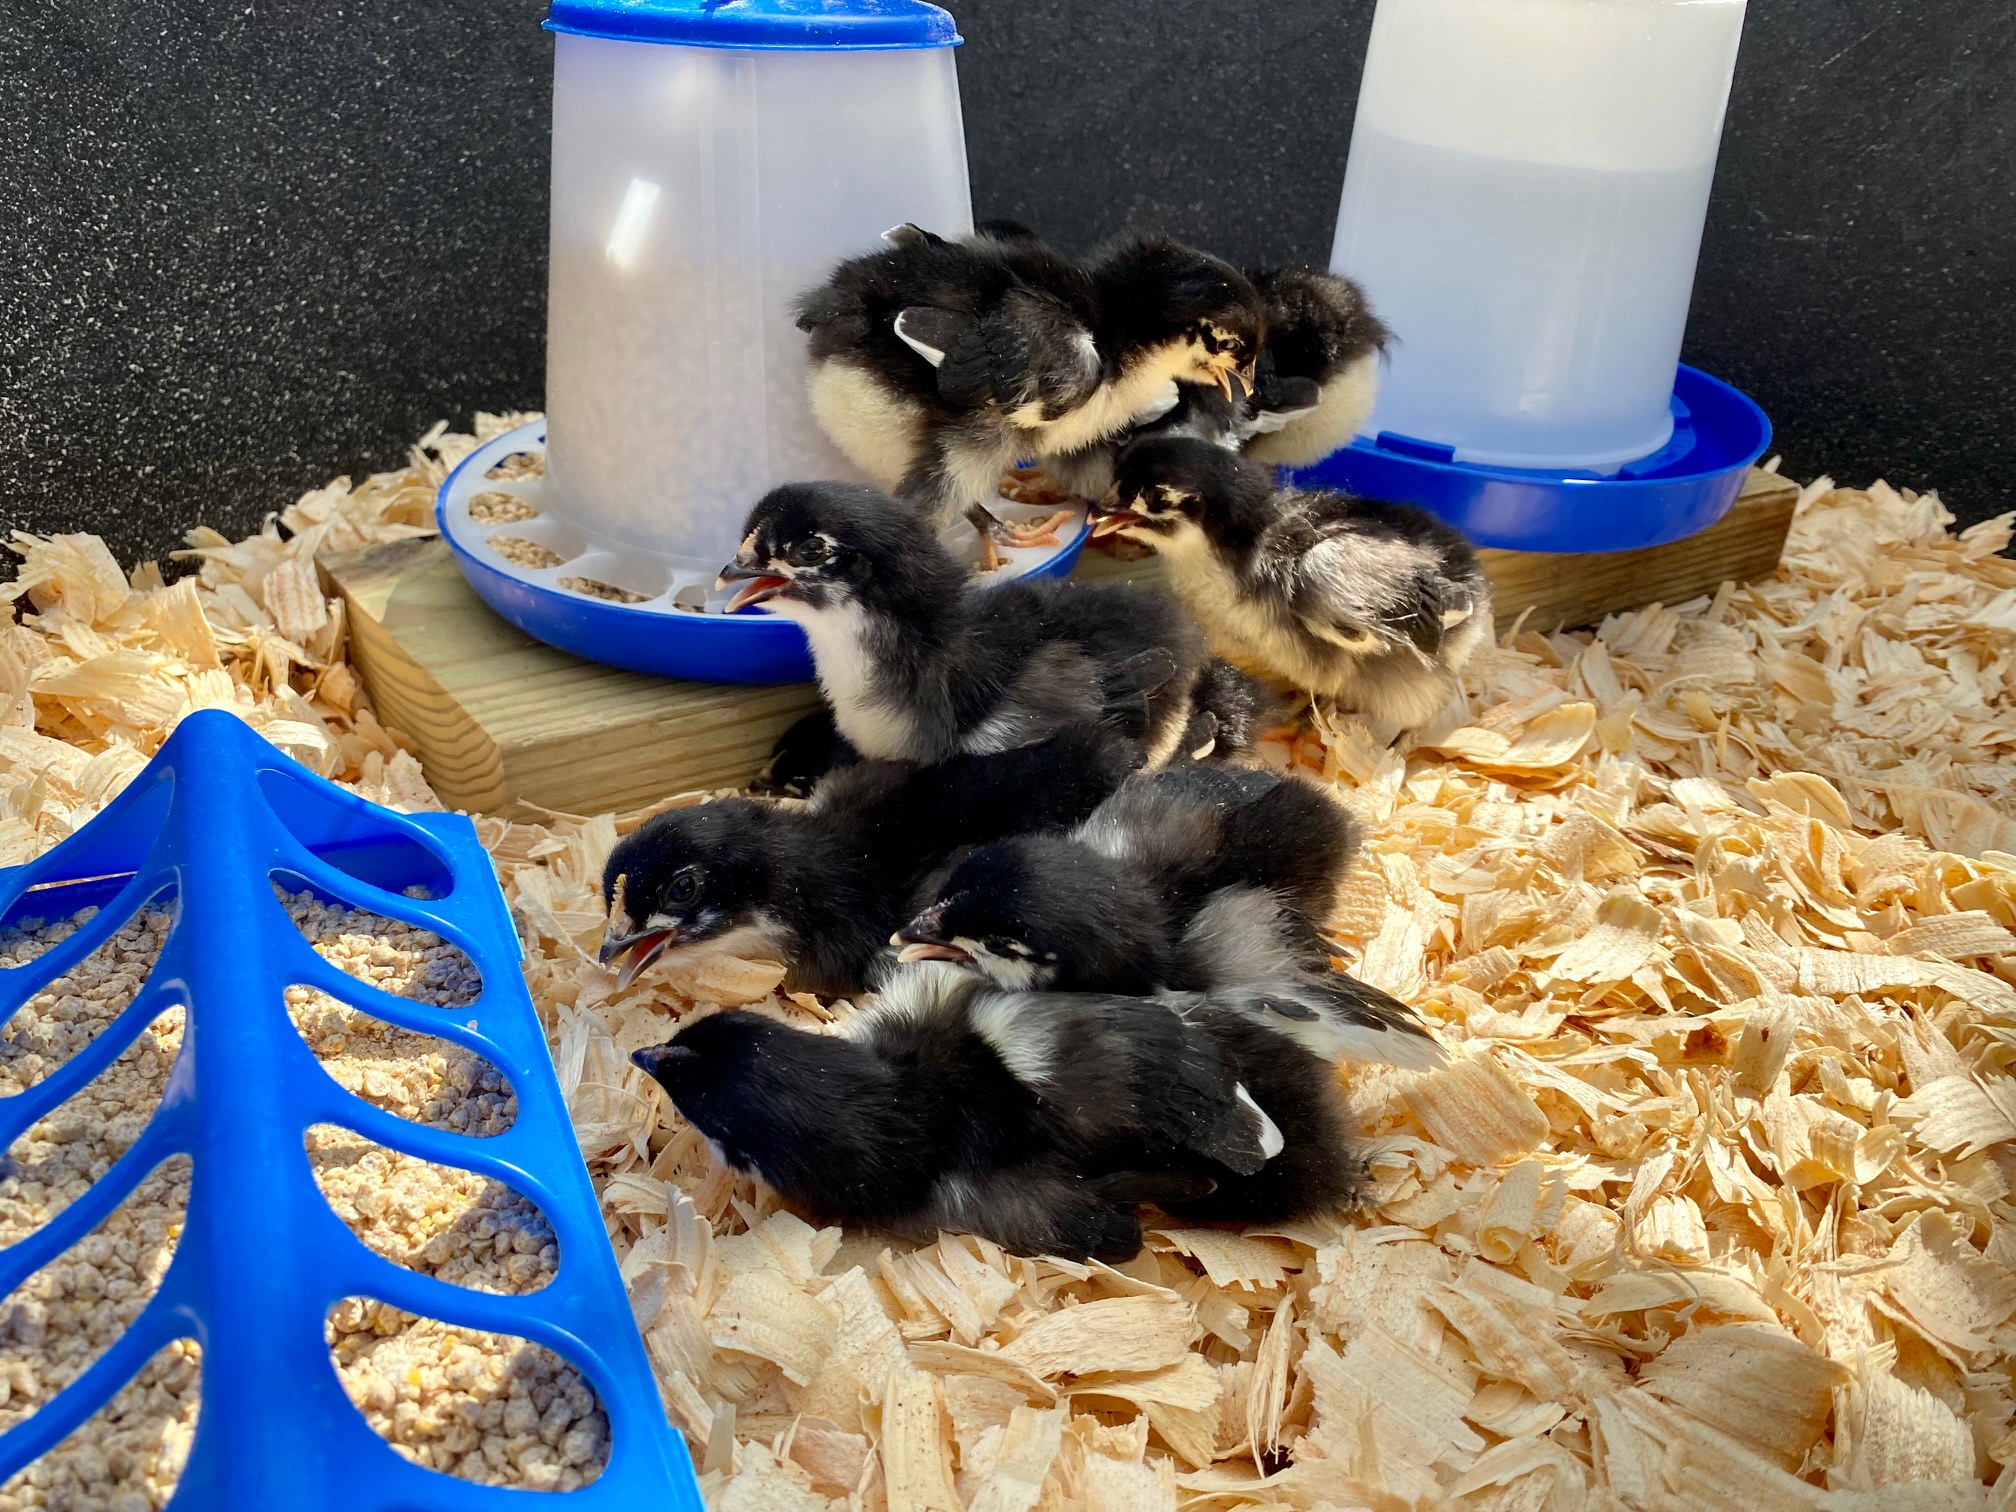
Raising Chickens
Have you considered adding livestock to your self-sufficiency journey? Chickens are lovely beginner-friendly animals to add to the home. In addition, raising chickens is a great way to become more independent.
Raising chickens is like eating potato chips; you can’t have just one.
There are so many different breeds to choose from depending on the desired temperament or laying capacity. You’ll be adding to your backyard flock every year, I promise!
This blog article will cover the basics of raising chickens and everything you need to get started.
Where to begin with raising chickens?
Research:
First, you want to find out if there are any animal ordinances where you live. Most times, having chickens in town is frowned upon. Especially if the neighbors are close and you plan on having a rooster. Chickens are generally appropriate outside of city limits.
Once you know if having a backyard flock is acceptable where you live, it is time to plan for the coop and run.
Believe me, when I say you want to avoid bringing chickens home before having a suitable place for them to live in after graduating from the brooder. Chicks grow quickly. Do an adequate investigation on the spacing needed for the number of chickens you plan to raise. Spacing in the run and the coop is crucial when raising chickens. If things are too cramped, they will fight, impacting egg production and the overall happiness and dynamic of the flock.
When the chicks outgrow their brooder (about six weeks), they must be moved into a coop with roosting bars. Although they won’t lay until 16-24 weeks of age, they will eventually need nesting boxes. Many DIY nesting box ideas are online, from milk crates to 5-gallon buckets. So get creative and make it your own!
Getting the brooder ready to raise chicks:
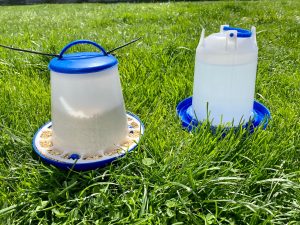
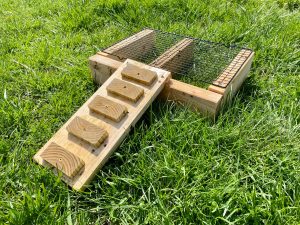
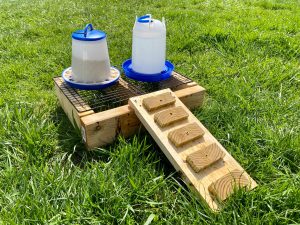
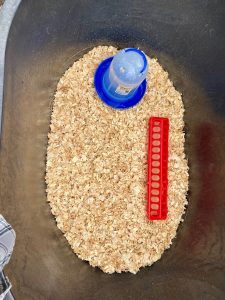
Setting up a brooder is easy, especially with all the kits offered at feed and supply stores. In fact, that is how we started. A kit usually comes with a feeder, a waterer, and a heat lamp with a light bulb.
Materials:
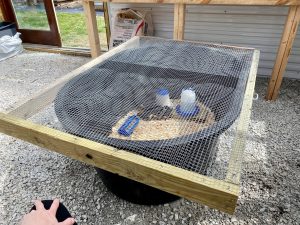
- Plastic tub, cardboard box, dog kennel, stock tank (this is what we use)
- Feeder/Waterer
- Chick food
- A heat lamp with a bulb
- Wood shavings, shredded paper, newspaper
- Sturdy, breathable lid

Sanitizing:
Baby chicks are dainty animals. It’s imperative that you sanitize everything they will come into contact with. Do not use bleach or harsh chemicals while cleaning all the supplies. I use homemade lemon-infused vinegar mixed with water and apple cider vinegar in a spray bottle. Spray down and scrub all the materials and equipment, primarily if previously used to brood chicks. Hose down and let everything dry completely before setting up the brooder with pine shavings. You won’t want those to get wet.
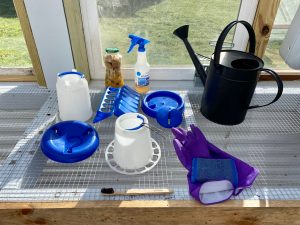
Setup:
After sanitizing and drying, it is time to assemble the brooder.
The bedding must be 1-3 inches deep, covering the brooder box’s entire bottom.
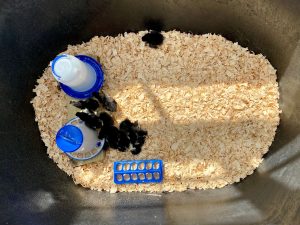
Food and water:
Farm stores carry many different types of chick starter feed. Whether you want medicated or unmedicated feed, it comes down to personal preference. From-scratch chick feed recipes litter the internet if you decide to make your own.
Water is imperative for developing chicks. Depending on the type of waterer you get, rocks may need to be added to the basin to prevent chicks from drowning.
Climate control:
After hatching, chicks need temperatures ranging from 95-100 degrees Fahrenheit to thrive. They don’t have the feathers to regulate their body temperature, which is where the heat lamps come in. Temperatures can decrease by 5 degrees every week after the first week of age until they fully develop the primary feathers. We use a laser thermometer to check the brooder temp regularly to ensure the chicks aren’t freezing or overheating.
Safety:
As chicks grow, they will attempt to escape the brooder and explore. Ensure a breathable lid is placed over the brooder to prevent wandering chicks, especially if cats or dogs can access the area.
Maintenance:
Check the chicks daily as they begin to grow to assess any problems.
Things like: dehydration, spraddle legs, scissor beak, or pasty butt are common issues that can arise when raising chickens.
Dehydration:
If a chick starts acting lethargic, disoriented, or panting, this may be a sign of dehydration. This chick will need water right away and possibly even an electrolyte mix. Do not leave chicks out in the heat. Make sure adequate shade is provided.
Spraddle legs:
Spraddle leg is when a baby chick has difficulty walking or cannot walk due to an injury or weak leg muscles. This will be noticeable since the chick cannot get up and walk around. It will constantly be doing the splits, and the chick’s discomfort is evident. If the condition is caught early enough, fastening splints on the legs can be done with toothpicks and bandages.
Scissor beak:
Scissor beaks occur when the top and bottom beaks do not align. We had this problem with one chick in our very first batch. I had never seen this disorder before, and it took several weeks to notice it, but it was too late once I saw the signs. The chick was malnourished and too weak to eat or drink anything, even when I hand-fed her with a syringe. A genetic issue is what brings on the scissor-beak state. If the condition is caught early enough, and hand feeding/watering is done so the chick can grow, it can prevent death. There is no cure for scissor beaks, but as long as the case is not too severe, the chicken should be able to live a relatively everyday life.
Pasty butt:
Pasty butt occurs when droppings get stuck to the vent area, creating a blockage that prevents the chick from passing waste. This condition can be quite problematic if left unattended, as it can lead to discomfort, infection, or even death. Pasty butt can be caused by a variety of factors, including stress, diet, or poor sanitation. To address this issue, it is important to regularly inspect and clean the vent area of baby chicks, gently removing any dried or stuck droppings with a warm cloth. Additionally, ensuring a warm and clean environment, providing a balanced diet, and reducing stressors can greatly help prevent pasty butt in baby chicks.
Cleanliness:
Baby chicks are messy and constantly get shavings and manure in their food and water. Therefore, a daily feeding and watering routine is good when caring for and raising chickens.
Cleaning out the brooder is another task that takes time and effort weekly. Wet shavings from spilled water and urine will cause molding and unsanitary living conditions for the chicks. Always have dry shavings on hand, ready to clean the brooder at any sign of damp living conditions.
Care for raising chickens:
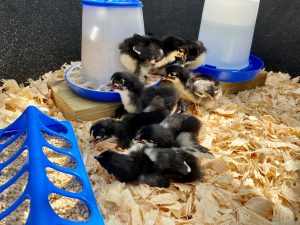
Raising chicks is one of the best animals, to begin with for a self-reliant lifestyle journey. Younger children will learn great responsibility when caring for these animals. They are fun to watch, and eventually, they start producing a food source in return for the care they receive. Handling the chicks after they acclimate to their new home encourages friendly animals. It is even possible to train them to come to a call. Sitting with them in your lap or carrying them around gets them used to being handled. Once they move to the coop with a run, take a chair and sit observing them. They will become curious of you and may even jump in your lap. It doesn’t hurt to use chicken treats to nurture interaction and trust.
Some inevitable encounters when raising chickens:
When dealing with animals on any level, at some point, death will occur. Keep in mind that it’s not necessarily something you did wrong. Don’t become discouraged if a few chicks die within the first few weeks you’ve received them. We had an entire order of 20 chicks arrive dead from a hatchery once. Another 5 out of 10 died when we brought them home from our local farm store. Try your hardest to give the best care and attention to the animals you’ve decided to raise. Also, don’t bite off more than you can chew, either. Learn and have fun along the way!
I hope this was helpful for those just starting out raising chicks!
Raising chickens is easy when the proper time and effort are put into it, and they give back generously to the caretakers!
