
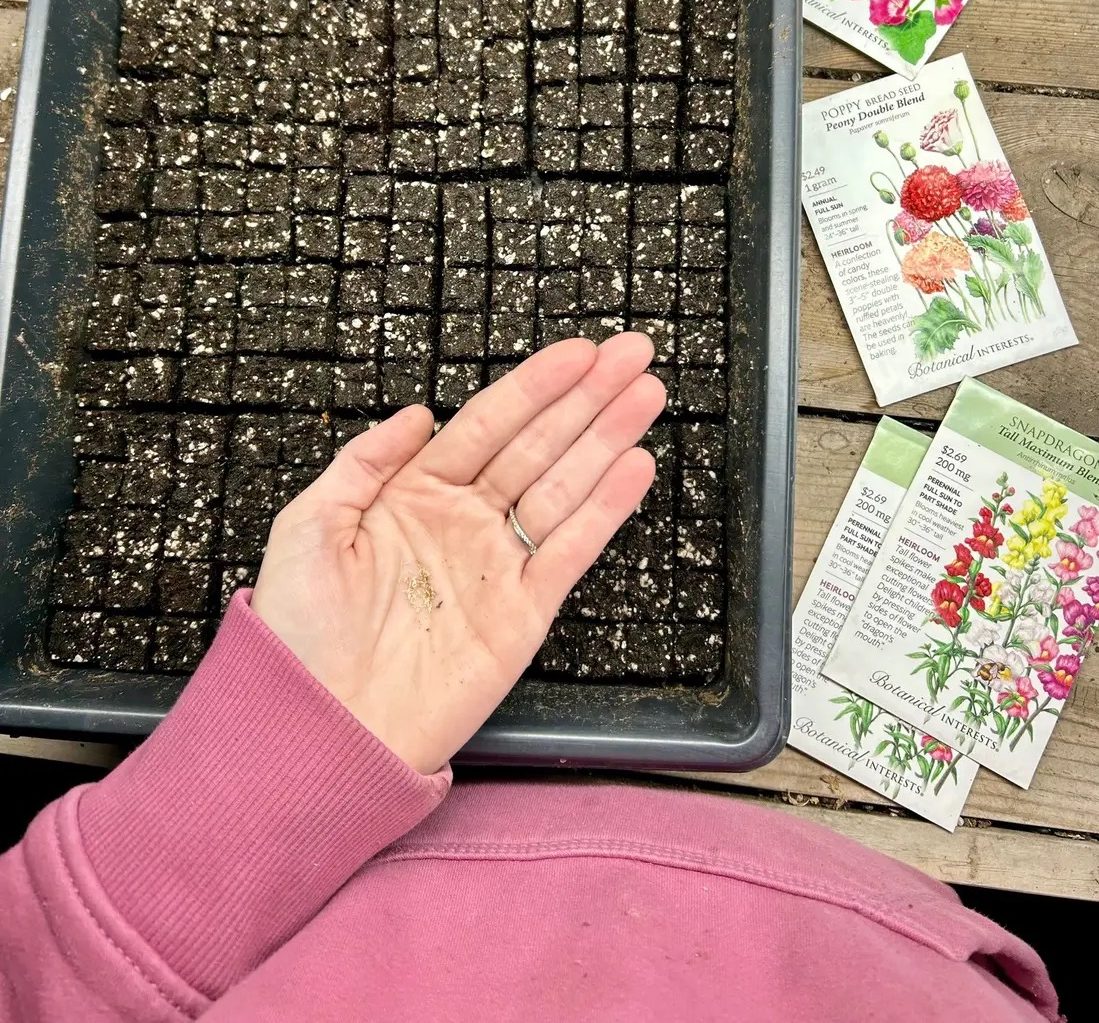
How to Start Seeds Indoors: A Beginner’s Guide
Disclosure: This post may contain affiliate links. Learn more here.
There is something deeply satisfying about how to start seeds indoors and watching life emerge within just a few days.
When you grow seeds indoors, you are invited into the quiet rhythm of nature. The birds sing. The wind moves through the trees. Your hands are in the soil. Your breathing slows. The noise of the world fades for a moment.
Indoor seed starting has a way of calming anxiety, softening stress, and lifting heaviness from the heart. It grounds you. It reminds you that growth takes time. That tending matters. That small, faithful actions lead to abundance.
And it all begins with a seed.
If you’ve been wanting to grow your own food or flowers but feel unsure where to begin, this guide will walk you through how to start seeds indoors — simply and successfully.
Why Learn How to Start Seeds Indoors Instead of Buying Plants?
While buying transplants from a nursery is convenient, learning how to start seeds indoors has beautiful advantages:
- It’s significantly more affordable.
- You gain access to a wider variety of vegetables and flowers.
- You can choose heirloom and untreated seeds.
- You control the quality from the very beginning.
- You can grow what your family actually eats — not just what the garden center offers.
Indoor seed starting also builds confidence. It connects you more deeply to your garden and your food.
Step 1: Choose Seeds That Grow Well in Your Zone
Before learning how to start seeds indoors, determine your USDA hardiness zone. This tells you your average last frost date and first frost date, which help you know when to start seeds indoors and when to transplant outdoors.
If you’re in zones 5b/6a (like many Midwestern gardeners), timing matters.
Ask yourself: What will your family actually eat? What flowers do I want to look at and bring into my home?
Grow:
- Tomatoes
- Lettuce
- Peppers
- Cucumbers
- Herbs
- Zucchini
- Sunflowers
- Zinnias
- Snapdragons
- Cosmos
There’s no reason to grow eggplant if no one in your home enjoys it. Grow what nourishes your family.
Also understand the difference between:
- Cool-season crops (lettuce, spinach, peas, brassicas)
- Warm-season crops (tomatoes, peppers, cucumbers, squash)
- Direct sow crops (carrots, beans, radishes)
- Seeds best started indoors (tomatoes, peppers, many flowers)
This helps you plan when and how to start each variety successfully.
Step 2: How to Read a Seed Packet
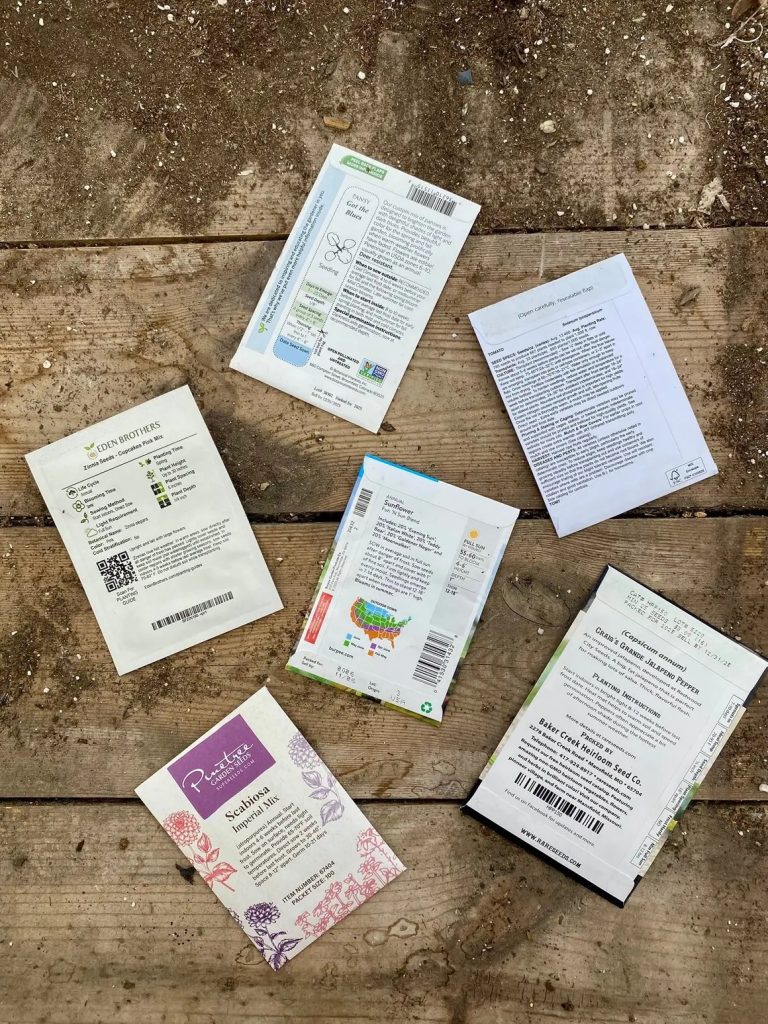
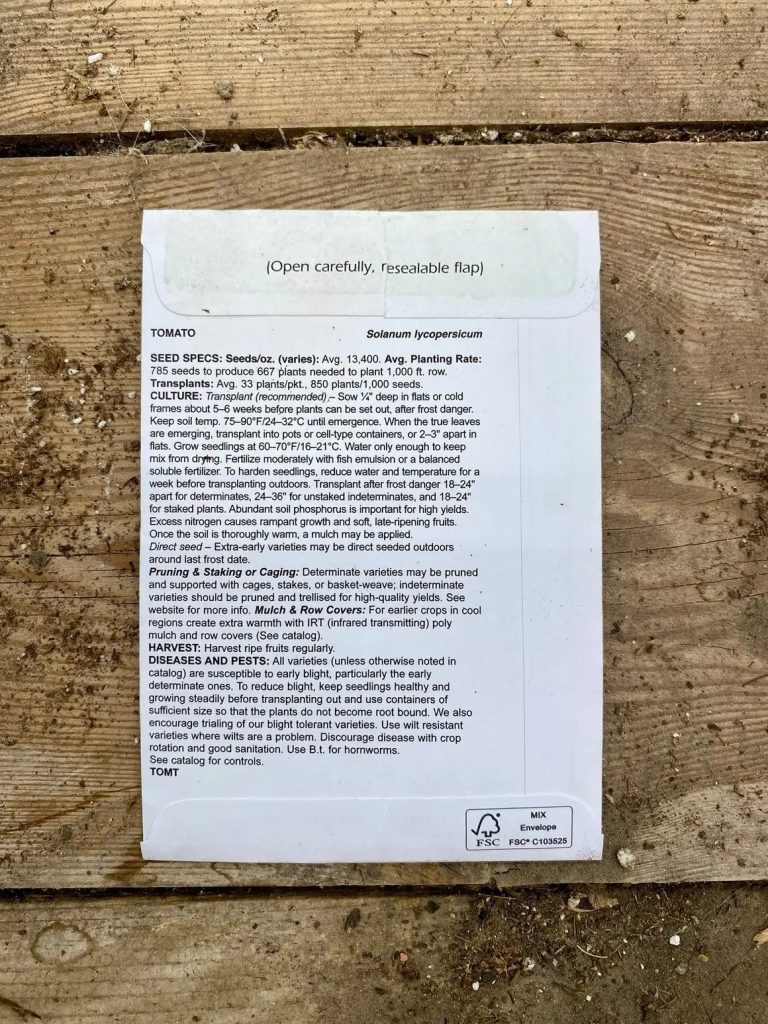
One of the most important skills in indoor seed starting for beginners is learning how to read a seed packet.
Your seed packet tells you:
- Days to maturity
- When to start seeds indoors
- When to direct sow outdoors
- Planting depth
- Spacing requirements
- Sunlight needs
- Germination time
- Plant height
Look for phrases like:
- “Start indoors 6–8 weeks before last frost.”
- “Direct sow after danger of frost has passed.”
Tip: Writing down sowing dates on the package or tracking with a good old-fashioned paper calendar helps keep you on planting track!
Keeping a simple garden journal to track planting dates and observations can be incredibly helpful year after year.
Step 3: Seed Starting Supplies You’ll Need
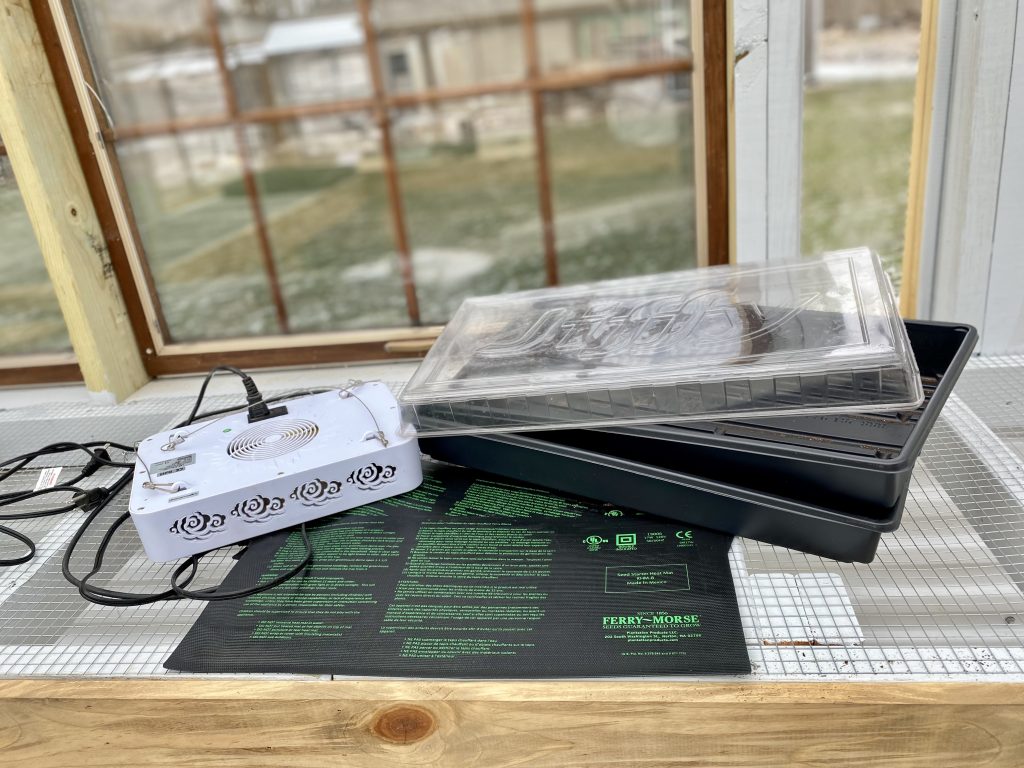
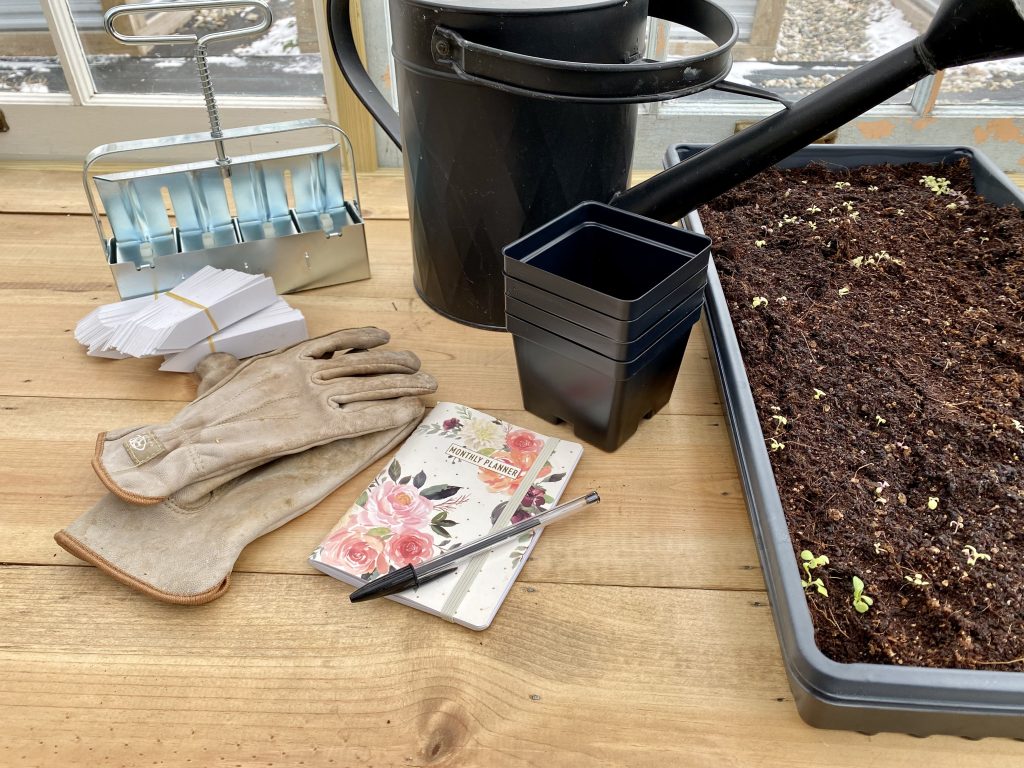
At its core, indoor seed starting is simple. You need:
- Seeds
- Seed starting soil (not heavy garden soil)
- Water
- Containers (seed trays, soil blocks, or recycled containers with drainage holes)
If starting indoors, you’ll also need:
- Grow lights
- A shelving unit
- A timer (12–16 hours of light daily)
- Heat mats for warm-season crops
- A small fan for airflow
Proper lighting is the most common challenge in indoor seed starting for beginners. Without enough light, seedlings become weak and leggy.
For a full breakdown of all my favorite seed starting supplies, check out my Tools and Supplies for Seed Starting post.
Step 4: How to Start Seeds Indoors (Step-by-Step)
Here’s a simple, step-by-step guide for how to start seeds indoors successfully:
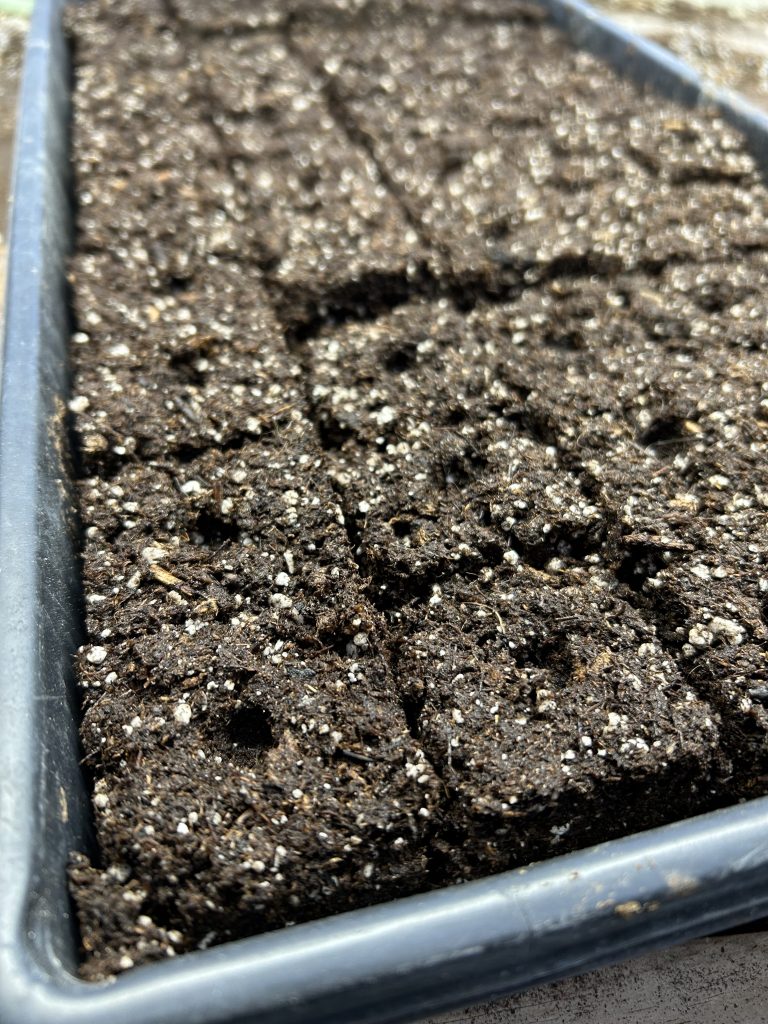
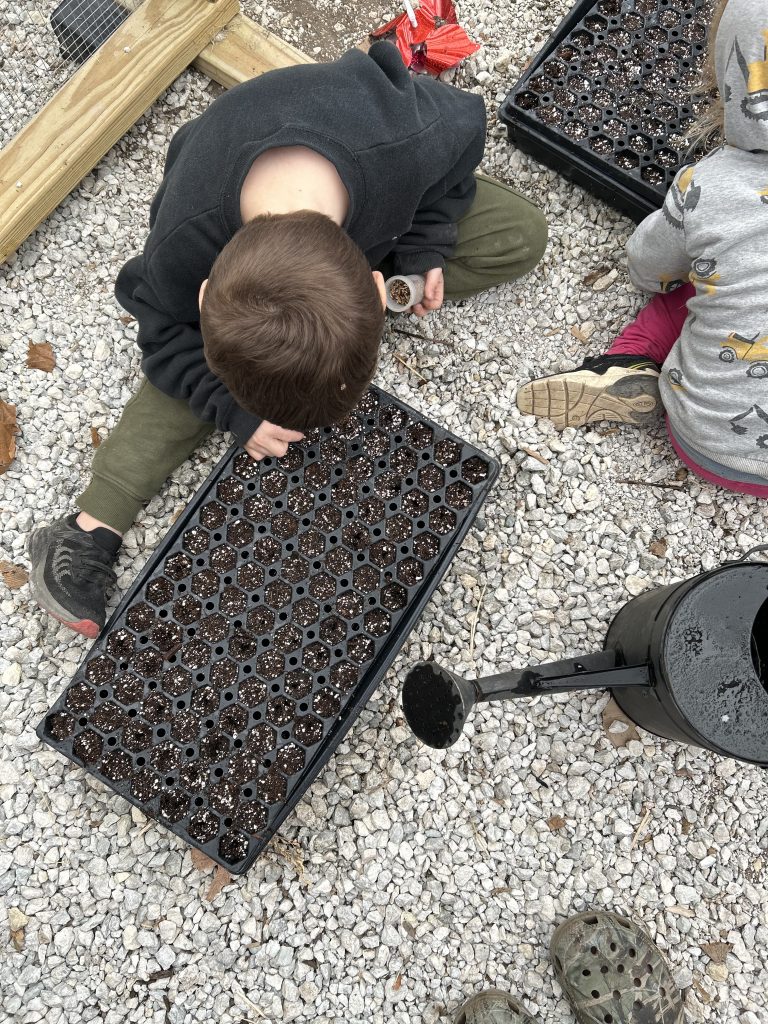
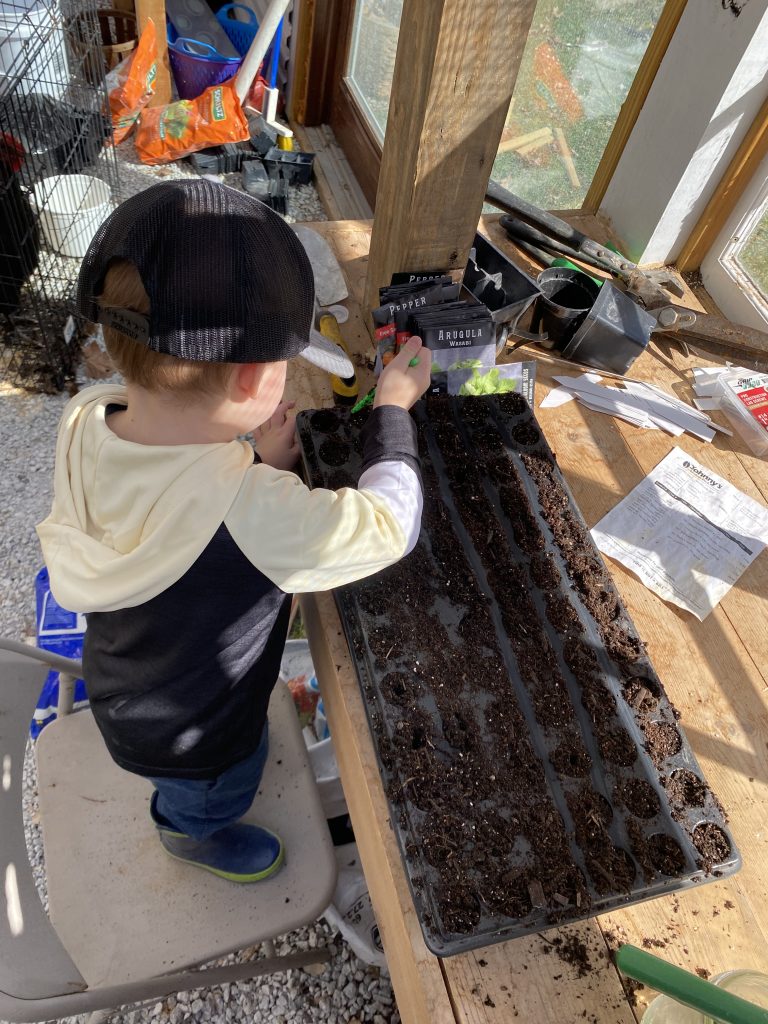
- Prepare your containers – Fill trays, pots, or soil blocks with lightly moistened seed starting mix. Avoid using garden soil; it’s too heavy for delicate seedlings. Use a sifter to remove large debris and stick from the soil.
- Plant the seeds – Check the seed packet for recommended depth. A good rule of thumb: plant seeds at twice their size.
- Cover gently with soil – Press lightly, don’t compact. Some seeds also need light to geminate, so leave them on top.
- Label your seedlings – You will forget which is which if you skip this step.
- Water carefully – Bottom watering is ideal to prevent displacing seeds or causing mold. Keep the soil consistently moist but not soggy. Layer solid bottom trays with holed trays for easy lifting to water.
- Provide warmth and light – Place containers 2-3" under lights. Keep the light low to prevent leggy seedlings, and raise it as they grow.
- Monitor daily – Check for moisture, growth, and signs of trouble. Observing seedlings every day is part of the joy of indoor seed starting for beginners.
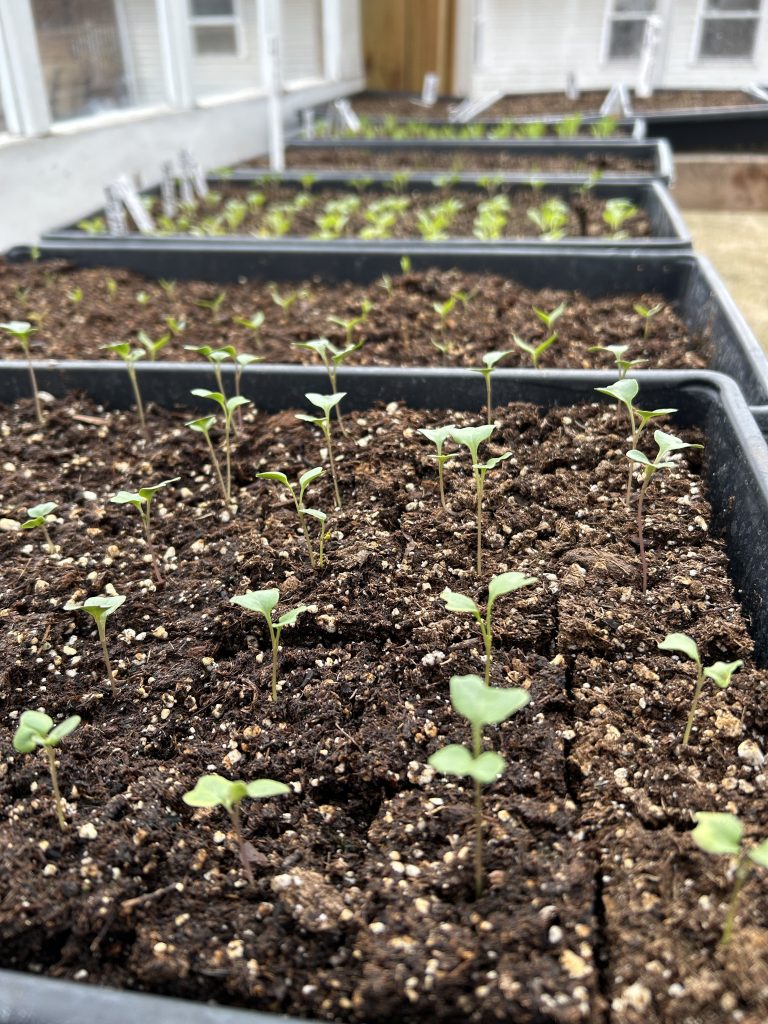
Most seeds germinate within 5–14 days, depending on the variety. Legumes and leafy greens are often faster, while peppers and flowers like Lisianthus take longer.

Common Problems When Starting Seeds Indoors
Even experienced gardeners run into challenges. Here are the most frequent problems in indoor seed starting:
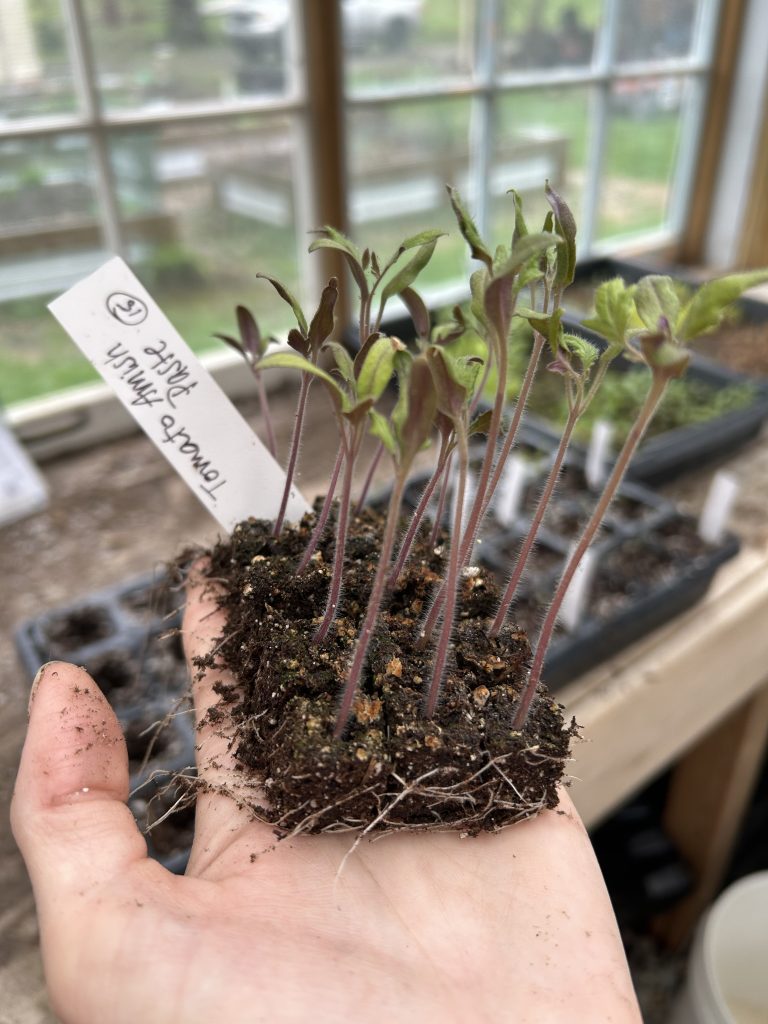
- Leggy seedlings – Usually caused by insufficient light. Solution: Lower lights closer to seedlings or extend light hours.
- Yellowing leaves – Often from overwatering or poor drainage. Solution: Allow soil to dry slightly between waterings.
- Mold on soil surface – Caused by poor airflow or excess moisture. Solution: Use a small fan for circulation and avoid overwatering. Spinkling cinnamon can help with algae growth.
- Seedlings collapsing – Also called damping-off disease, caused by overly wet conditions or lack of airflow.
The key is careful observation. Seed starting for beginners is as much about learning to pay attention as it is about planting.
Step 5: Hardening Off Your Seedlings
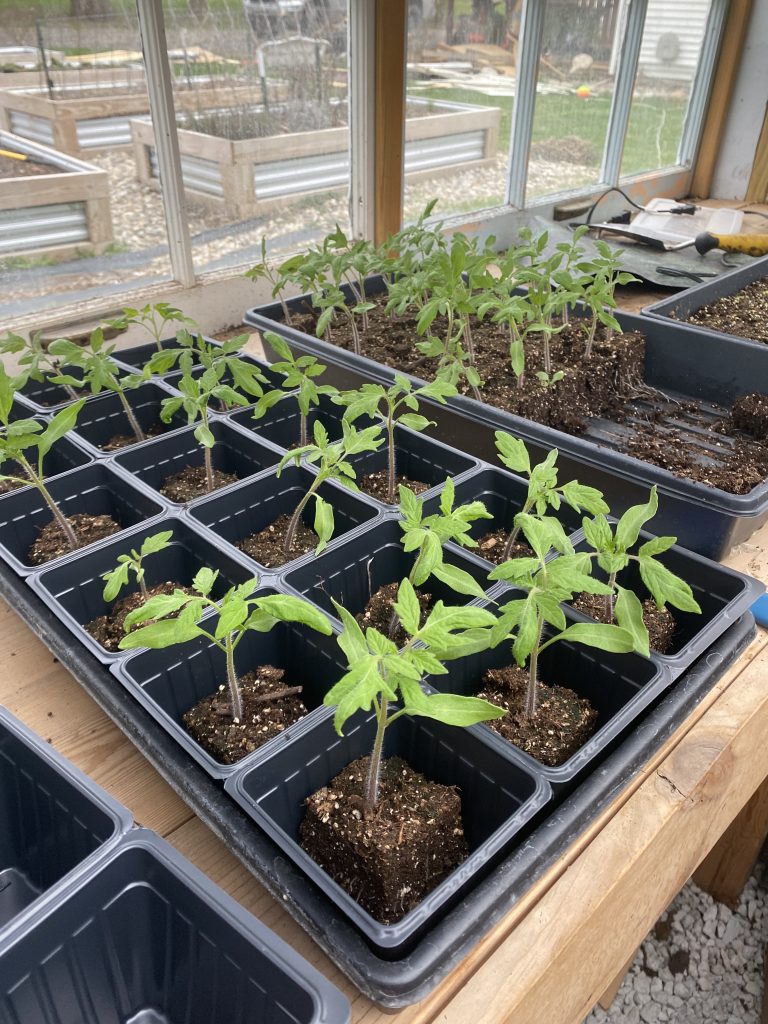
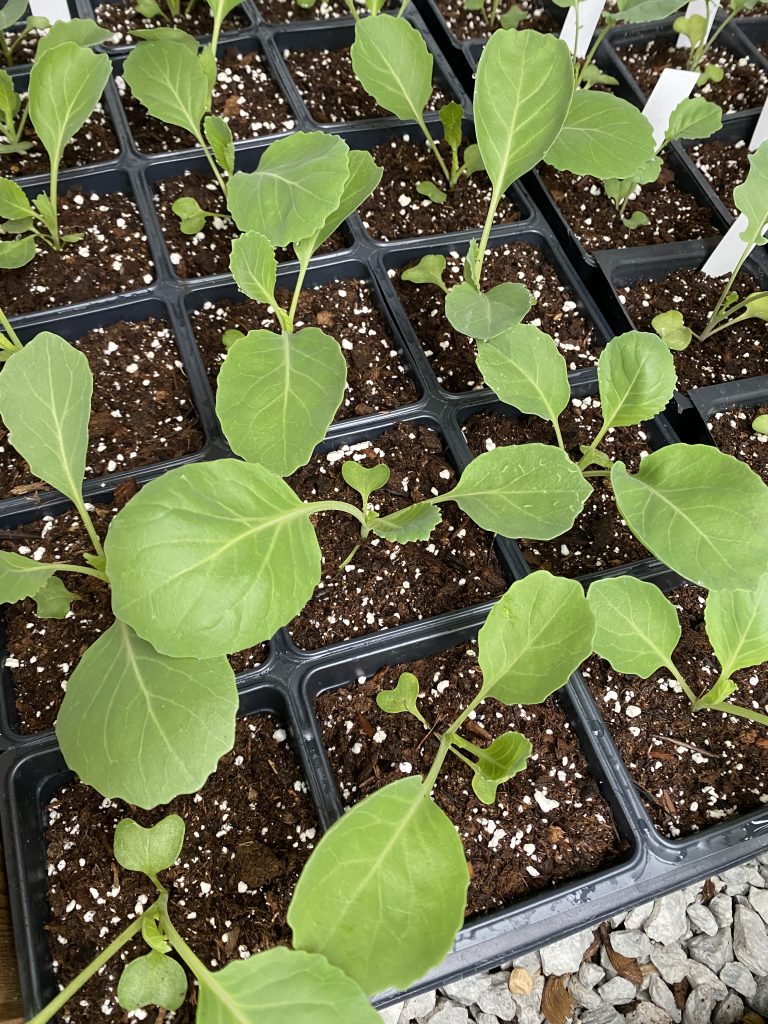
A critical step in how to start seeds indoors is hardening off — gradually acclimating your seedlings to outdoor conditions before transplanting.
- Begin 7–10 days before planting outside.
- Place seedlings outside in a shaded, protected area for 1 hour the first day.
- Gradually increase sunlight and exposure to wind over several days.
- Avoid sudden full sun or cold exposure, which can shock or kill seedlings.
Hardening off prepares your young plants for success and ensures that all your efforts in indoor seed starting aren’t lost.
Step 6: Transplanting Seedlings into the Garden
Once the danger of frost has passed:
- Prepare your garden soil – Loosen and amend as needed.
- Water seedlings – This prevents transplant shock.
- Plant at the correct depth – Tomatoes and peppers can be planted deeper to encourage strong roots.
- Water thoroughly – Keep soil moist for the first few days.
- Mulch – Retain moisture and suppress weeds.
This is the moment when all your careful indoor seed starting work transforms into a thriving garden. Trays empty, beds fill, and your garden begins to flourish.
The Deeper Joy of Learning How to Start Seeds Indoors
Indoor seed starting isn’t just about growing vegetables or flowers.
It teaches patience, strengthens observation, and reconnects you to the natural world.
In a fast-paced culture, learning how to start seeds indoors brings peace, rhythm, and joy. Each seed you plant is a small act of intention, faith, and care.
And from this tiny beginning, abundance grows.
