
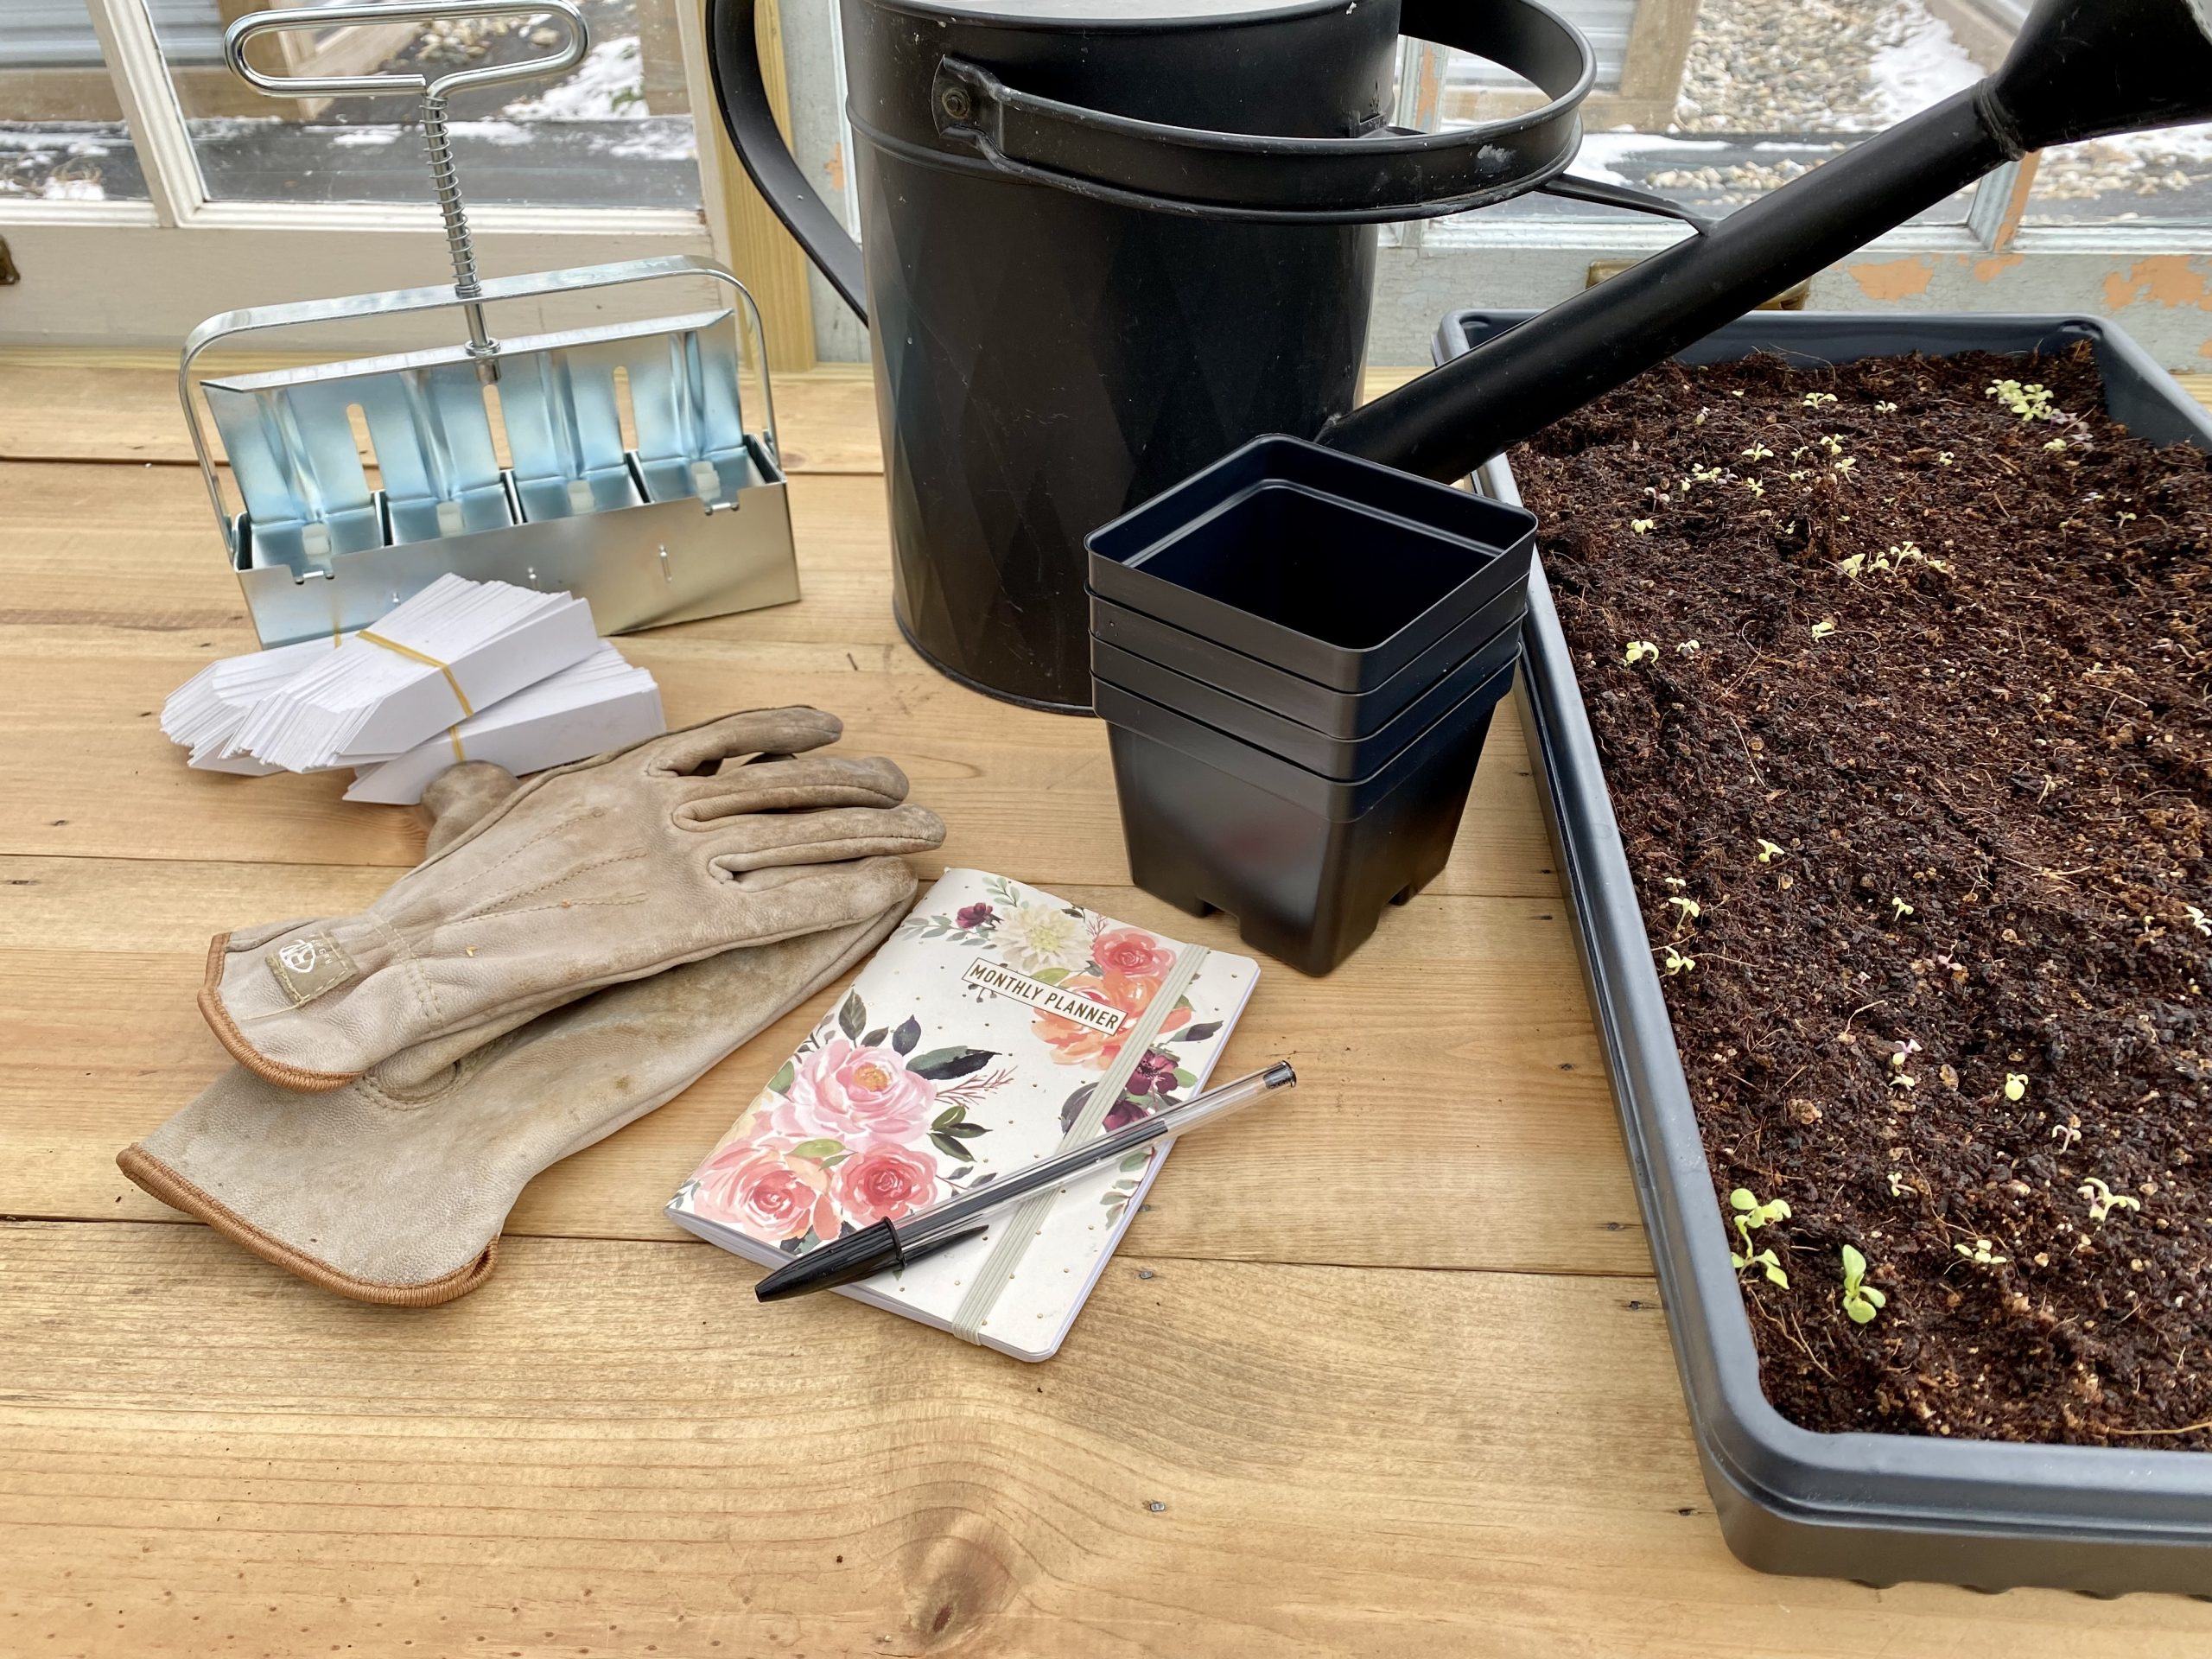
Tools and Supplies for Seed-Starting
Starting seeds can seem intimidating, but we all learn by trial and error. Here is a list of tools and supplies that are essential for seed-starting at home that will set you up for a successful gardening year! I encourage you to grow outside your comfort zone this spring and start some seeds. Even if it’s only one vegetable variety, doing something is better than nothing at all!
3 Reasons why you should grow a backyard garden:
- Food costs money, doesn’t it? What if you could lower your grocery bill each week or month, putting money back into your family's pocket for other things you need? Does that sound like something that would benefit you and your family?
- You don’t need a ton of land to cultivate a garden to produce food for yourself. Even if you live in an apartment with a balcony, you can start seeds and grow the plants in containers. I have even seen a young woman grow vegetables in a sunny room in her apartment.
- Homegrown food is more nutritious than you buy at the supermarket.

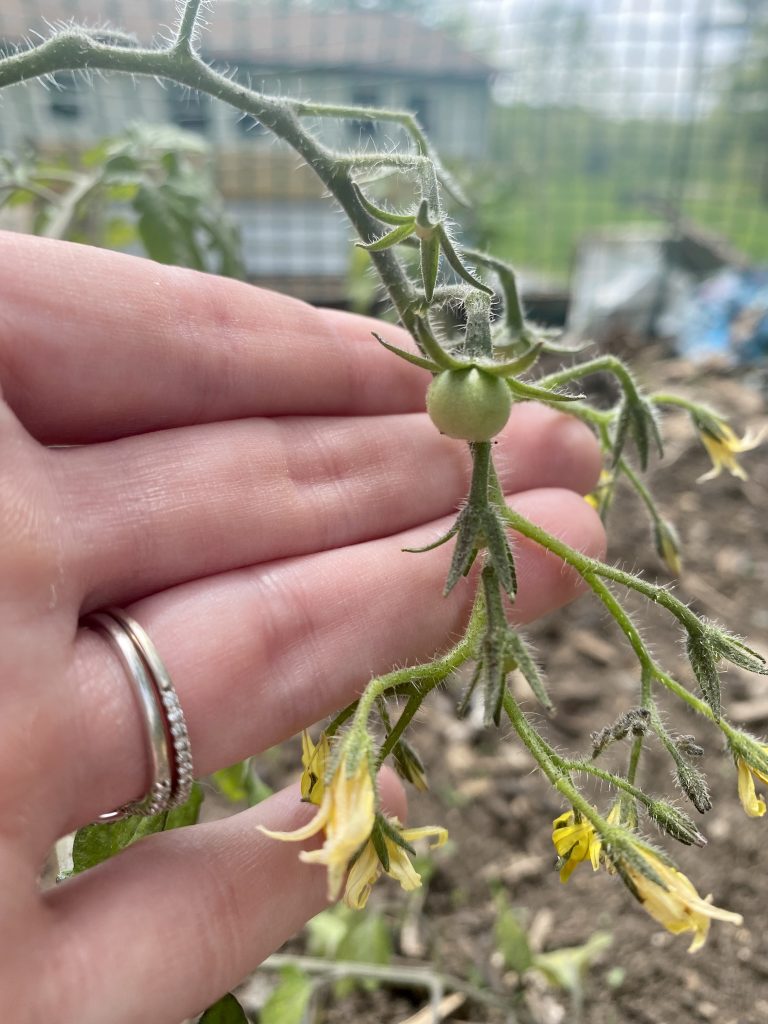
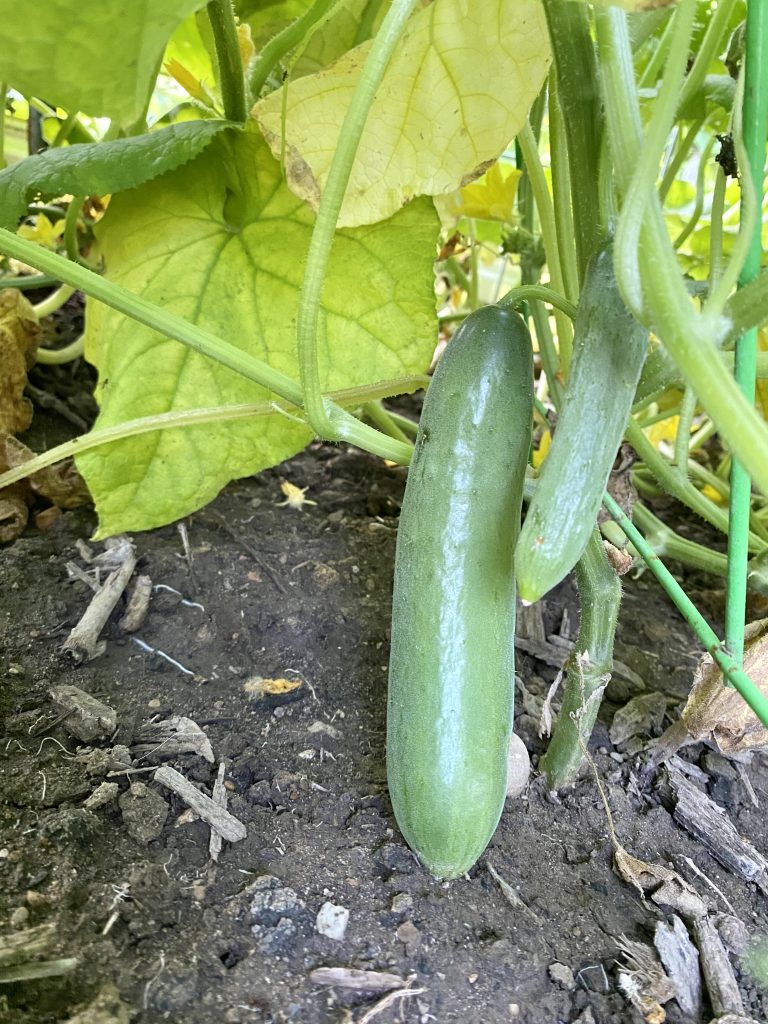
Now that we know why beginning a backyard garden can benefit our families and us, here are the six things you need to start seeds at home to set yourself up for a successful planting and harvesting season.
Tools and Supplies for Seed-Starting at Home
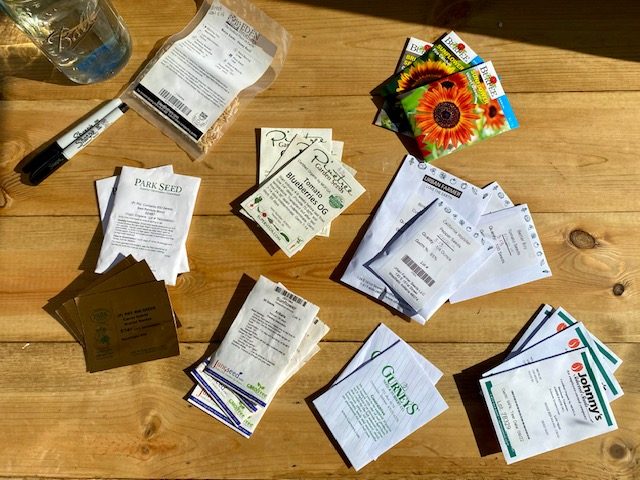
Seeds
Thinking about all the new fruits and vegetables you and your family want to try can be exciting. Still, speaking from experience, if you are new to gardening, I recommend only starting the seeds of the foods you know you and your family already eat. In the past, I have had high ambitions to grow every vegetable available to zone 5b. When all the plants started to grow and produce, and it wasn’t something we traditionally ate or knew how to cook with, it not only took up precious growing space, it went to waste. I wanted my family to have the option to eat every squash variety under the sun, so I planted everything. Consequently, they rotted when we had hundreds of pounds of squash coming out of our ears that we didn’t know what to do with.
Pick a handful of fruits or vegetables you buy from the grocery during your humble beginnings. Do you like tomatoes on your sandwiches or salads? Pick one or two varieties. Does your family like to make strawberry shortcake as a summer dessert? Strawberries grow great in hanging bags or pots; they return every year if taken care of! Are side salads a dinner essential on your plate every evening? Lettuce and carrots are great beginner vegetables to start with! The possibilities of home gardening are endless when you begin to dream.
Soil
A growing medium is a must when it comes to seed starting. Plenty of seed starting mixes are available at stores like Ace or Home Depot. You can even check out your local nursery to see what seed-starting soil they offer, or make your own! In addition, the internet is chock full of homemade seed-starting recipes that are easy to follow.

Containers
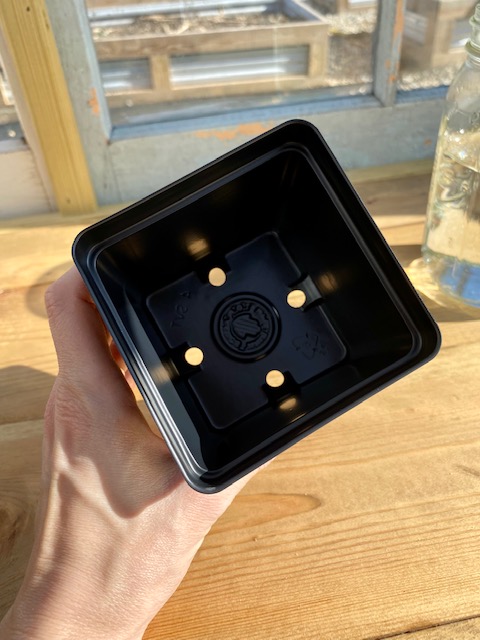
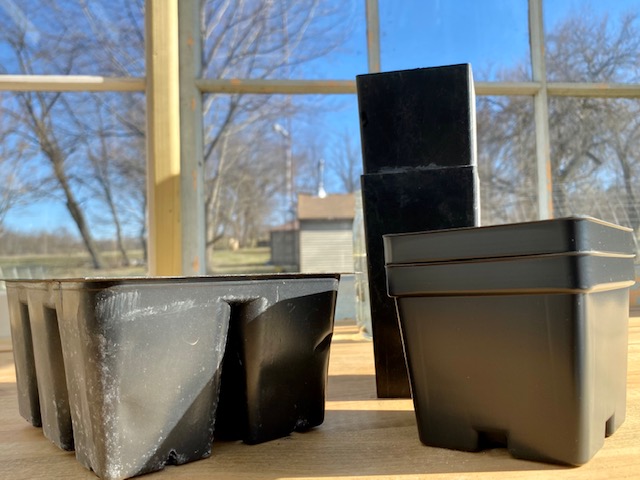
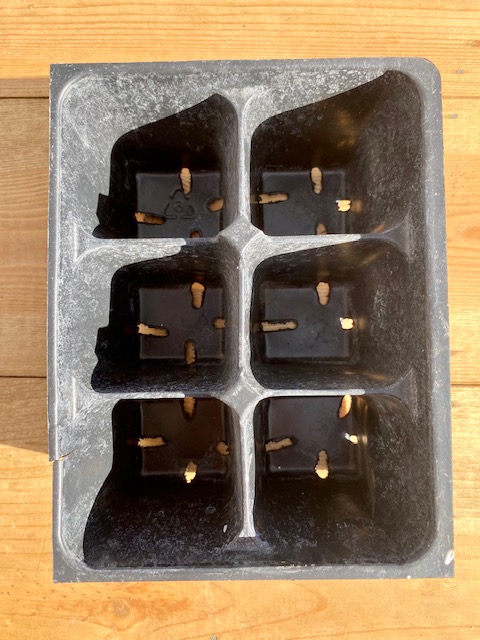
Containers come in many different forms. Whether you’re a novice or an experienced grower choosing the suitable containers for your operation is essential. Many beginners start with cups or plastic Tupperware. I have even used glass mason jars to start seeds (spoiler alert – it didn’t end well). The number one thing to consider when choosing which containers to start your seeds is drainage. To form a solid root system, you must grow those roots by making them reach for water instead of flooding them out. Too much water will cause root rot or the prevention of germination altogether. If you choose the cup route, cut holes out for drainage.
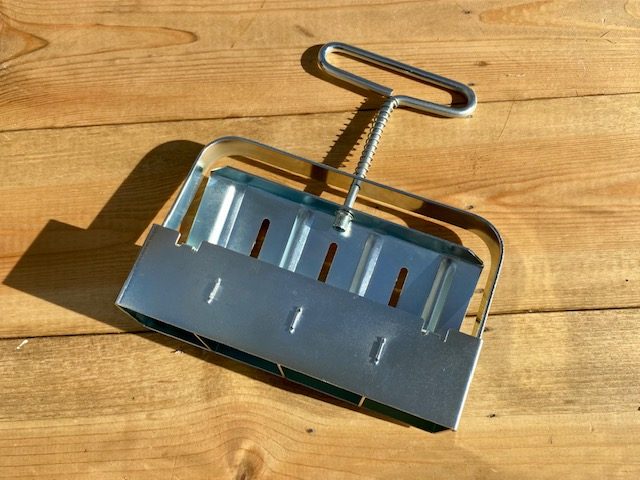
After experimenting with seed starting trays and pelleted greenhouse trays with heat mats, Vance and I purchased our first soil blocker. A soil blocker forms the soil and water mixture into the shape of a block with a slight indentation at the top for seed placement. As the plant grows, its roots reach the outer sides of the soil block. Next, you up-pot the soil block into a larger one, or the root system is simply air pruned until transplantation occurs into the garden. Not only does this reduce the waste of plastic pots, but it also aids in transplant shock because the root systems are not being jostled around from removing it from a container.
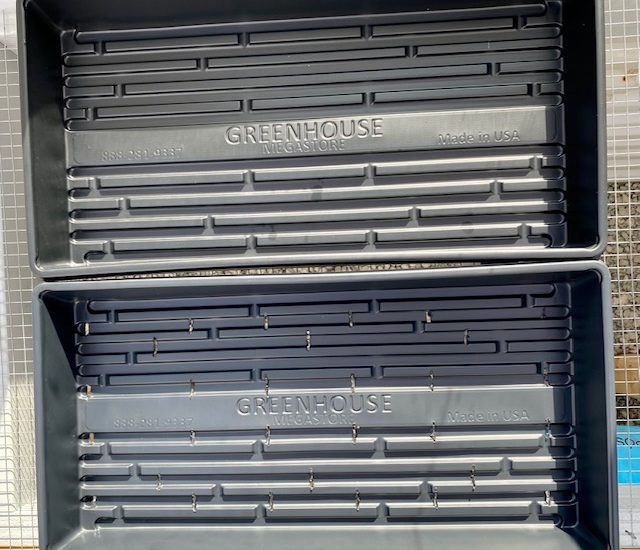
Although you do not need trays if you are starting in containers, I highly suggest utilizing them. Trays make it easier to move large quantities of seedlings at once if you’re hardening off outside or moving them in general. Starting seeds in soil blocks will require trays, as that is what holds them. You will need holed trays for the soil blocks to sit and solid trays beneath them. Then you can lift out your soil blocks and bottom water them. The plants absorb the water they need that comes in through the holes at the bottom of their tray.
Labels
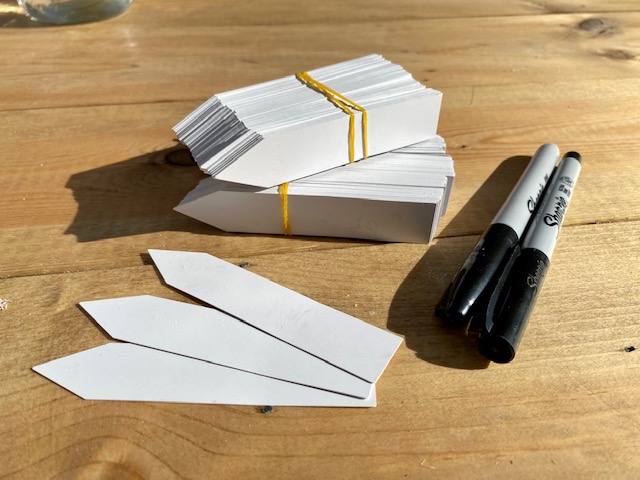
Labels are a must when it comes to seed starting. Using durable quality labels ensures a higher rate of success. I used sticky notes to label seeds starting out, and they got wet when I watered my seedlings. The ink ran. The stickiness of the sticky note became useless after it got wet. When I was hardening off my seed trays, the wind blew my sticky notes everywhere. Learn from my mistakes. It may be a smaller investment upfront, but get the better-quality label if you don’t want the confusion of not knowing what you’re growing and the headaches of planting unlabeled seedlings.
Water
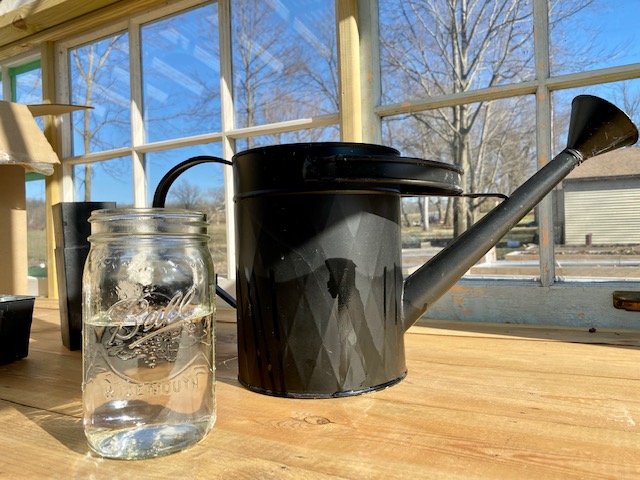
It is a given that you will need to have water when planting your seeds in the soil. A watering can is helpful, but I would also recommend a mister, especially when planting the seeds, so they don’t get washed out from heavy water flow.
Heat/Light source
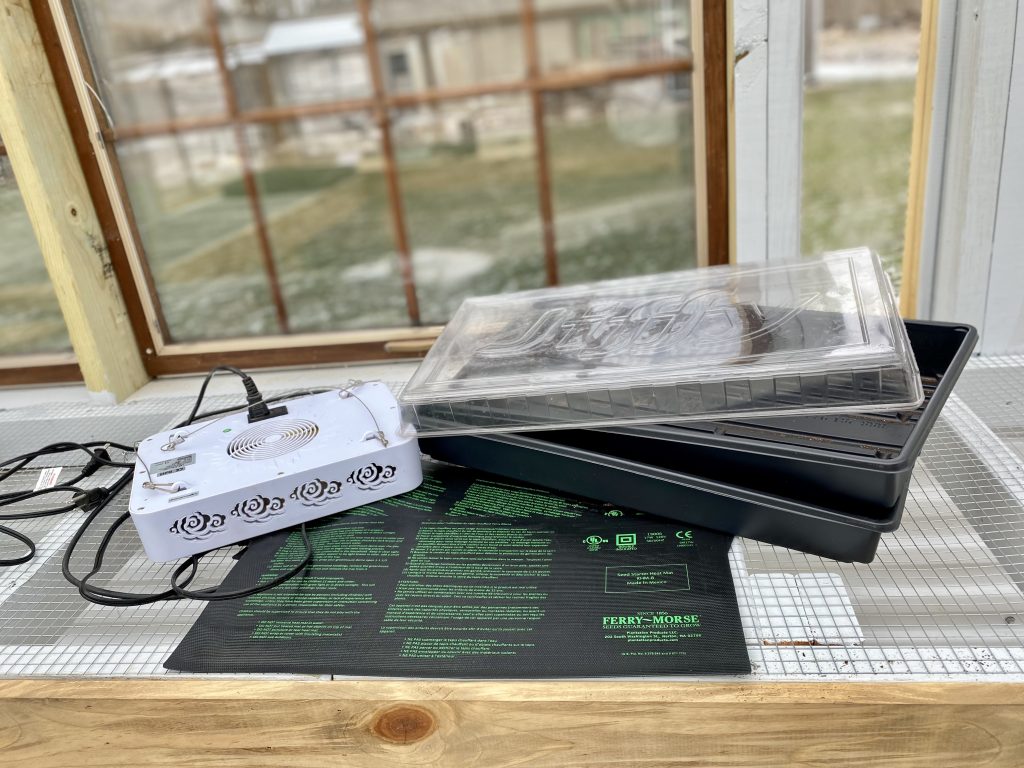
Most seeds germinate at specific temperatures. A quick google search will let you know what gardening zone you live in, prompting you to either wait until the danger of a last frost to direct sow or purchase grow lights and heat mats accordingly. Some people can set seed trays in a sunny window, but here in zone 5, the sun's strength this early in the year is still inadequate to provide the sunshine required for seed germination and successful growth. Unfortunately, instead of being able to focus its energy on growing thick, strong stems, a leggy seedling becomes weaker the taller they get searching for sunlight. Becoming top-heavy, the seedling will bend over and become damaged, possibly break, dying altogether. Then you’ll have wasted your precious time, energy, and resources. To ensure that your precious seedlings don’t grow too leggy, reaching for the sunlight they need, set up a station with grow lights.
Gardening is trial and error, but it is better to learn from someone else’s mistakes and set yourself up for success the first time.
List of Tools and Supplies for Seed-Starting at Home
- Seeds
- Soil
- Containers
- Labels
- Water
- Light/Heat source
These are the essential tools and supplies for seed-starting at home. Continue reading for a few other helpful tools and supplies to get you started on your at-home backyard gardening journey!
Extra Tools and Supplies for Seed-Starting
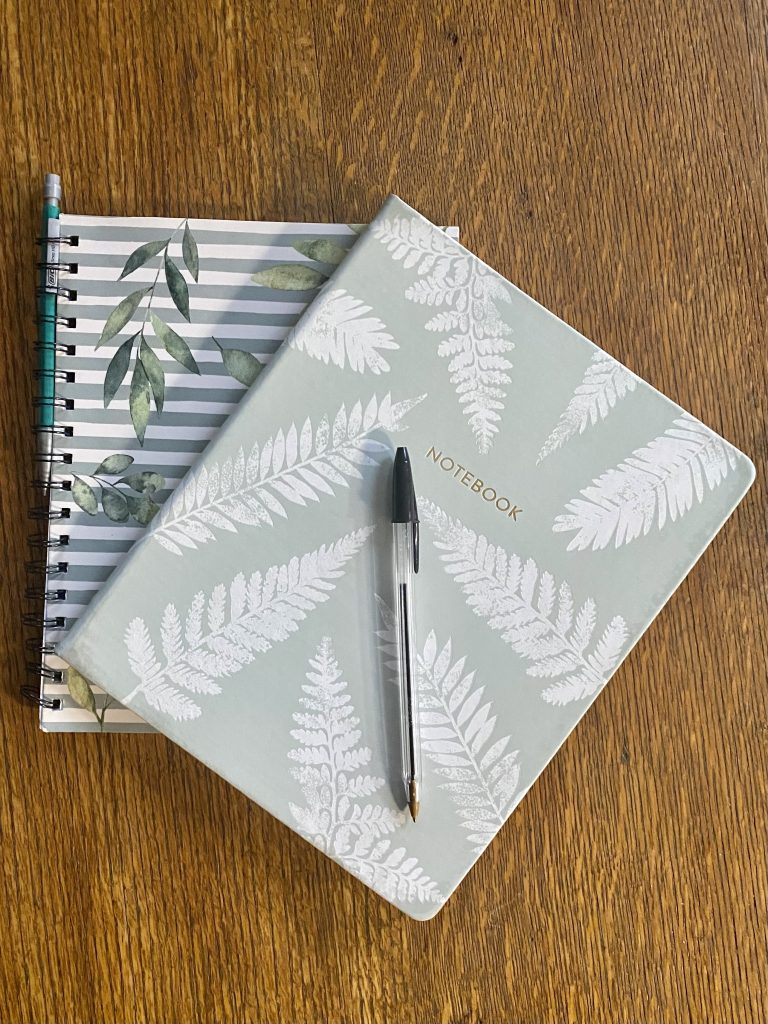
Pen/Paper
You may not realize it (because I certainly didn't), but record-keeping is essential to being a successful, productive grower. Learn from my mistakes to shorten your learning curve if you're new to gardening. Writing down when you started your seeds allows you to track their growth and development. Keeping track of the watering schedule ensures your seedlings won't get root rot or dry out from inconsistency. Journaling your failures and successes as a gardener allows your skills to grow and guarantees you will avoid repeating any mistakes the following year. Believe me when I say many things can happen over a year, and you will remember only some of what you did when you started last year's seeds.
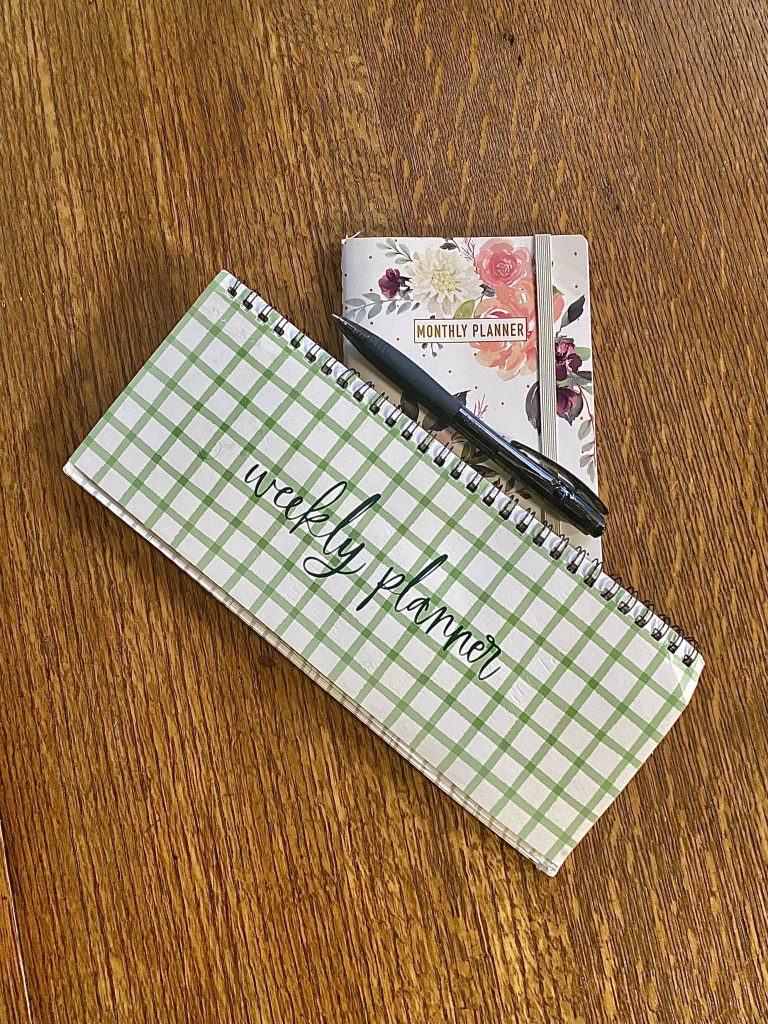
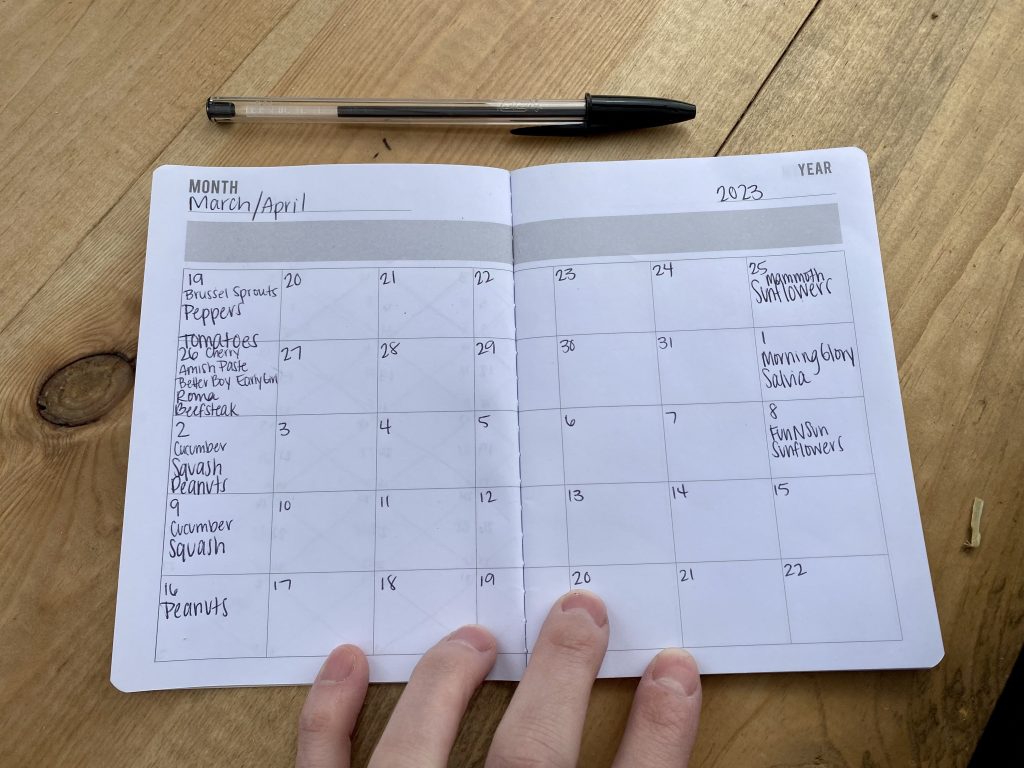
Calendar
A calendar to write down when you start seeds is vital for keeping good growing records. Documenting when seeds were planted helps to be able to track their growth and progress. In addition, if you need to adjust your seed sowing to an earlier or later date, having a calendar from the previous year gives you better insight on when to do so.
Seed sowing dibbler
This handy tool helps you get seeds into a specific place instead of all over your tray or soil block. By gently tapping the seed sower, just a couple seeds will be planted instead of having a cup or handful of seeds that you manually place one by one, speeding up the seed-sowing process.
Will you be starting seeds this year?
What types of varieties do you and your family like to eat?
I would love to hear of any other tools or supplies you use to start seeds!
Start your gardening journey this year by starting some seeds!
