

No-Knead Dump Bread
Disclosure: This post may contain affiliate links. Learn more here.
This easy no-knead dump bread is the kind of recipe you make on repeat—no kneading, no fuss, and no exact measuring skills required. If you’re feeding a family, juggling little ones, or just want reliable homemade bread without hovering over dough all day, this one’s for you.
It comes together in one bowl, rises while you live your life, and bakes up crusty on the outside with a soft, moist interior—perfect for soups, roasts, or slathering with butter straight off the cooling rack.
Why You’ll Love This Recipe
- No kneading required
- Minimal cleanup
- Forgiving hydration (perfect for eyeballing)
- Bakery-style crust using a Dutch oven
- Ideal for busy homestead and from-scratch kitchens
Materials Needed
You don’t need any fancy equipment to make this bread no-knead dump bread. Just a few simple kitchen staples:
- Large mixing bowl – Big enough to allow the dough to rise comfortably.
- Wooden spoon or stand mixer with dough hook – Either works beautifully. A mixer makes it hands-free, but a spoon does the job just fine.
- Measuring cups and measuring spoons – Especially helpful if you’re not in your “eyeballing it” era yet.
- Cast iron Dutch oven with lid – This is key for creating that golden, crackly artisan crust.
Optional but helpful:
- Parchment paper (for easy transfer and cleanup)
- Cooling rack (to prevent a soggy bottom while the bread cools)
Ingredients
- 3½ cups King Arthur bread flour or All Purpose Flour
- 1 tsp salt (my favorite is Redmond's Real!)
- 2 tsp Red Star yeast (no blooming needed)
- 1¼–1½ cups warm water + a couple tablespoons if needed
Water amount will vary depending on humidity and flour absorption—trust the dough, not the measuring cup.

Instructions for No-Knead Dump Bread
1. Mix the Dough
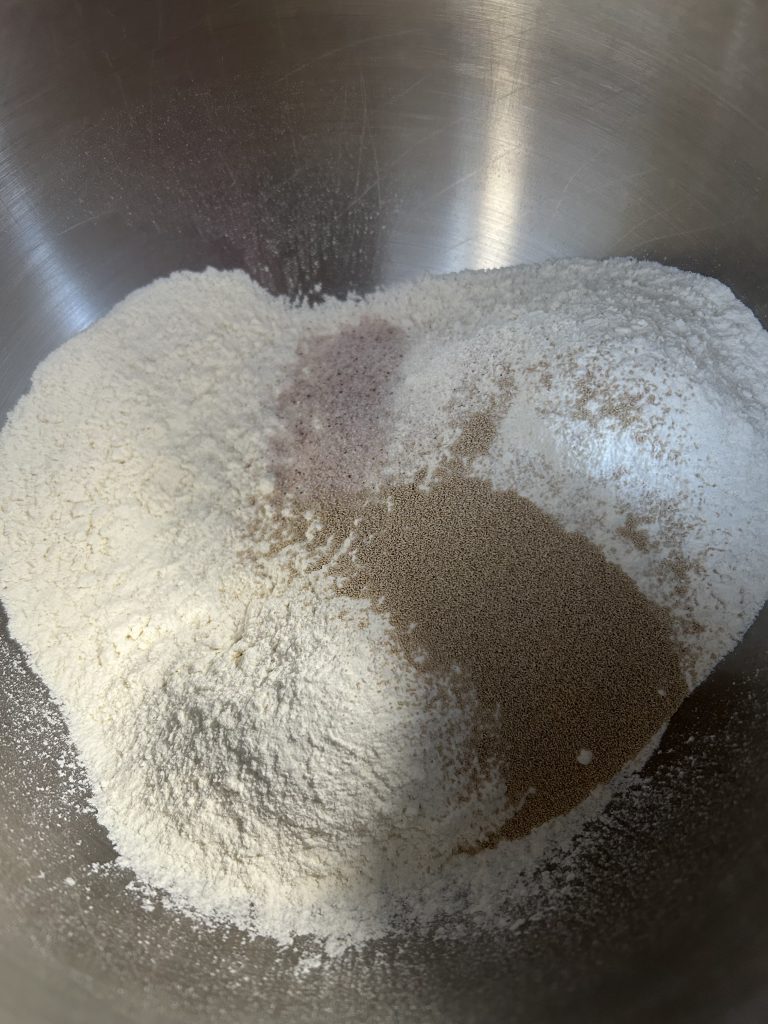
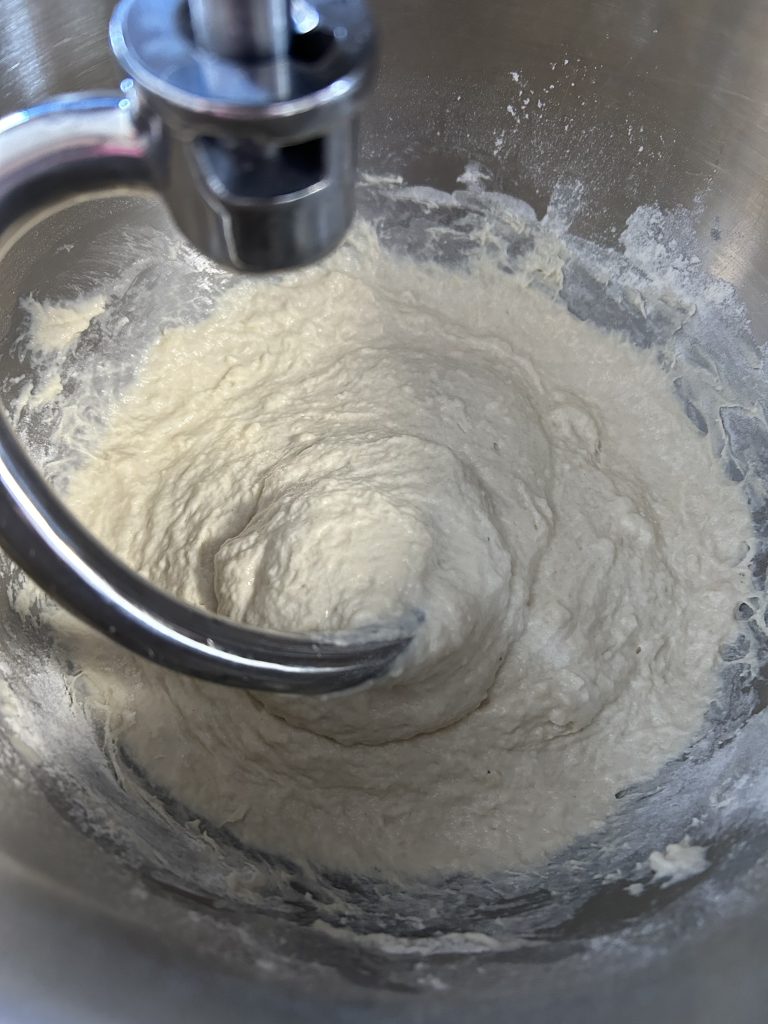
Add the flour, salt, and yeast to a large mixing bowl. Pour in 1¼ cups warm water and mix until combined. Add additional water as needed until the dough is slack, sticky, and loose—not dry or stiff. Keep adding one tablespoon at a time as needed.
A stand mixer works great here, but a spoon or spatula is just fine.
2. Rise
Cover the bowl with a damp flour sack towel or plastic wrap. Let the dough rise at room temperature for 2 hours.
3. Preheat the Oven and Dutch Oven
At the 1½-hour mark, place your cast iron Dutch oven (with lid) into the oven and preheat to 450°F.
This step is key for creating that golden, crackly crust for your no-knead dump bread.
4. Prepare the Dough
Lightly flour a piece of parchment paper. Scrape down the sides of the bowl with a spatula and gently turn the dough out onto the parchment. Sprinkle the top lightly with flour.
No shaping required—this is a true dump bread.

5. Bake
Carefully remove the hot Dutch oven from the oven. Lift the parchment and dough straight into the Dutch oven and replace the lid.
Bake at 450°F for 35 minutes.
6. Uncover and Finish the No-Knead Dump Bread
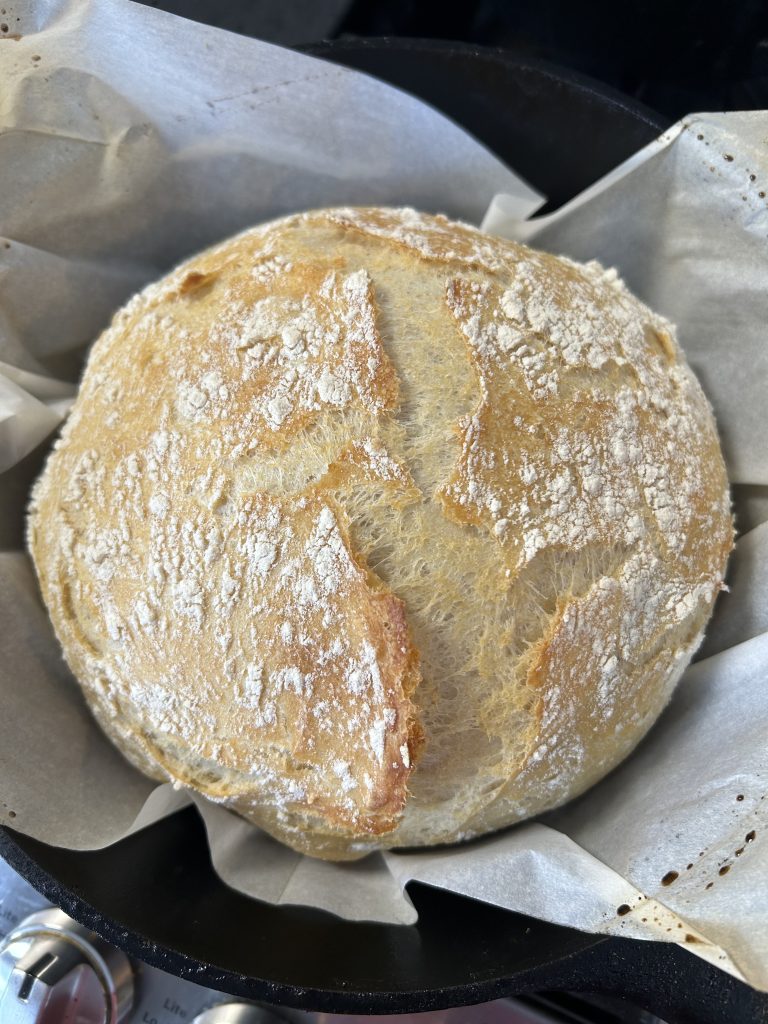
Remove the lid and return the bread to the oven for an additional 5-10 minutes, or until the top is golden brown.
7. Cool Completely
Remove the Dutch oven from the oven and lift the bread out using the parchment. Transfer to a cooling rack and allow the loaf to cool completely before slicing.
Cutting too early releases trapped steam and causes bread to dry out and stale faster.

Serving
This bread is best enjoyed warm with a generous spread of salted butter melting into every nook and cranny. Toasted until golden and crisp, it develops the most satisfying crunch while staying soft and tender inside.
It pairs beautifully with a creamy potato soup, hearty beef stew, or a slow-simmered roast with all the pan juices spooned over top. Tear off thick slices to dunk, swipe through broth, or soak up every last bit from your bowl.
For breakfast the next morning, toast leftovers and top with butter and a drizzle of raw honey or homemade jam. It also makes a wonderful base for open-faced sandwiches or rustic grilled cheese.
Simple ingredients. Real food. The kind of bread that disappears faster than you expect.
Tips for Success
- Slack dough = better crumb. If it feels too wet, that’s usually perfect.
- Don’t skip preheating the Dutch oven. This creates oven spring and crust.
- Cooling matters. This step preserves moisture and texture.
- Bread flour is best. It gives better structure and chew than all-purpose flour.
Storage
- Store cooled bread in a cloth bag or wrapped in a clean towel at room temperature for up to 2 days
- Freeze sliced bread in an airtight container for up to 3 months
- Avoid airtight plastic bags at room temperature—they soften the crust and encourage mold
Frequently Asked Questions
Can I use all-purpose flour?
Yes, but bread flour produces a better rise and chewier texture.
Do I need to bloom the yeast?
No—this recipe uses instant yeast, which can be mixed directly with dry ingredients.
Can I let it rise longer?
Yes, up to 3 hours if your kitchen is cooler, but avoid over-proofing.
Final Thoughts
This no-knead dump bread is the kind you make when homemade food matters—but perfection doesn’t. It’s forgiving, reliable, and made for real life.
If you try it, let me know how it turns out—or how many slices mysteriously disappear before dinner.
