Saving Zinnia Seeds
Disclosure: This post may contain affiliate links. Learn more here.
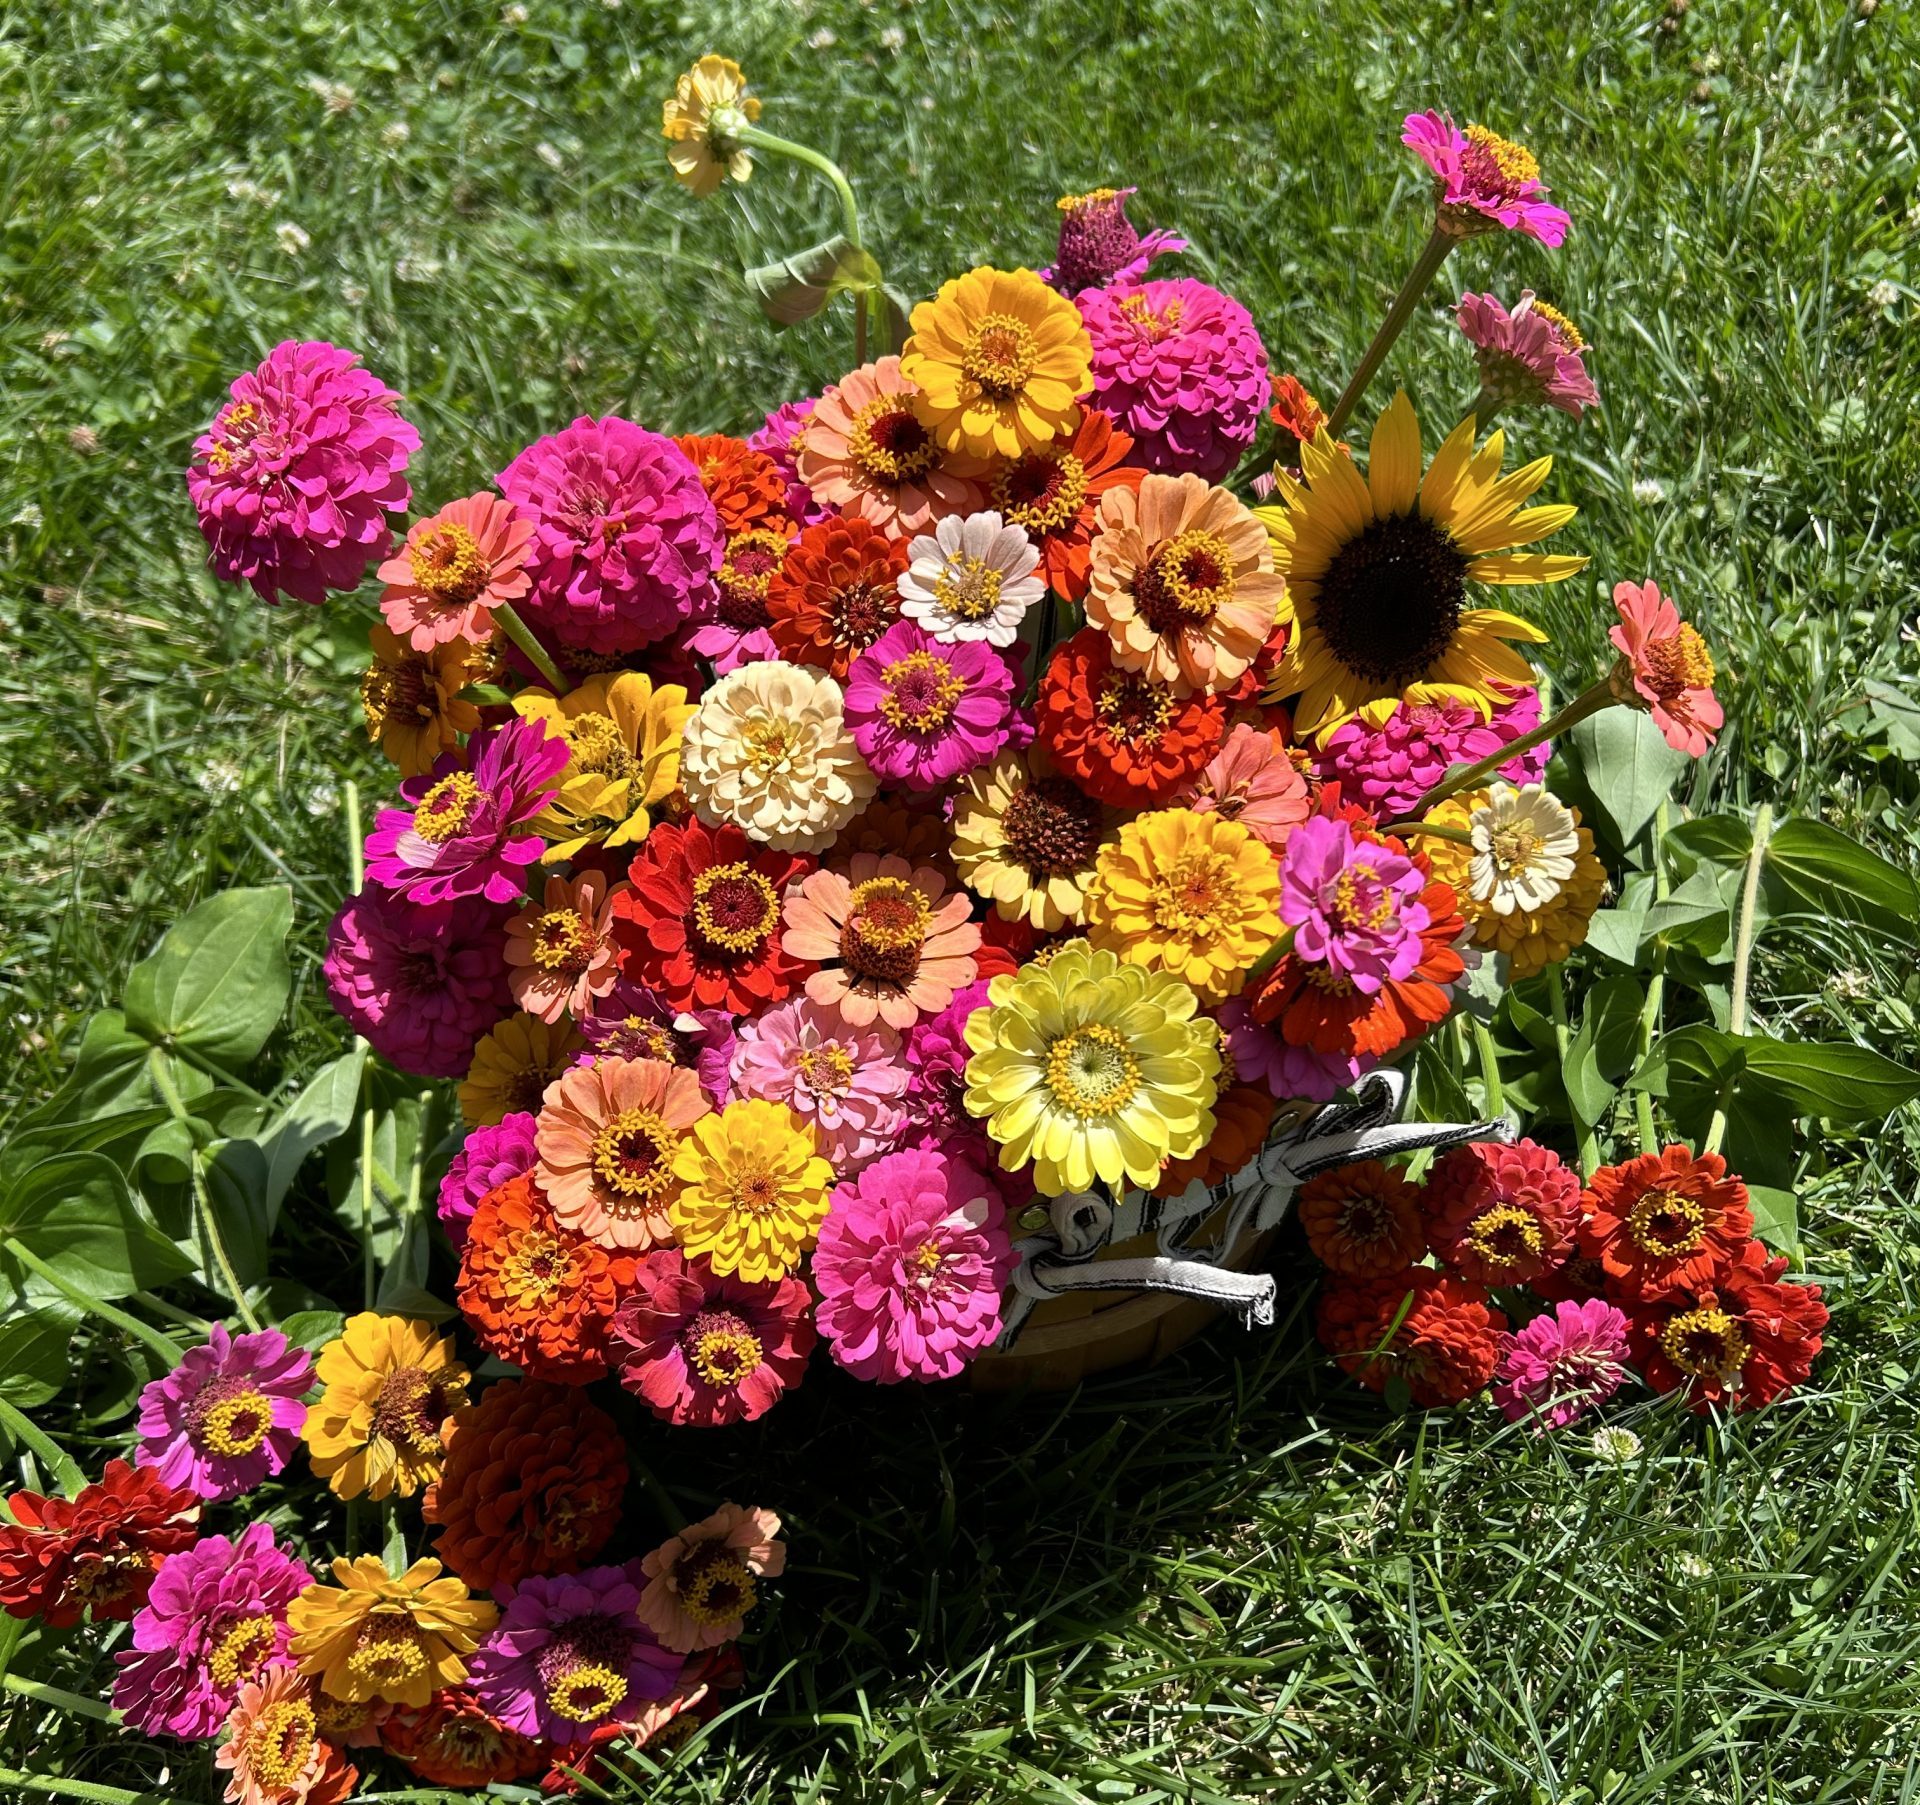
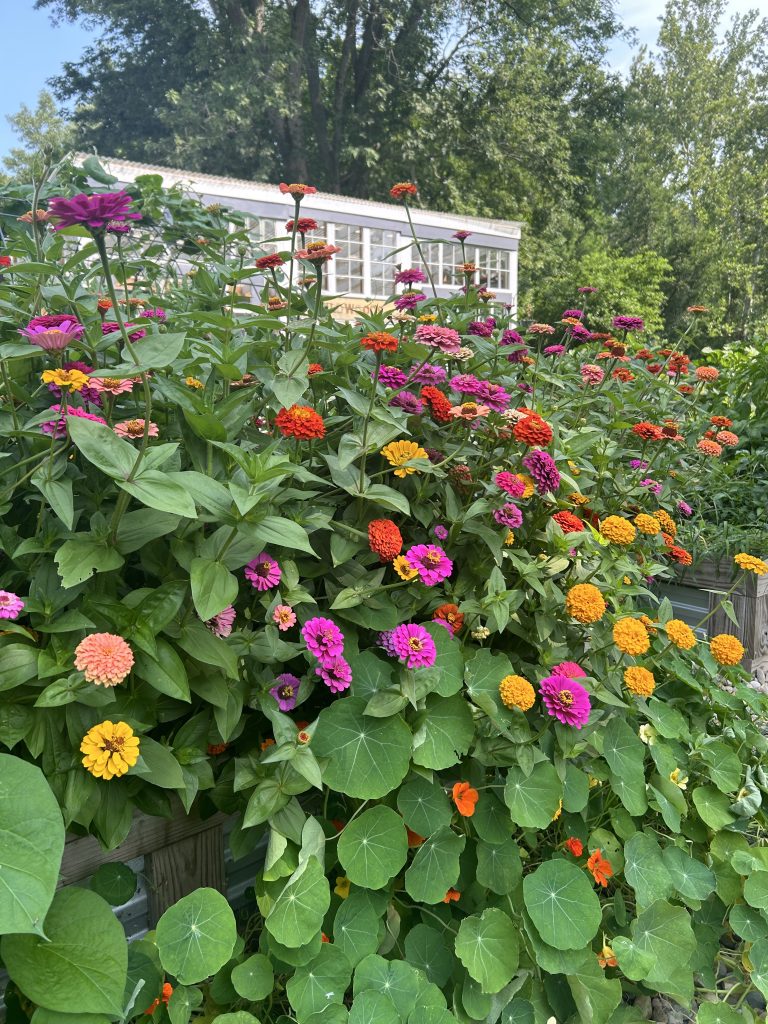
There’s a special kind of feeling that unfolds in a backyard garden—especially one planted with tiny hands beside your own. All summer long, our cut flower garden becomes the heartbeat of our homestead. It’s this very place that teaches us the beauty of saving zinnia seeds as the seasons begin to shift. It's the first thing I see in the morning as the sun begins to rise, casting soft golden light across leaves and petals still heavy with dew. I stand at the sink washing dishes from breakfast, tea brewing behind me, and I catch myself smiling at the sight of those bright, bold zinnias waking up for the day.
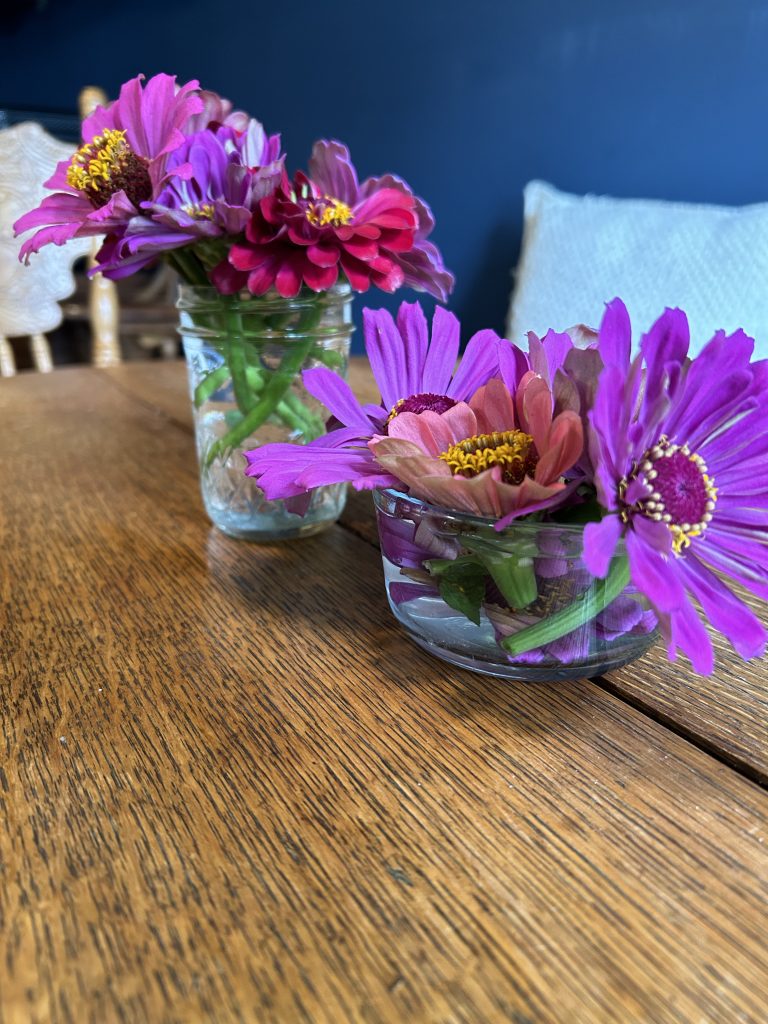
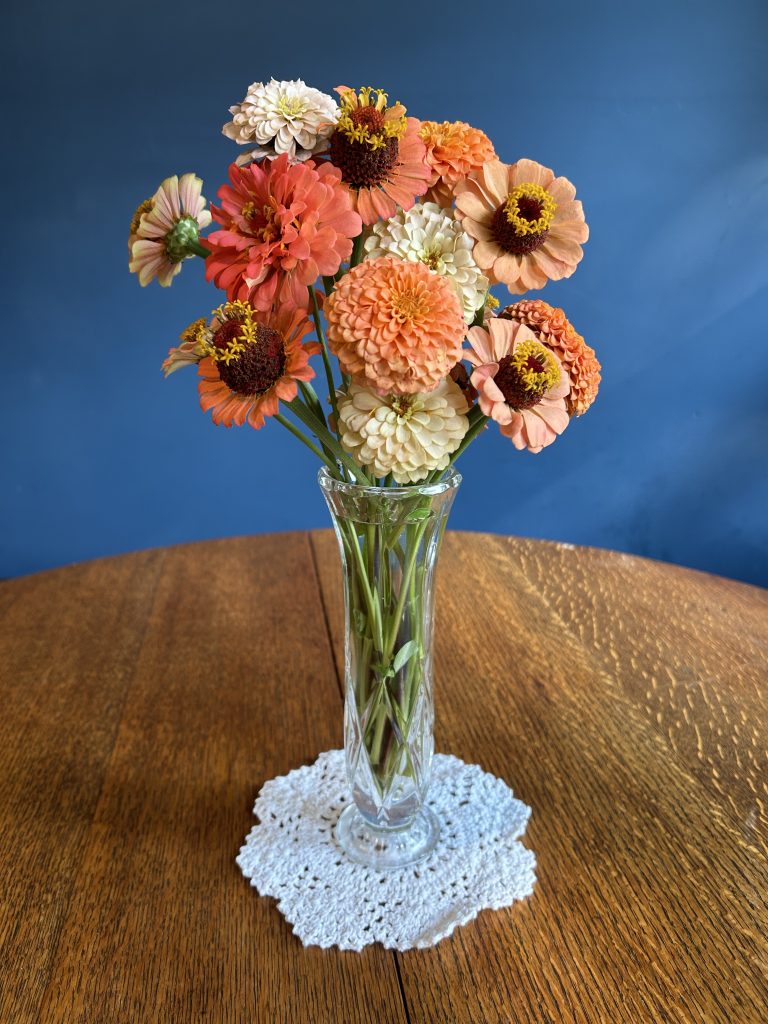
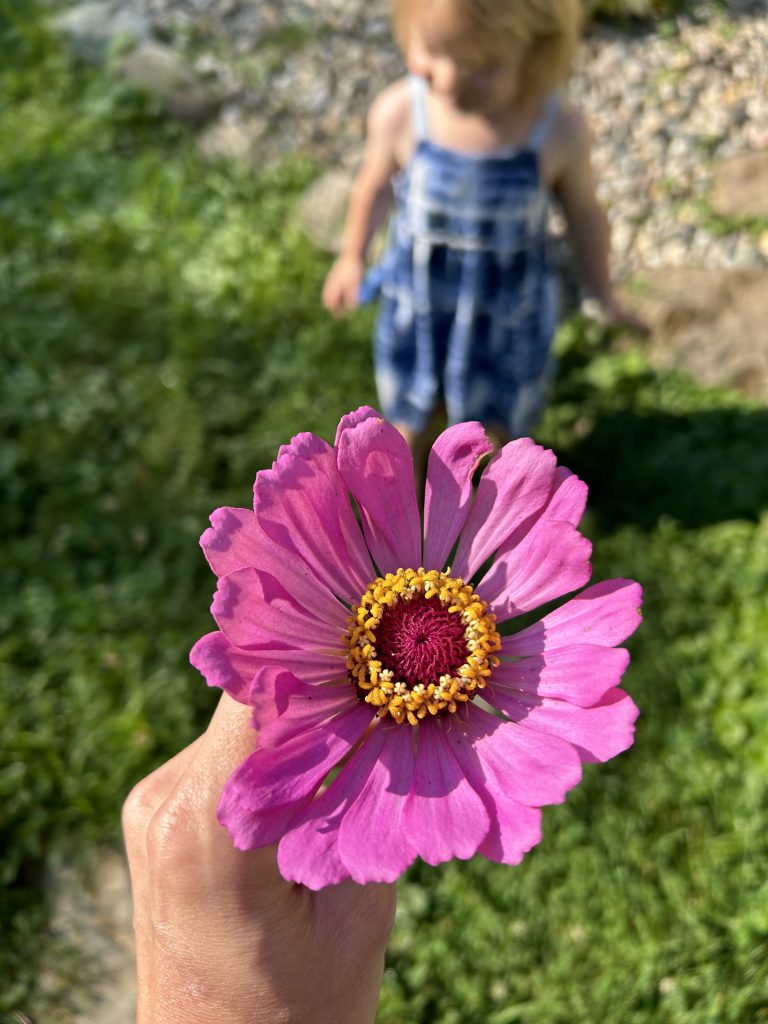
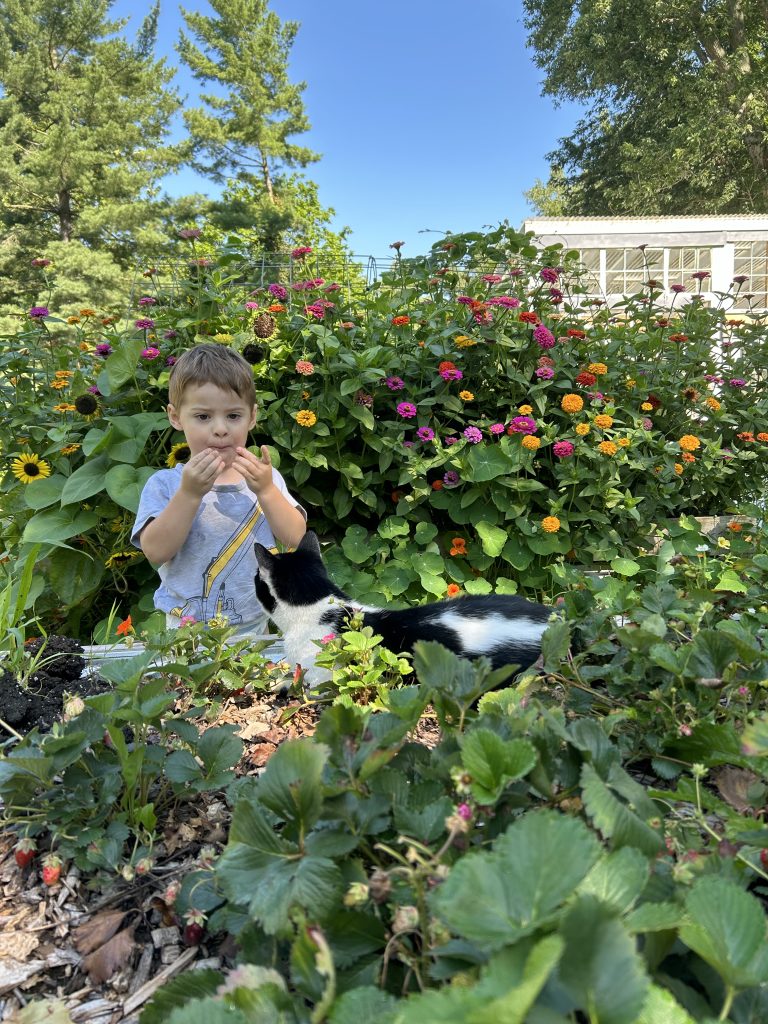
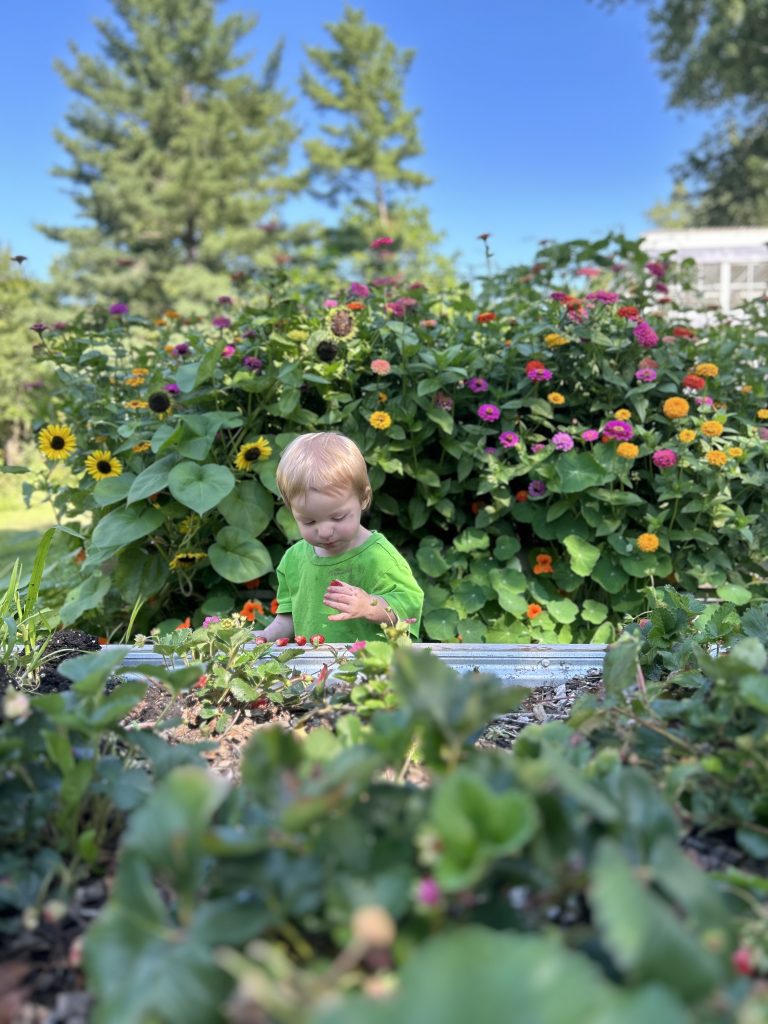
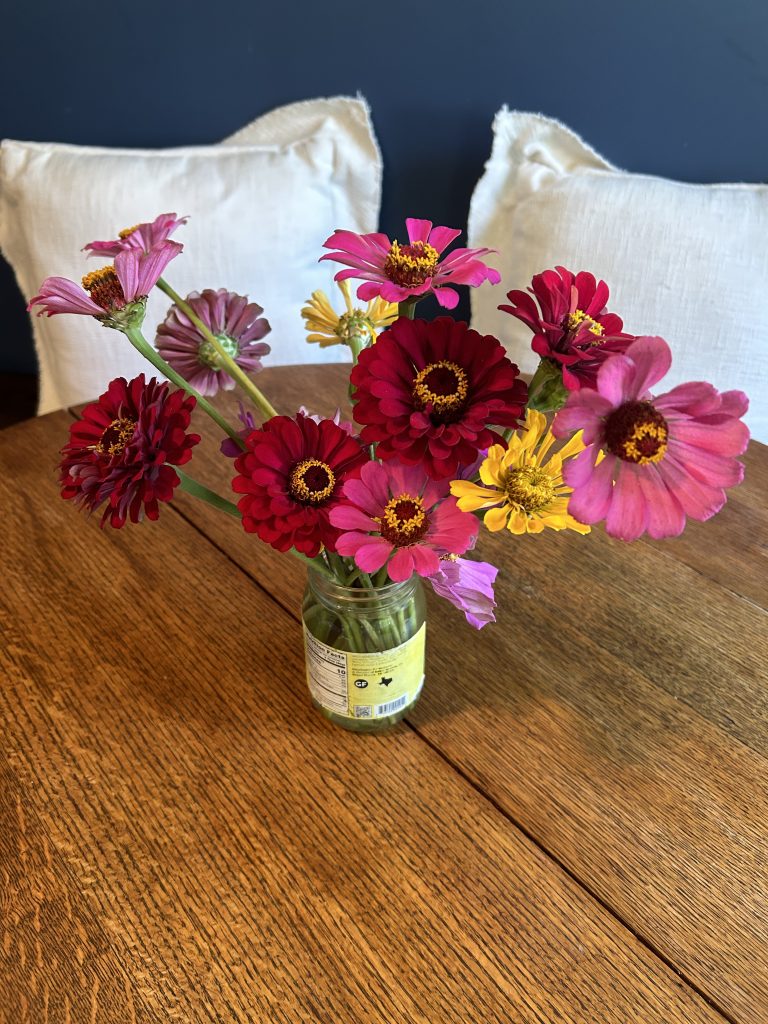
It’s the same patch my sweet young daughter races out to every morning, bare feet in the grass, to pick me her idea of “the most beautiful bouquet.” She gathers as many blooms as her small palms can hold, coming inside gleaming as she voices, “Mama, I picked this for you.” Those little bundles of mismatched color—some stems too short, some blooms cut sideways, all of them perfect in their own way—decorate every flat surface of our home all season long.
Even so, the seasons begin to shift.
The mornings get cooler.
The air feels different.
The flowers—once bursting with energy—start to fade.
Consequently, the bright colors soften and petals curl inward, yet something remarkable happens. Hidden inside every fading bloom is a tiny treasure waiting to be discovered: next year’s garden.
Saving zinnia seeds has become one of the most grounding rituals of my year. There’s something deeply fulfilling about walking out the back door with a large basket on my arm and pruning shears in hand, knowing that the beauty of today will bloom again tomorrow. The flower patch buzzes with life even as fall creeps in—bees collecting their final pollen, butterflies drifting through the cooling breeze, hummingbirds darting between blossoms in the misty morning air. Even in their fading state, the zinnias still give.
Equipment You’ll Need to Save Zinnia Seeds
Before you start gathering dried blooms, having a few simple tools on hand makes the whole process smoother.
- Sharp pruning shears – for clipping dried flower heads cleanly.
- A large gathering basket or harvest bag – something easy to carry through the garden.
- Paper bags or envelopes – to keep each variety separate as you collect.
- A drying tray or paper towels – for letting the seeds air-dry before storing.
- Glass jars or small airtight containers – for long-term seed storage.
- Pen or garden marker and sticker labels – to label varieties, colors, and harvest dates.
- Fine mesh strainer (optional) – helpful if you want to sift out chaff from seeds.
- Silica packets (optional) – to keep stored seeds extra dry through the winter.
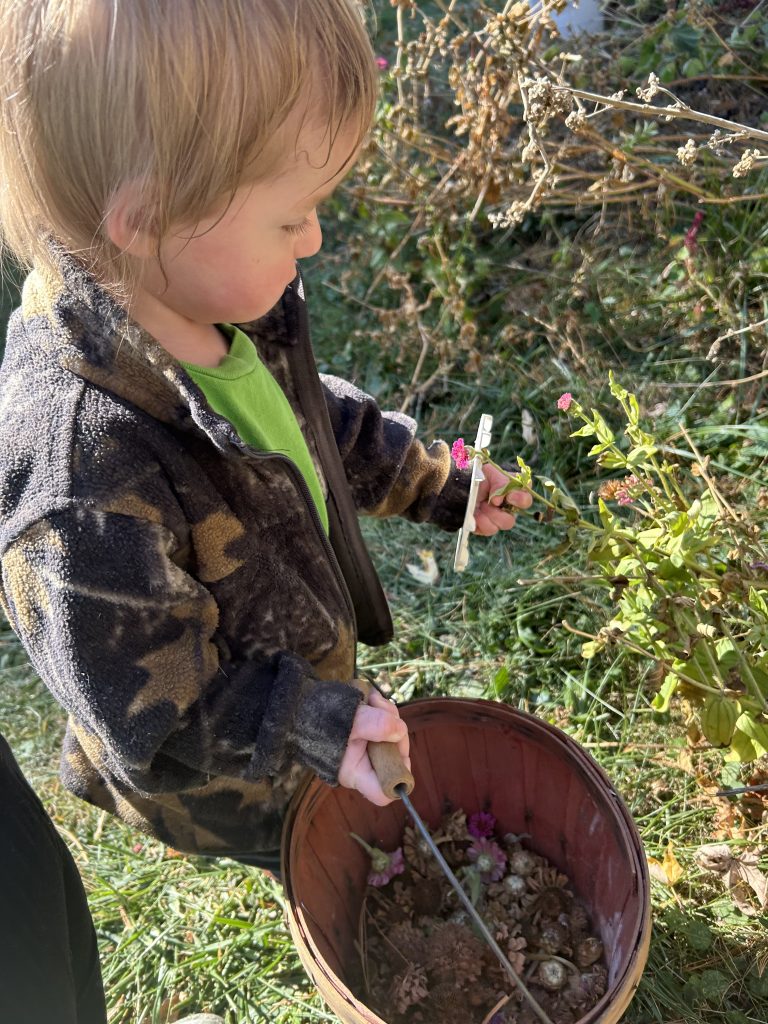
This is also a wonderful moment to invite your little ones to help carry the basket or separate the envelopes—it makes seed saving feel like a treasure hunt and adds to the joy of the season.
How to Save Zinnia Seeds
Saving zinnia seeds is simple, rewarding, and almost feels like a promise you make with your future self (and your next garden season).
1. Let the Blooms Fully Dry on the Plant
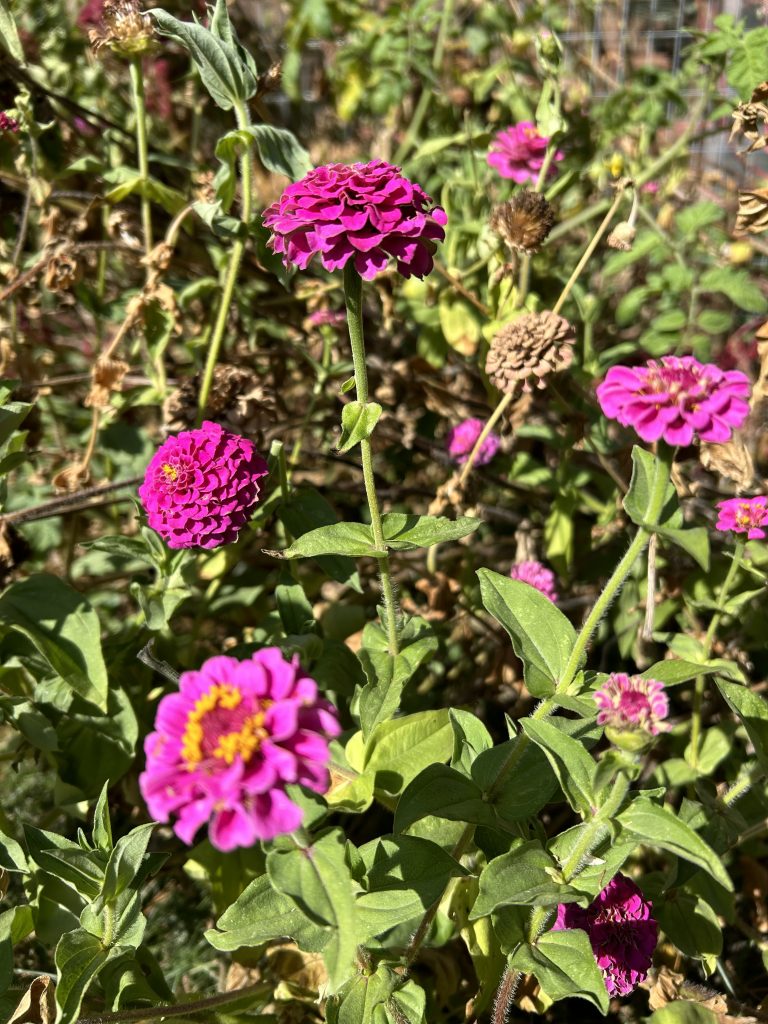
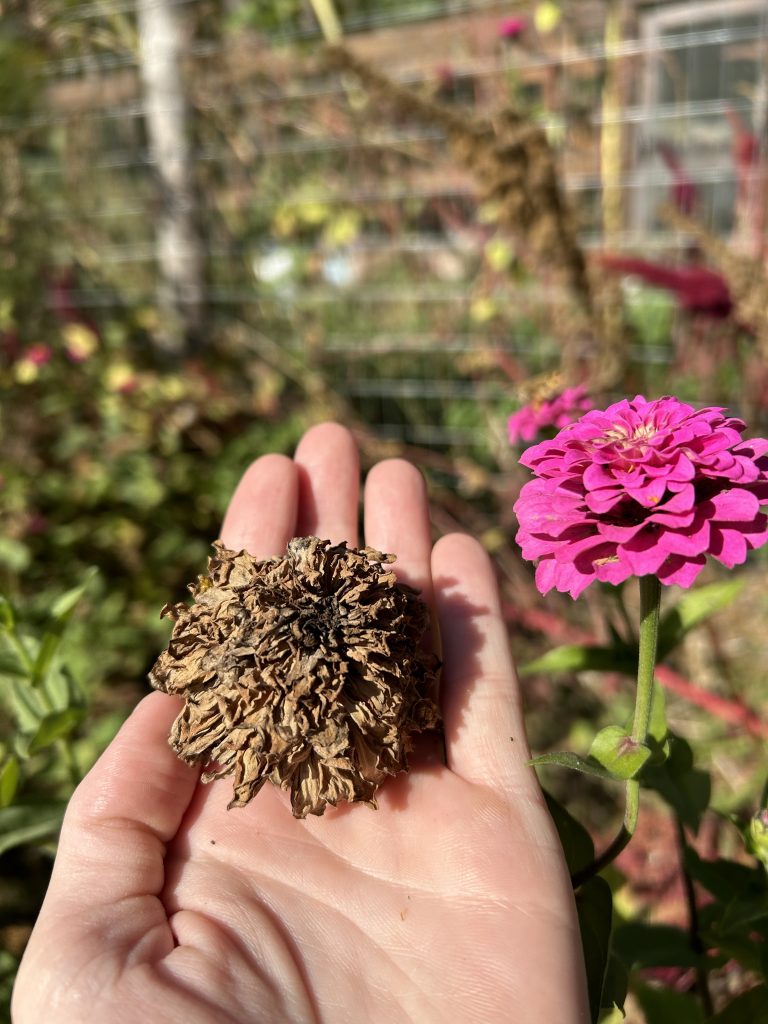
Select the largest, healthiest, and most vibrant zinnias from your patch. Let those flowers fully dry right on the stem. You’ll know they’re ready when the petals are crisp, the center is brown, and the whole bloom looks tired and worn.
This “fading” stage is exactly where the wonder is hiding.
2. Snip and Collect
Cut the dried heads off the plant and place them into your basket. They don’t look like much now, but each one holds dozens of seeds. If your children helped you grow the zinnias, this is a wonderful moment to invite them back in. There’s something incredibly sweet about watching small fingers discover that beauty can hide in unexpected places.
3. Separate the Seeds
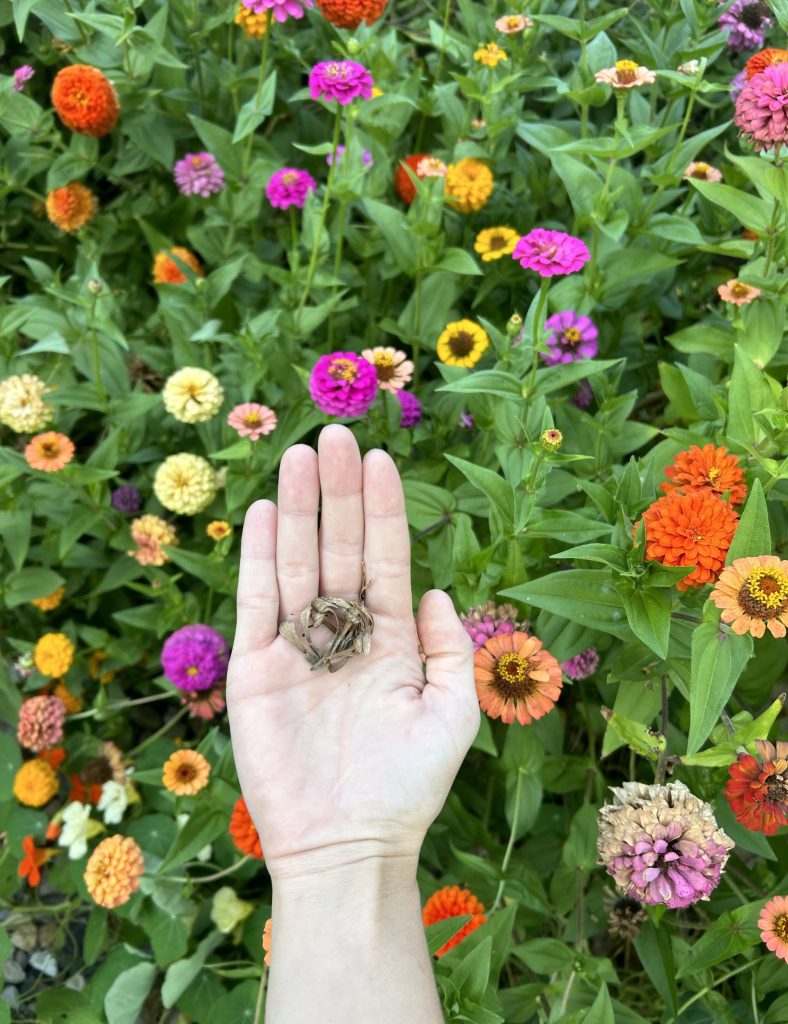
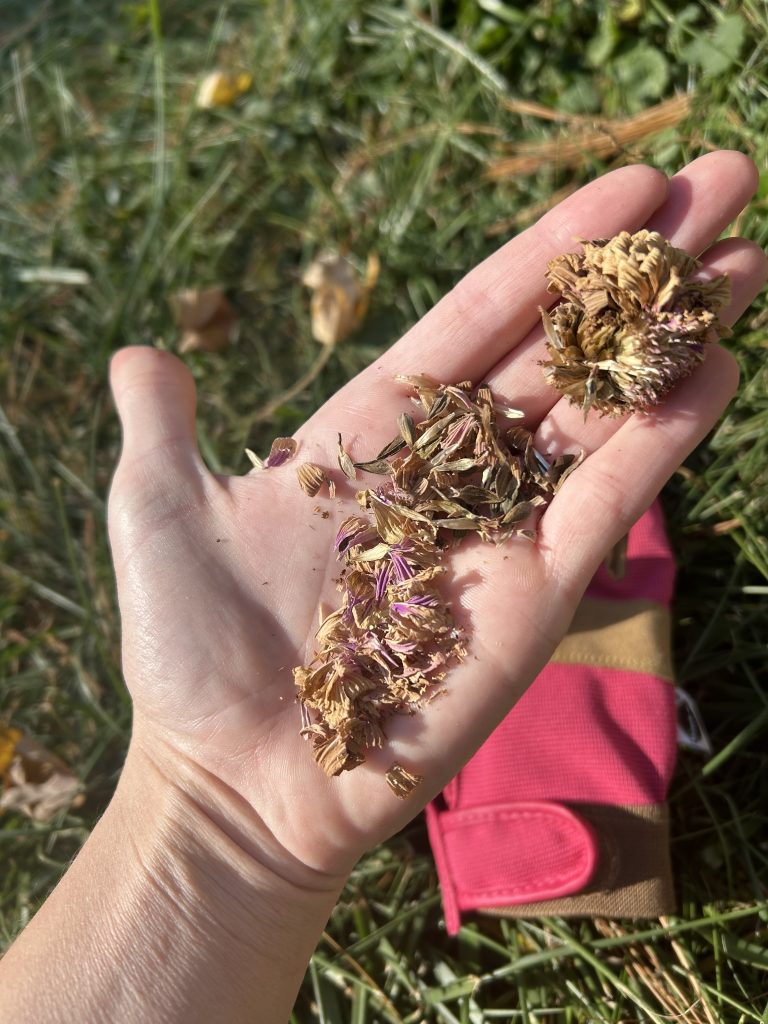
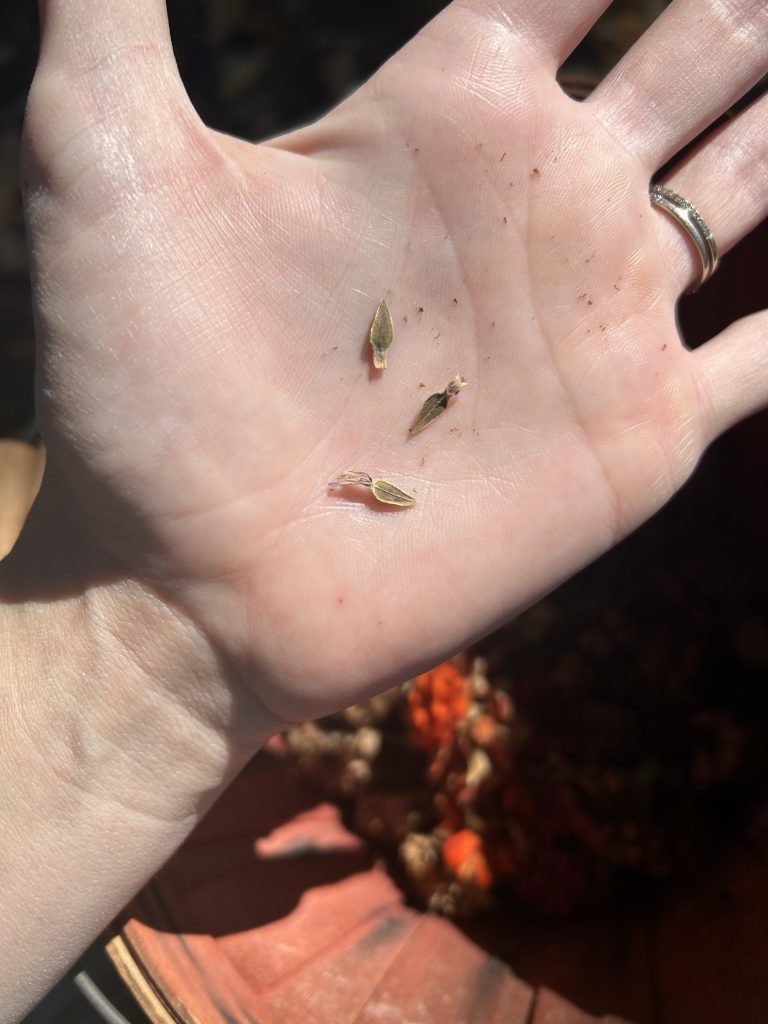
Gently pull apart each dried head. Inside the brittle petals are spear-shaped seeds, each one holding potential for a bloom as bold and joyful as the ones that lit up your summer.
If petals cling to the seeds, that’s fine—they store beautifully either way.
4. Let Them Dry (Just a Bit More)
Next, lay the seeds on a tray or paper towel for a couple of days. This prevents mold and allows them to store for longer.
5. Store for Winter
Place your zinnia seeds into a paper envelope or small jar. I love to use empty spice jars I've saved from my pantry!
Finally, label them with the color or variety if you kept them separate.
At last, tuck them away somewhere cool and dry until spring.
Why Saving Zinnia Seeds Matters
There’s something deeply rewarding about the whole process. As the plants slow down and the season draws to a close, the garden reminds us that endings aren’t really endings at all. They’re beginnings in disguise.
The bright bouquets that filled every corner of your home…
The mornings spent watching your children gather blooms…
The pollinators dancing through the patch…
The sunsets glowing behind a row of petals…
All of that beauty doesn’t disappear.
It simply transforms—quietly—into seeds.
Seeds you can hold in your hand.
Treasures you can pass down to your children.
Promises that will bloom again in a new season with colors just as bold and beautiful as the ones before.
Saving zinnia seeds is more than a gardening task.
It’s a celebration of the cycle of life, family, memory, and the way beauty—even when it fades—always leaves something precious behind.