

Planting Garlic
Disclosure: This post may contain affiliate links. Learn more here.
Have you ever considered planting garlic? Garlic is one of the main ingredients in almost every culinary dish we prepare at home! It enhances the flavor of the food and has many medicinal benefits, which is why we love to cook with it!
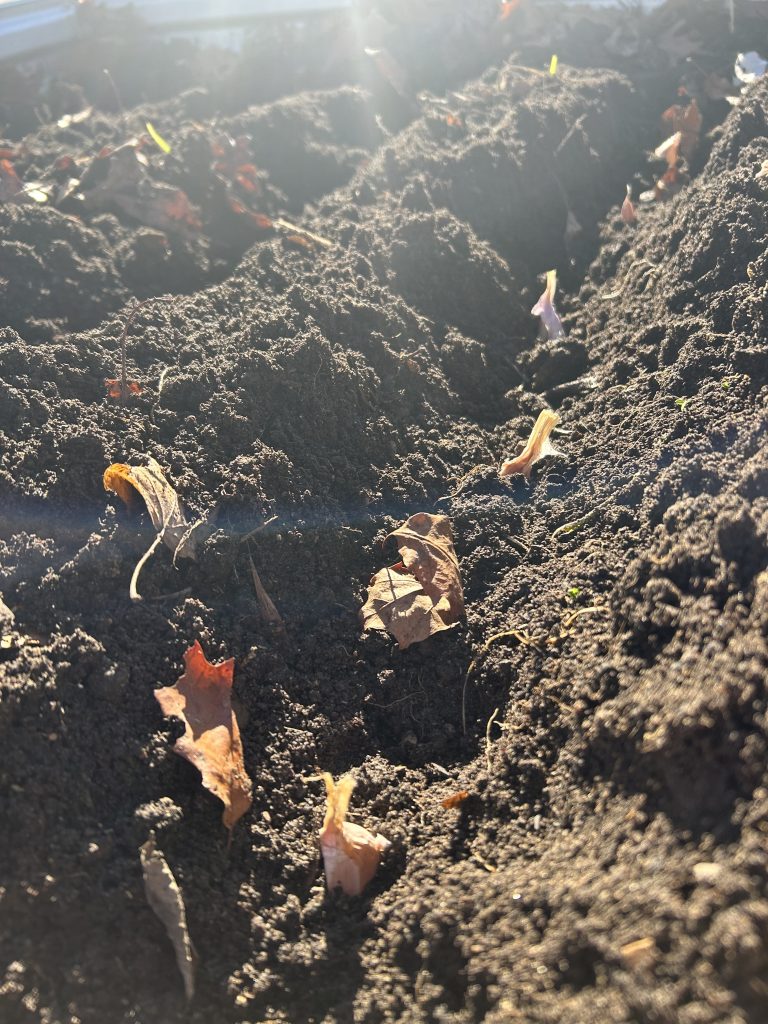
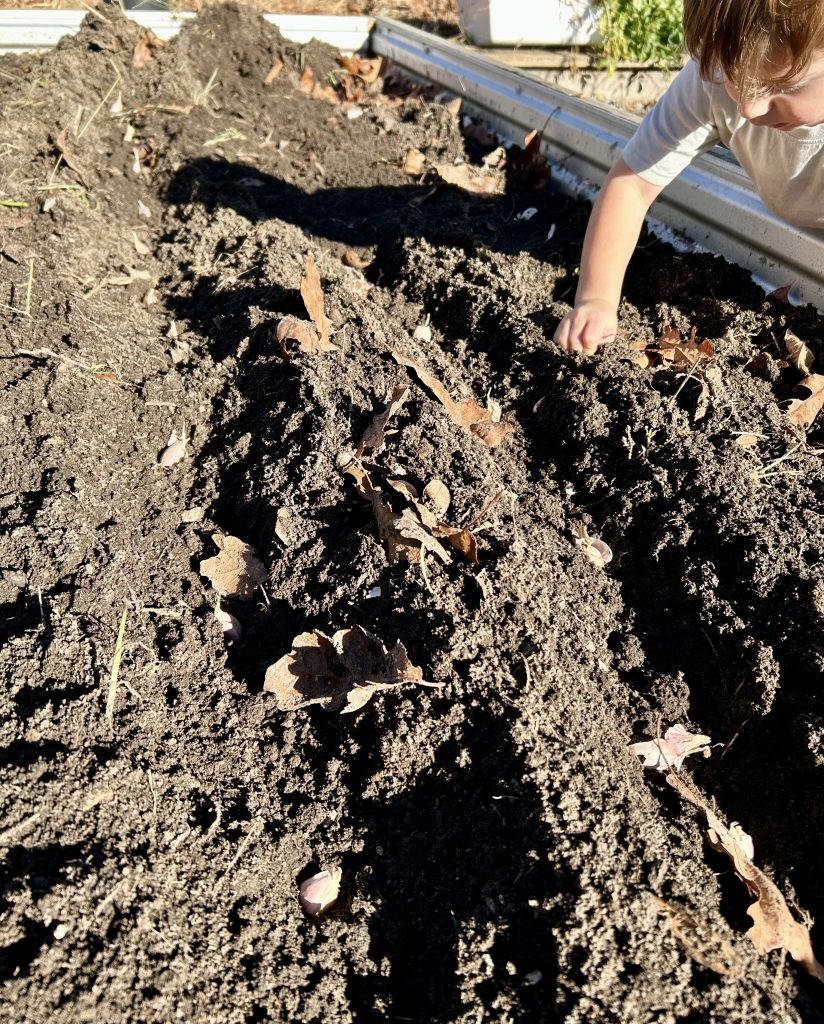
We finally got our garlic planted! It took me such a long time to clear out the bed and get it prepped, well, because life AND pregnancy. My husband did most of the preparation work for me, and our son helped me plant all the cloves and cover them up with soil! Homesteading is definitely a family affair that requires A LOT of teamwork to make things run efficiently and effectively! I love and appreciate my family and wouldn't have it any other way!
I still need to get some straw to cover and insulate our bed, but we are on our way to harvesting a ton of garlic next summer!
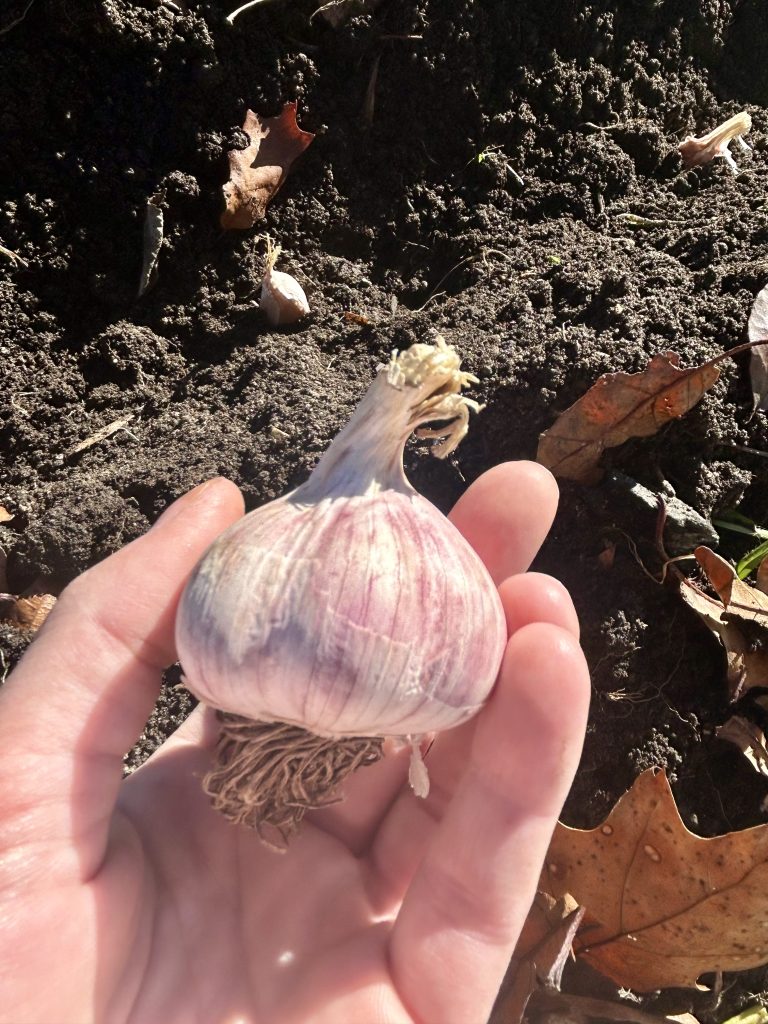
We used Chesnok Red Garlic from Hoss this year. It's our first time planting this variety from this nursery, so I will be sure to update you on how it does for us next year.
Even though we got our garlic in late, it is just beginning to freeze here in Zone 6a, so I'm confident it'll do just fine. Life has ups and downs, and we must go with the flow even when it's not how we envisioned our journey.
How to Plant Garlic
Garlic is a hardy, low-maintenance crop that thrives in many climates, including Zone 6a, where winters can be cold but not harsh enough to damage the bulbs. Planting garlic in a raised bed is especially beneficial because it allows for better drainage, prevents compaction, and warms up earlier in spring. Follow these helpful tips to prepare the way for a successful garlic harvest.
Why We are Planting Garlic in a Raised Bed
Raised beds provide an ideal environment for garlic because they:
- Improve soil drainage, preventing rot.
- Warm up faster in spring, encouraging growth.
- Reduce competition from weeds.
- Allow for better control of soil quality and fertility.
When to Plant Garlic
Here in Zone 6a, garlic is typically planted in the fall, 4-6 weeks before the ground freezes. This gives the cloves time to establish roots before winter dormancy. Aim to plant garlic from mid-October to early November, depending on local weather conditions.
Selecting Garlic Varieties
Choose garlic types suited for your climate. There are two main types:
1. Hardneck Garlic:
- - Best for cold climates like Zone 6a.
- - Produces scapes (edible flower stalks) in late spring.
- - Varieties: German White, German Red, Georgia Crystal, Elephant, Chesnok, Music, Spanish Roja, Russian Red, Romanian Red, and Rocambole
2. Softneck Garlic:
- - Better for warmer climates but can grow in Zone 6a.
- - Longer storage life.
- - Varieties: California Early, Inchelium Red, Italian Early, Italian Late, Transylvania, and Silver Rose
Preparing the Raised Bed for Planting Garlic
Location: First, choose a sunny spot with at least 6-8 hours of direct sunlight daily.
Soil Preparation: Secondly, garlic prefers loose, well-drained soil with a pH of 6.0-7.0. Mix aged compost or well-rotted manure into the soil to boost fertility. Add amendments like bone meal or a balanced organic fertilizer for phosphorus and potassium.
Bed Dimensions: Last, a 2-4-foot-wide bed allows easy access from all sides. Also, the raised bed should be at least 6-8 inches deep to accommodate garlic roots.
Optional Tools: Gloves, Garden Shovel, Garden Fork
Planting Your Garlic
Break Apart the Bulbs: Gently separate the garlic bulb into individual cloves. Be sure to leave the papery skins intact.
Spacing: Plant cloves 4-6 inches apart in rows spaced 8-10 inches apart. Next, point the flat end (root side) down and the pointed end up.
Planting Depth: Bury the cloves 2-3 inches deep. In colder climates, consider 4 inches for added protection.
Mulching: Cover the bed with a 3-4 inch layer of straw, shredded leaves, or mulch to insulate the soil.
Caring for Garlic Over Winter
Garlic will develop roots in the fall and remain dormant through winter. Snow provides natural insulation, but ensure your mulch layer is intact before severe cold sets in.
Spring and Summer Maintenance
Remove mulch: As temperatures rise in spring, gradually remove mulch to allow the soil to warm up.
Watering: Keep the soil evenly moist but not waterlogged. Reduce watering as the bulbs mature.
Weeding: Garlic hates competing for space and won't grow to its full potential if other plants are hindering it. Raised beds reduce weeds, but hand-pull any that emerge to prevent competition.
Fertilizing: Side-dress with nitrogen-rich fertilizer (e.g., blood meal) and homemade compost in early spring.
Scape Removal (Hardneck Garlic): Garlic scapes are the long, slender, flowering stem that grows out of the center of a garlic bulb. Cut scapes in late spring to direct energy toward bulb development. You can use garlic scapes to make homemade pesto, roasted, or in a stir fry!
Harvesting Garlic
Timing: Garlic is ready to harvest in mid to late summer when 3-4 lower leaves turn brown, but upper leaves remain green.
Method: Use a garden fork to loosen the soil around the bulbs and gently pull them out. Be sure to shake off the excess dirt.
Curing: Hang garlic in a dry, shaded, well-ventilated area for 2-4 weeks to cure before storage.
Tips for Success
- Rotate garlic with other crops each year to prevent soil-borne diseases.
- Save the largest, healthiest bulbs from your harvest for planting next season.
- Avoid planting grocery store garlic, which may not be disease-free or suited for your climate, and sprayed with sterilizing chemicals.
Following these steps will reward you with a flavorful, homegrown garlic harvest that enhances your meals and supports self-sufficiency. Raised beds make the process more accessible and abundantly productive, ensuring success in your zone's conditions.
Happy gardening!
