
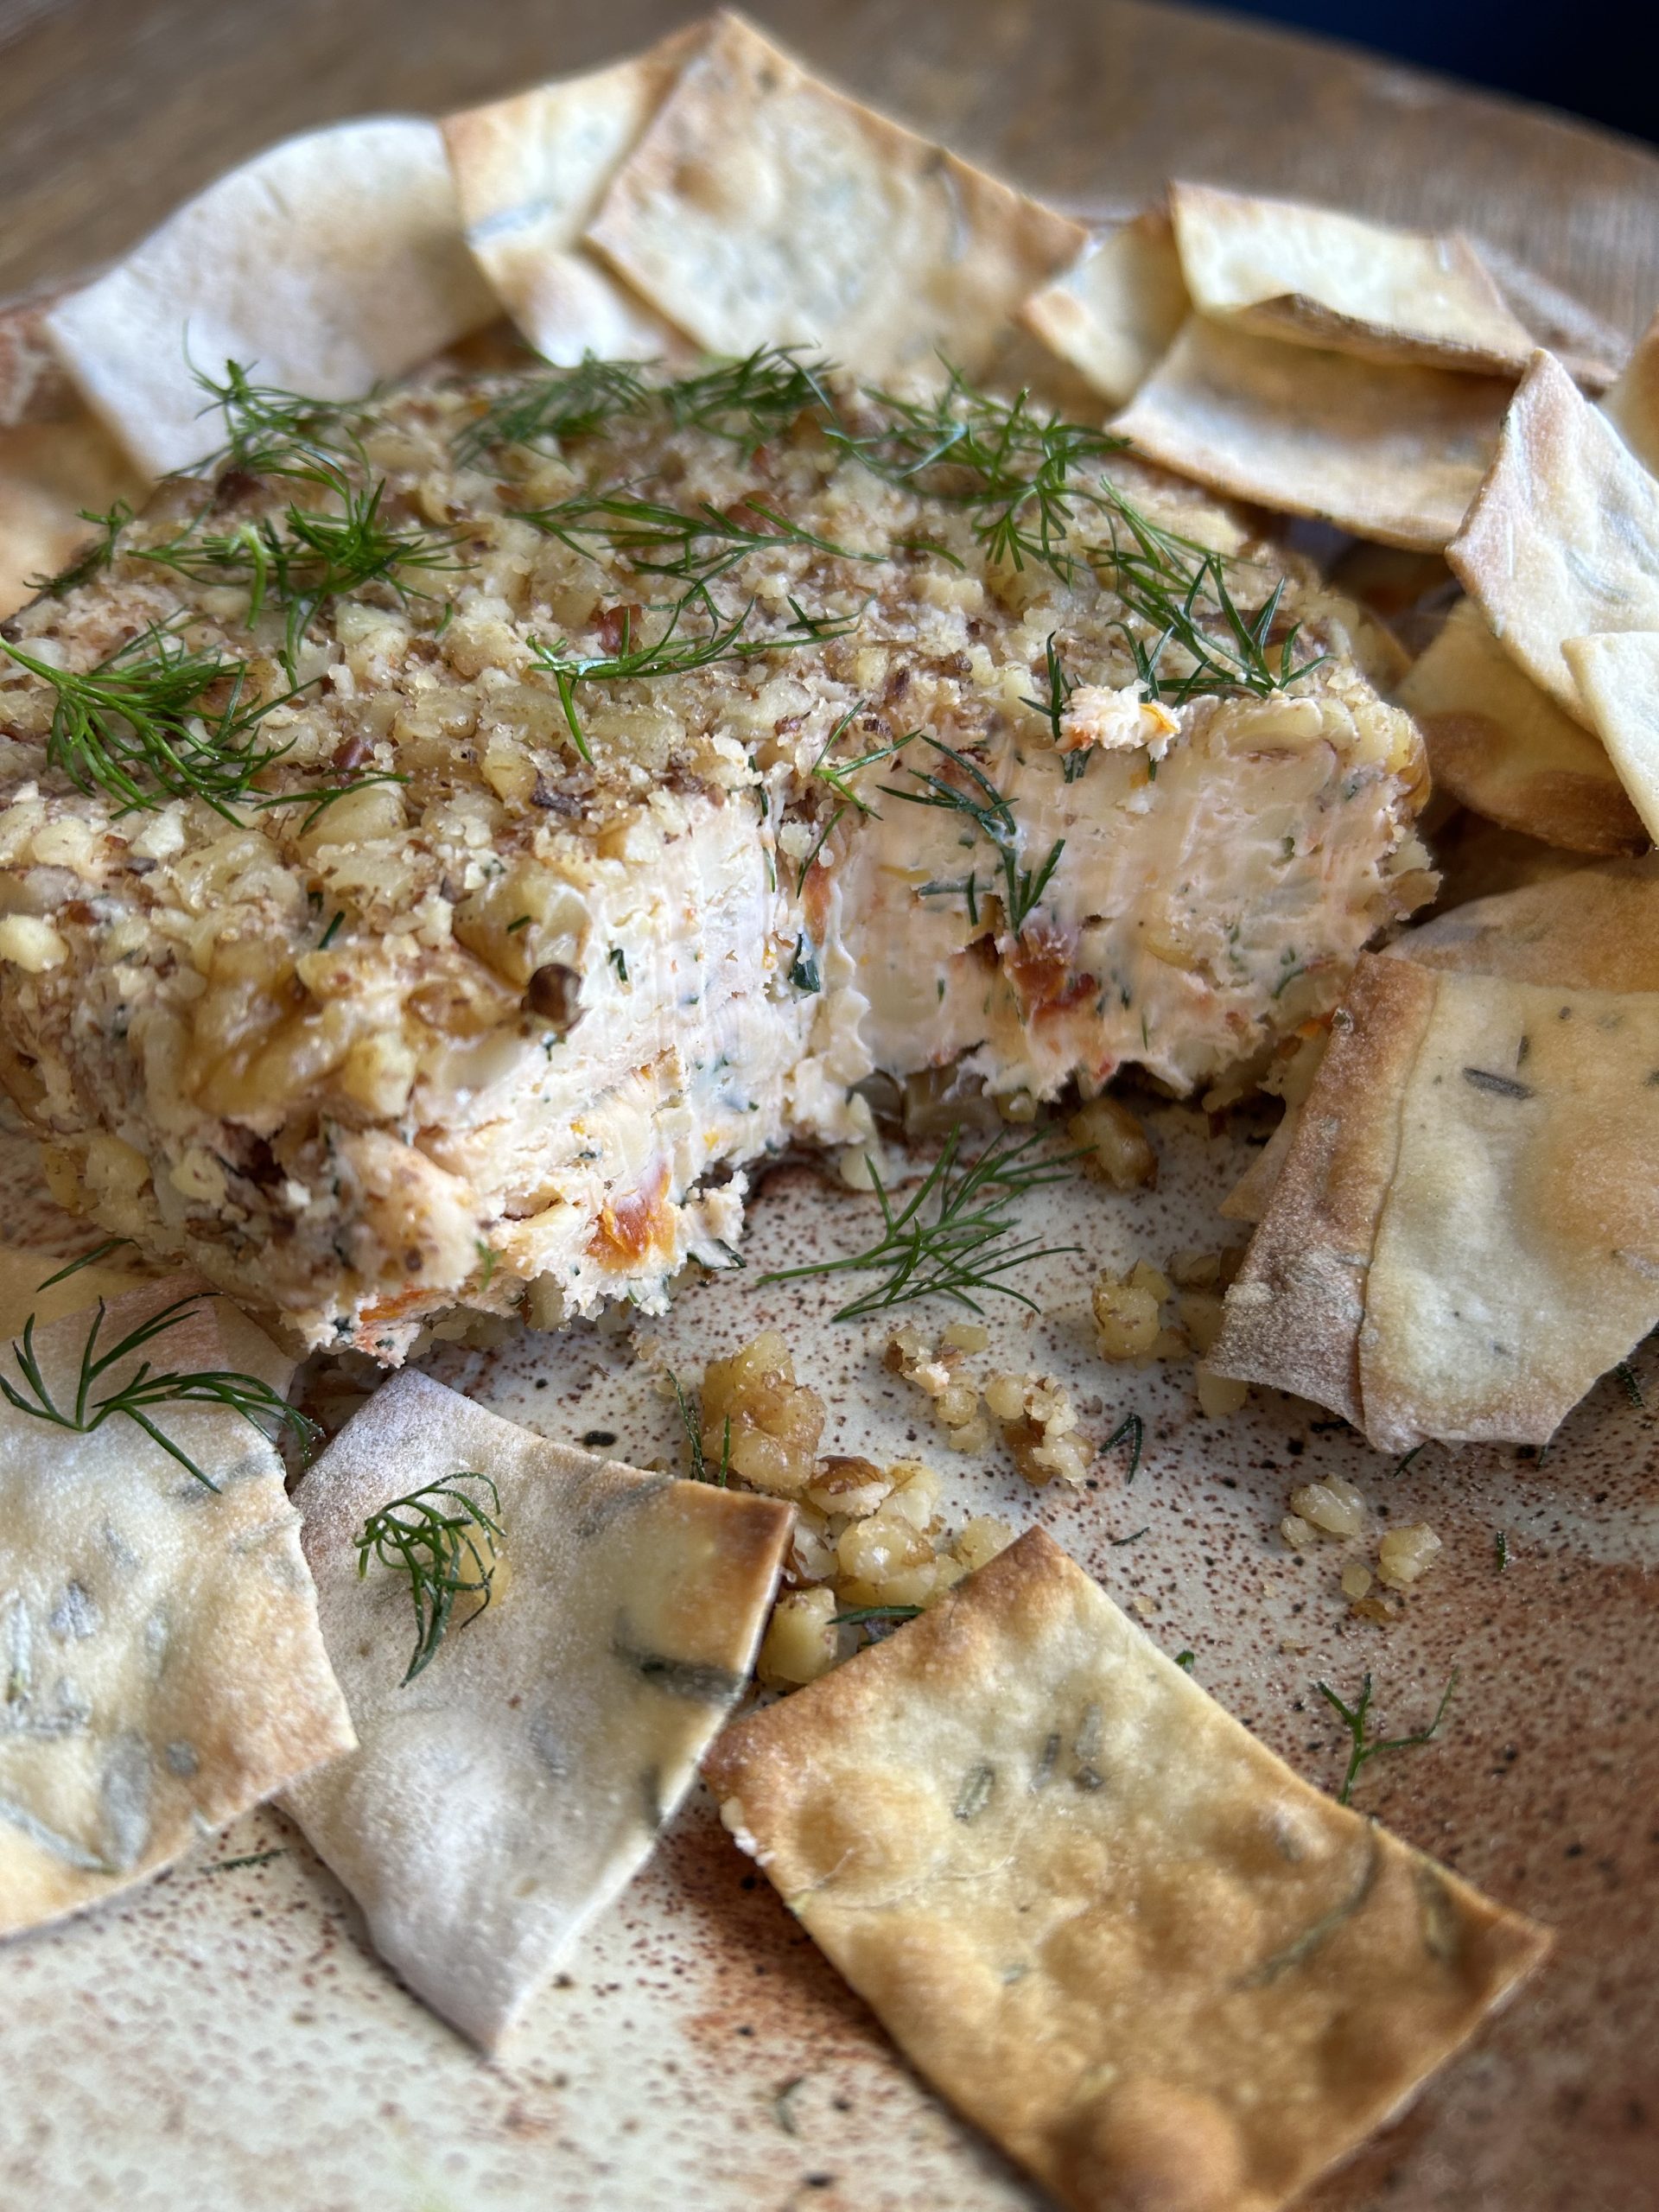
Homemade Cheese Ball
A simple, make-ahead snack for busy homestead days
Disclosure: This post may contain affiliate links. Learn more here.
Some afternoons call for a snack that feels a little special but still comes together in minutes—especially on the days when there are big tasks to accomplish and dinner is still a couple of hours away. That’s exactly why I love keeping a homemade cheese ball in the fridge (and freezer). It’s rich, flavorful, packed with herbs, and pairs perfectly with a batch of quick homemade crackers.
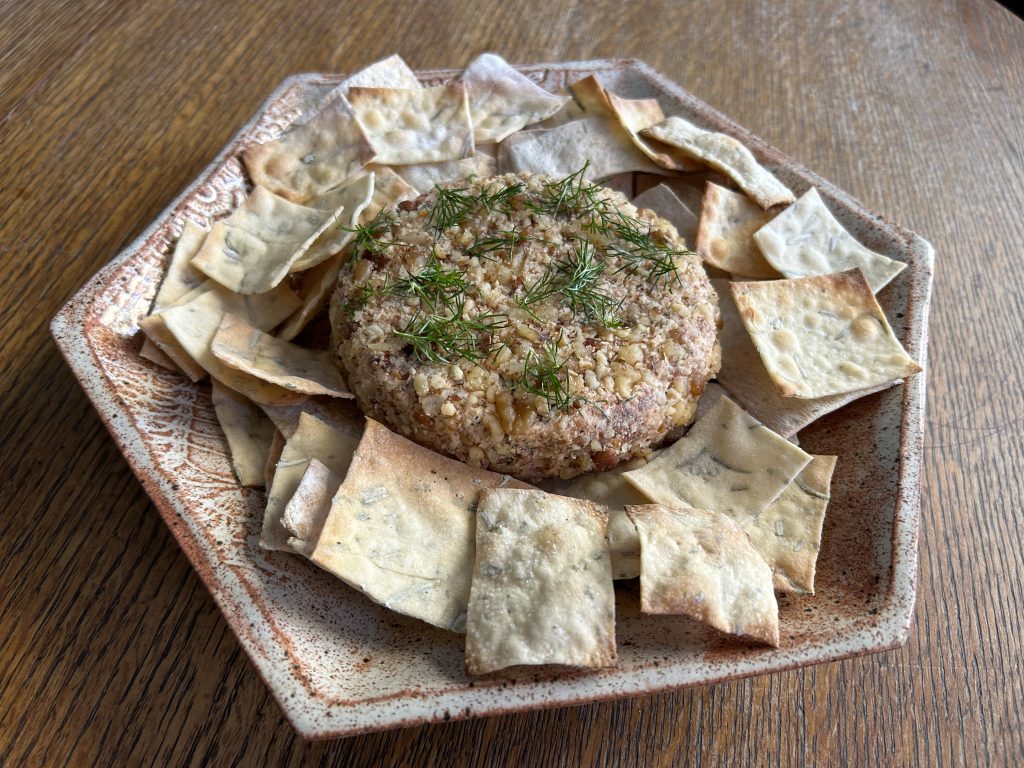
This recipe is creamy, tangy, and full of savory herbs with little pops of flavor from sun-dried tomatoes. And the nutty pecan-walnut coating? It adds the perfect crunch. Serve it at a family gathering, Feast Days, or simply enjoy it as a refreshing afternoon pick-me-up while the children color at the table.
Below is the cheeseball recipe I make again and again—made with real ingredients, no preservatives, and a whole lot of flavor!
Homemade Cheese Ball with Sun-dried Tomatoes and Fresh Herbs
Ingredients
- 2 (8-oz) blocks cream cheese, softened
- 8 oz sharp white cheddar, freshly shredded
- 8 oz smoked Gouda, freshly shredded
- ¼ cup sun-dried tomatoes, minced
- 4 Tbsp fresh dill, chopped
- 4 Tbsp fresh basil, chopped
- 2 tsp garlic powder
- 2 tsp onion powder
- 1 tsp salt
- Coating: 2-3 cups chopped nuts of your choice, we like pecans or walnuts.

Utensils
- Large Mixing Bowl
- Wooden Spoon
- Cutting Board
- Knife
- Cheese Grater or Food Processor
- Measuring Cups
- Measuring Spoons
- Food-safe gloves (optional)
Instructions
1. Prepare the Base
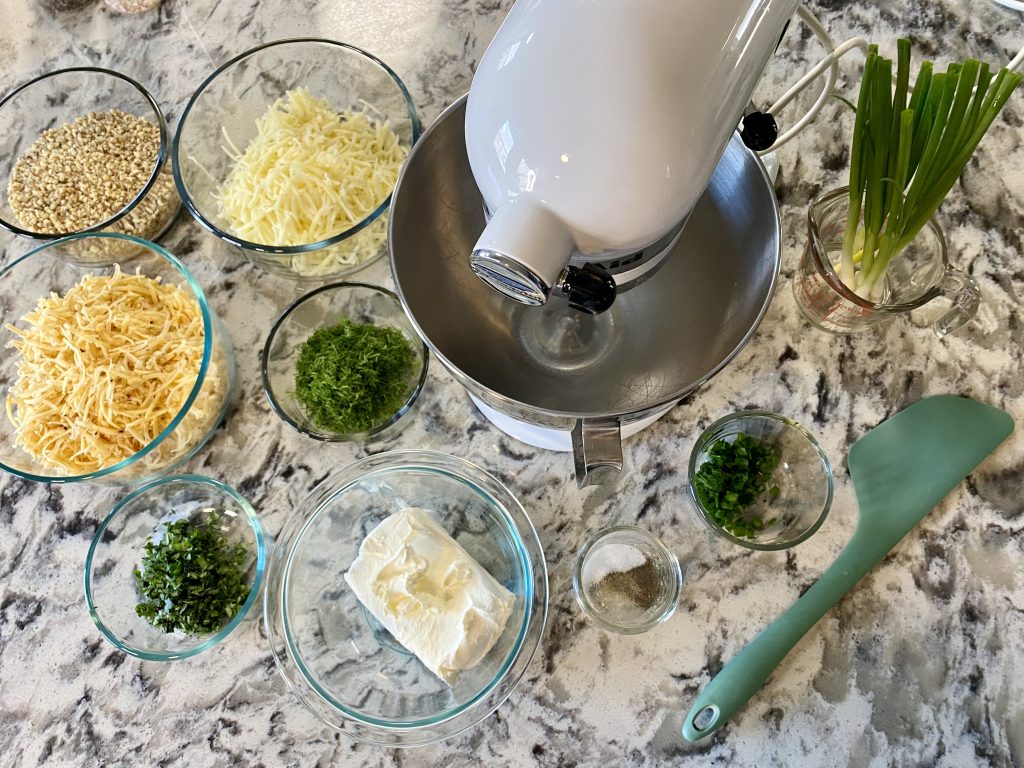
In a large bowl, combine the softened cream cheese, sharp cheddar, and smoked Gouda. Mix with a sturdy spoon or hand mixer until fully combined and fluffy.
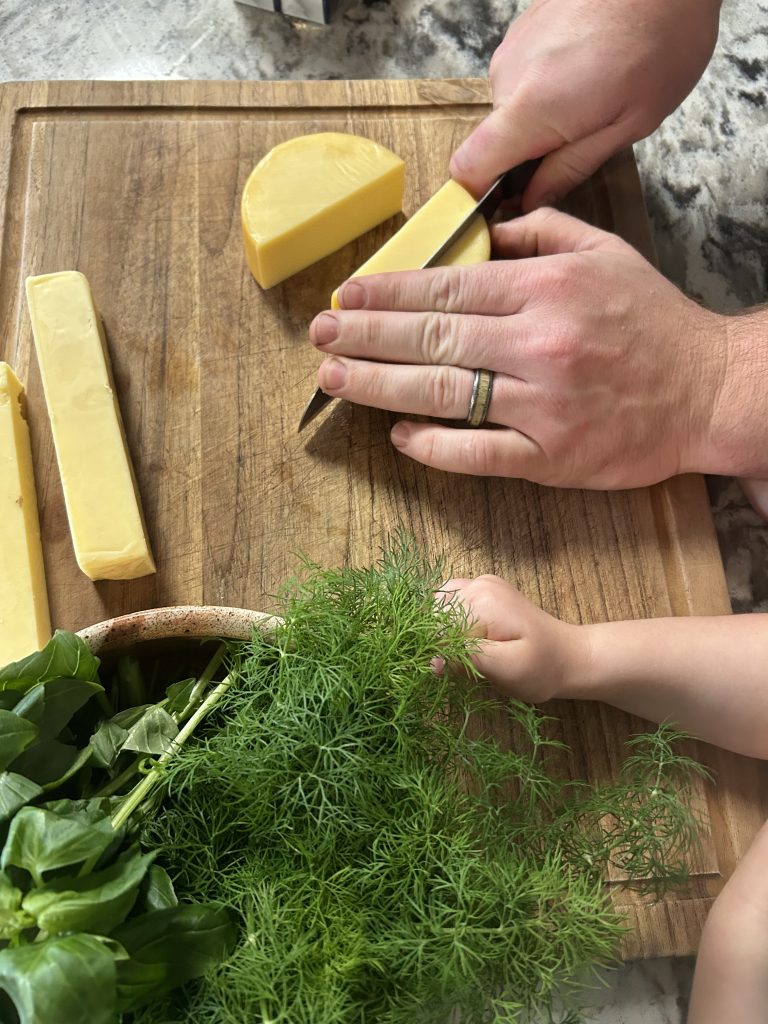
To save a little time (and my arms!), I run the cheddar and gouda through my Ninja food processor. It makes the prep quick and mess-free, plus you avoid all the anti-caking agents that come in pre-shredded cheese.
2. Add the Flavor
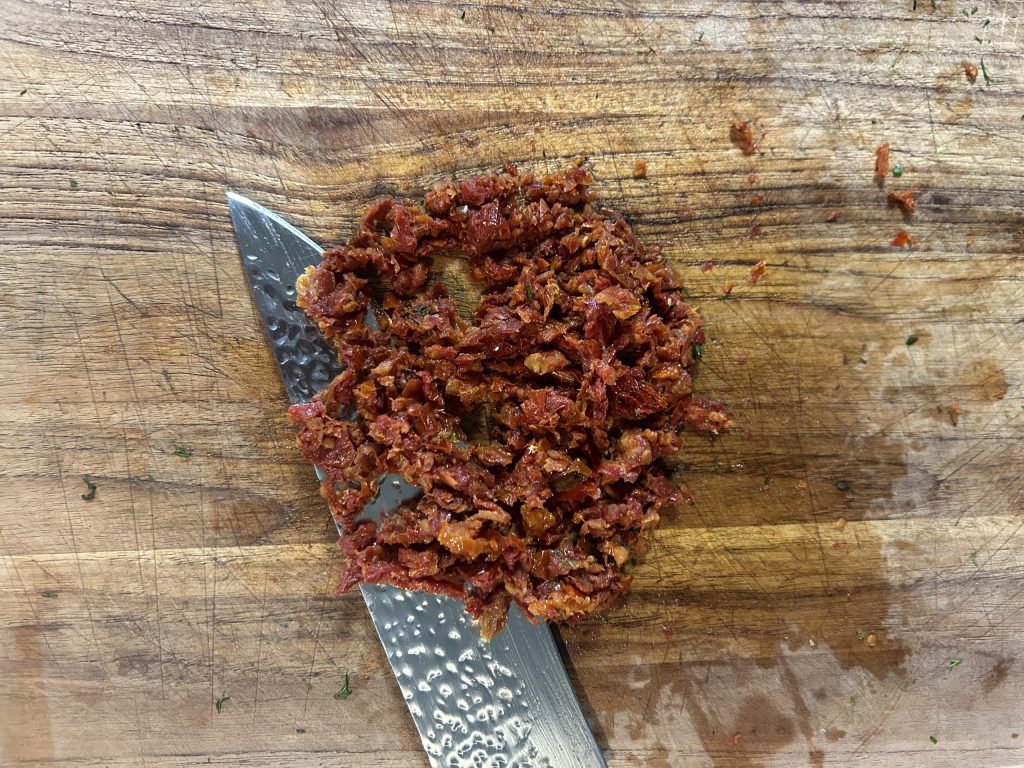
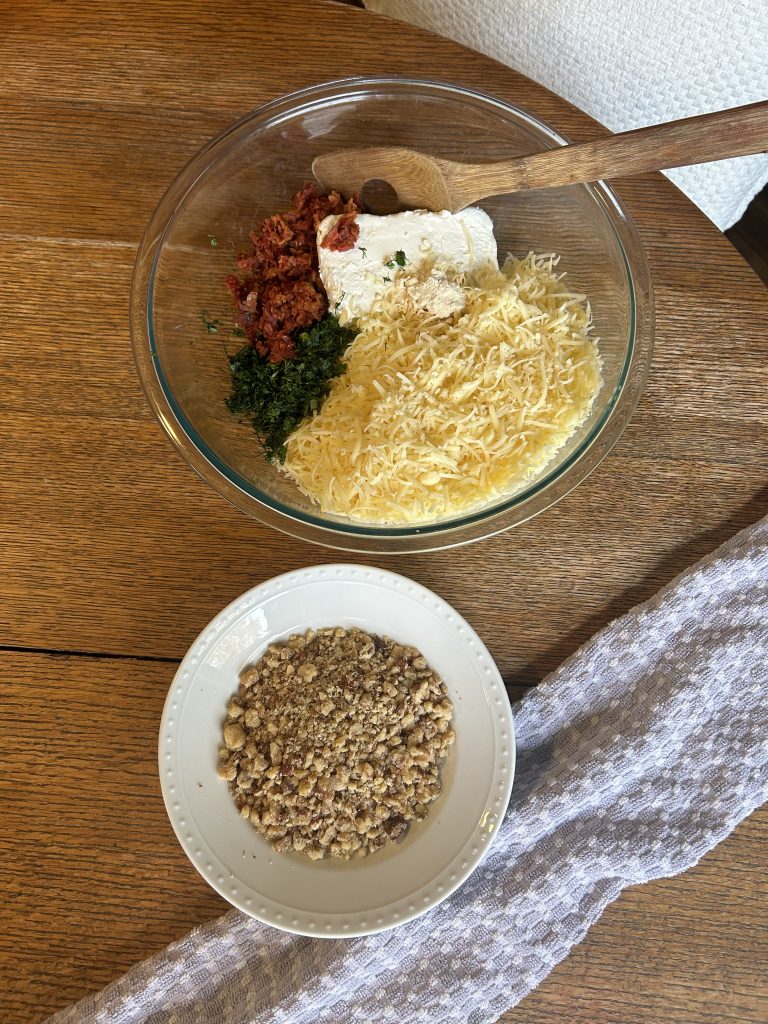
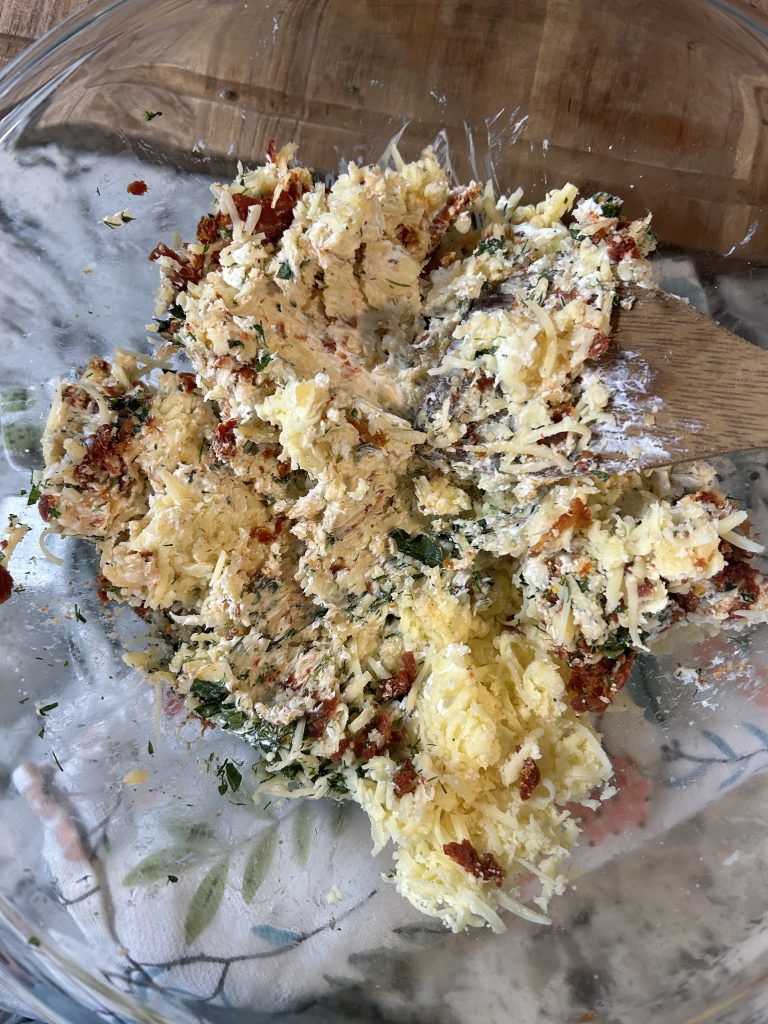
Stir in the minced sun-dried tomatoes, chopped dill, chopped basil, garlic powder, onion powder, and salt. Make sure everything is evenly dispersed.
Tip: Use a mixer with a paddle attachment to mix all of the ingredients together!
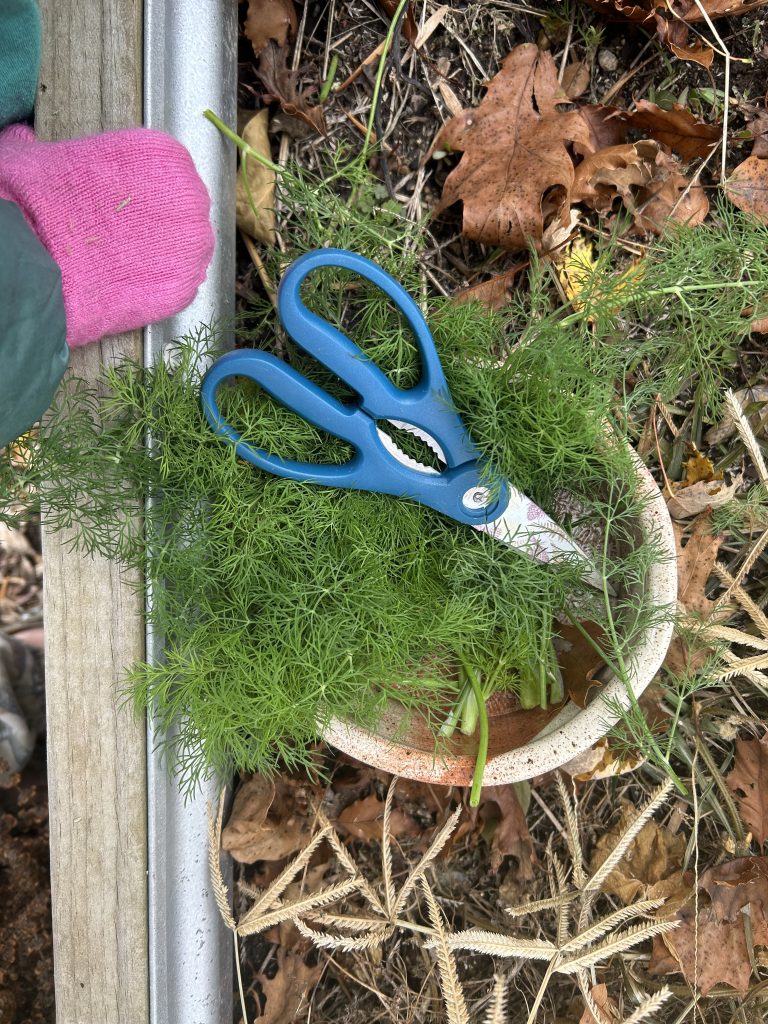
I was accompanied by my sweet children out in the garden this chilly November day as we harvested the last of out homegrown dill before the first heavy frost arrived.
3. Shape the Cheese Ball
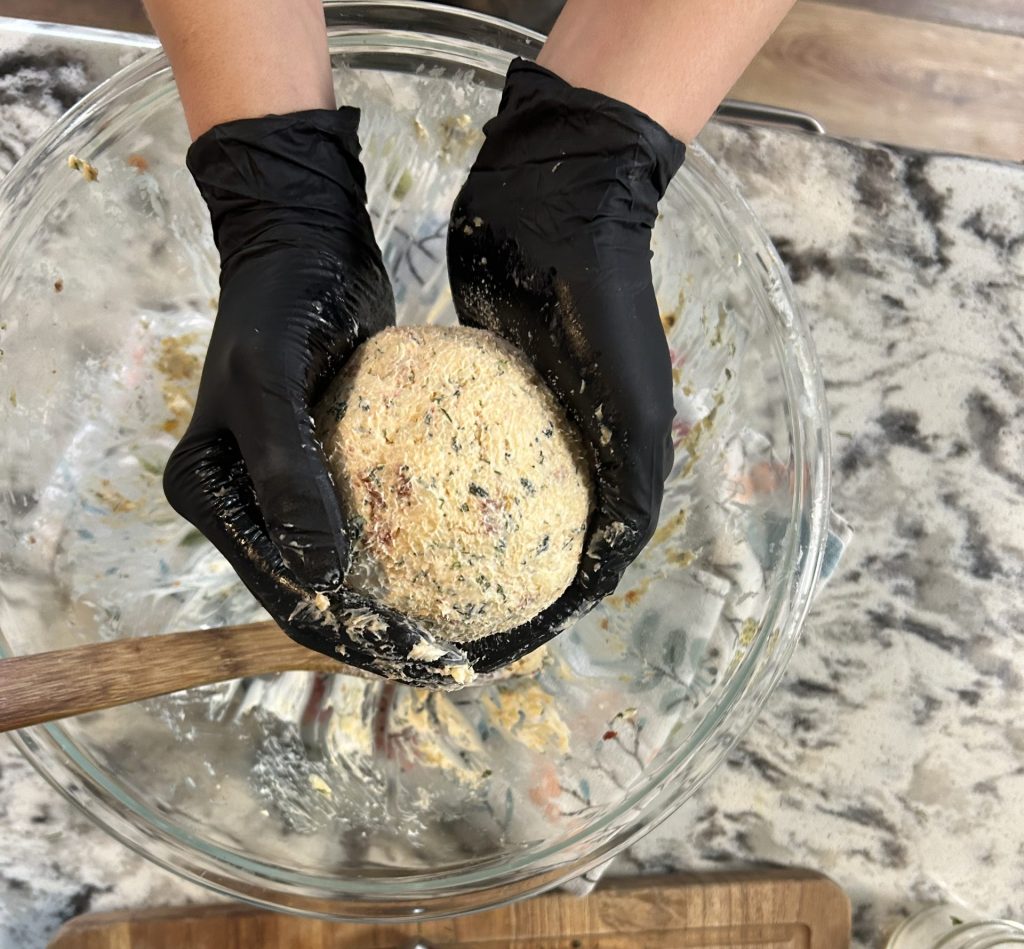
Use clean hands to form the mixture into a tight ball or oval. If the mixture is too soft, chill it for 15–20 minutes, then shape it.
Tip: wear food-safe gloves when shaping your homemade cheese ball. It keeps your hands clean and helps you form a smooth, tight ball with less mess.
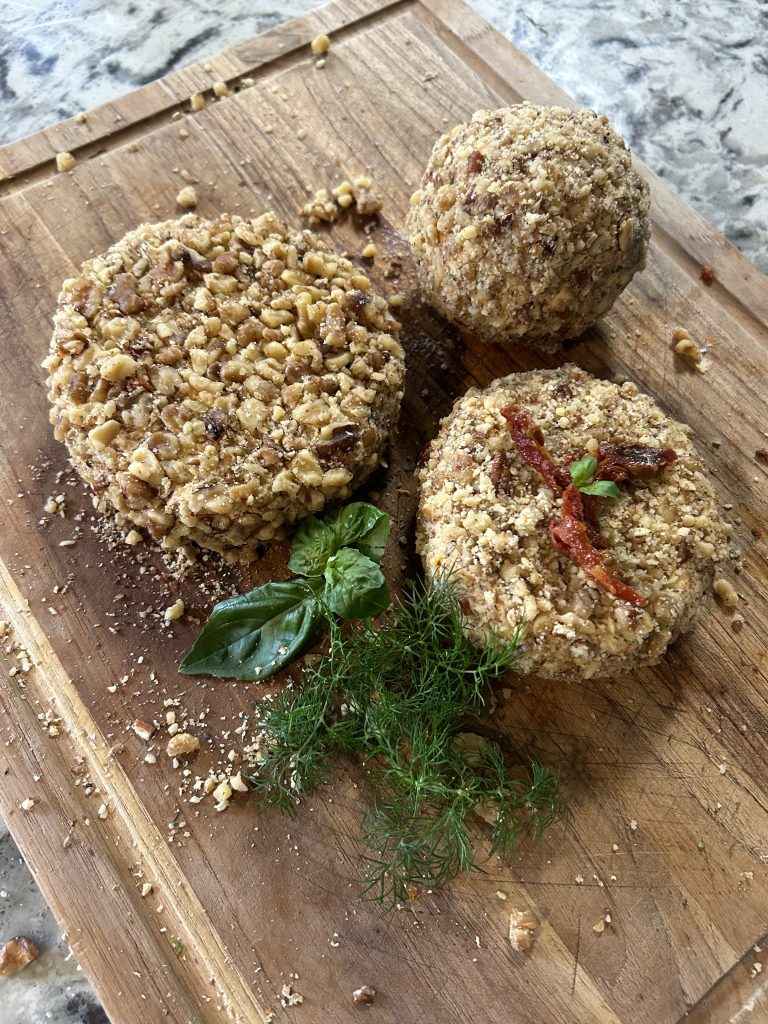
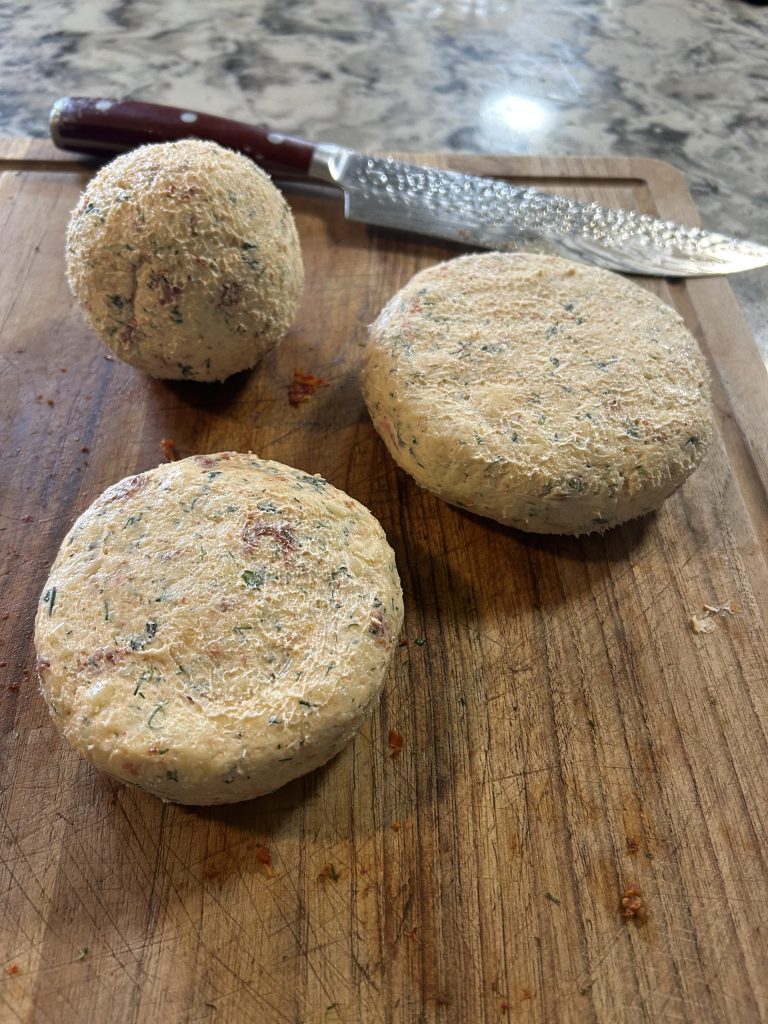
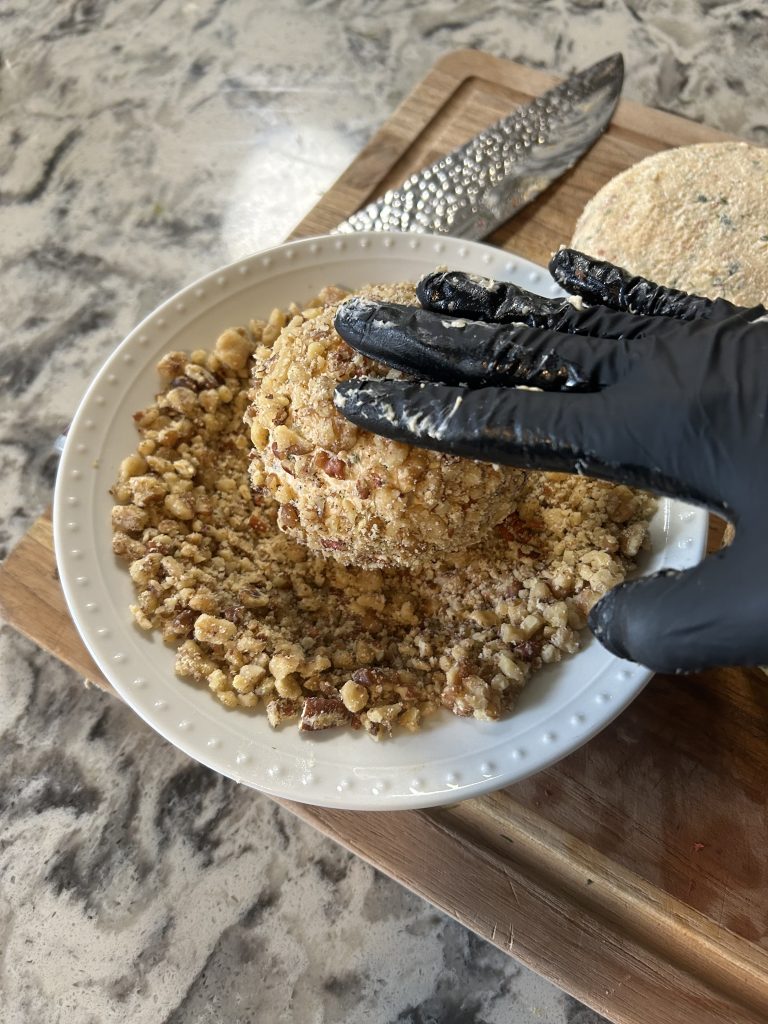
My sweet son had the wonderful idea of shaping the balls into “tractor wheel” shapes. So of course, I obliged.
4. Coat for Crunch
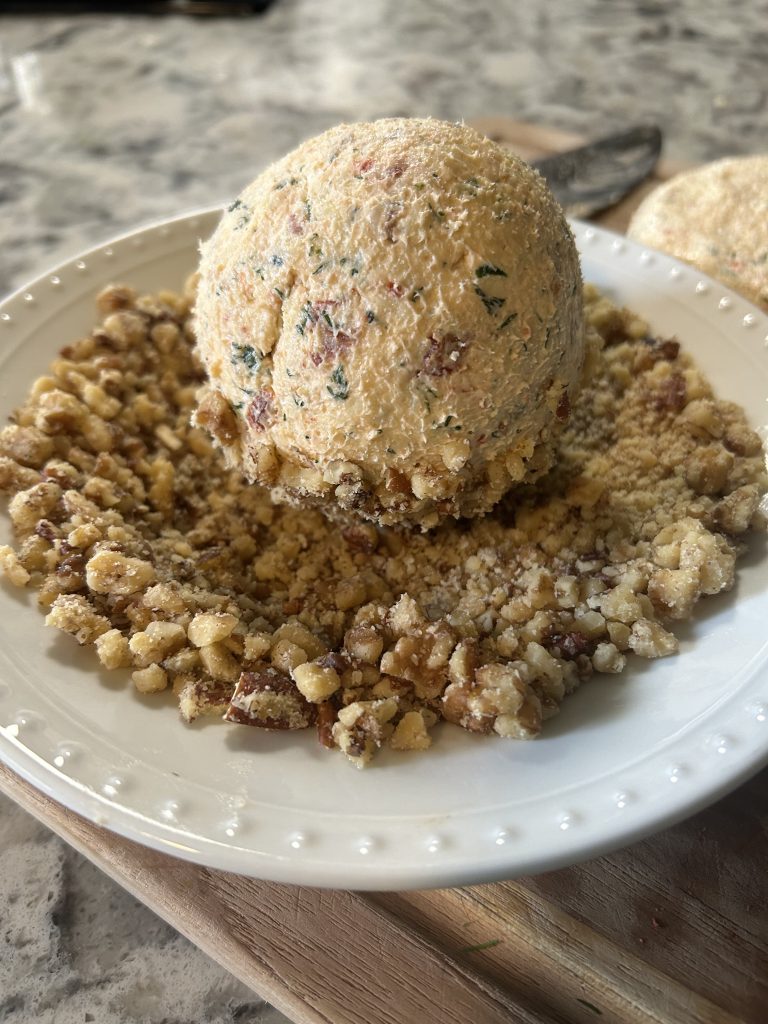
Place the chopped pecans and walnuts on a plate. Roll the cheese ball over the nuts, pressing lightly so they stick. Add more nuts on top if needed.
5. Chill & Serve Your Homemade Cheese Ball
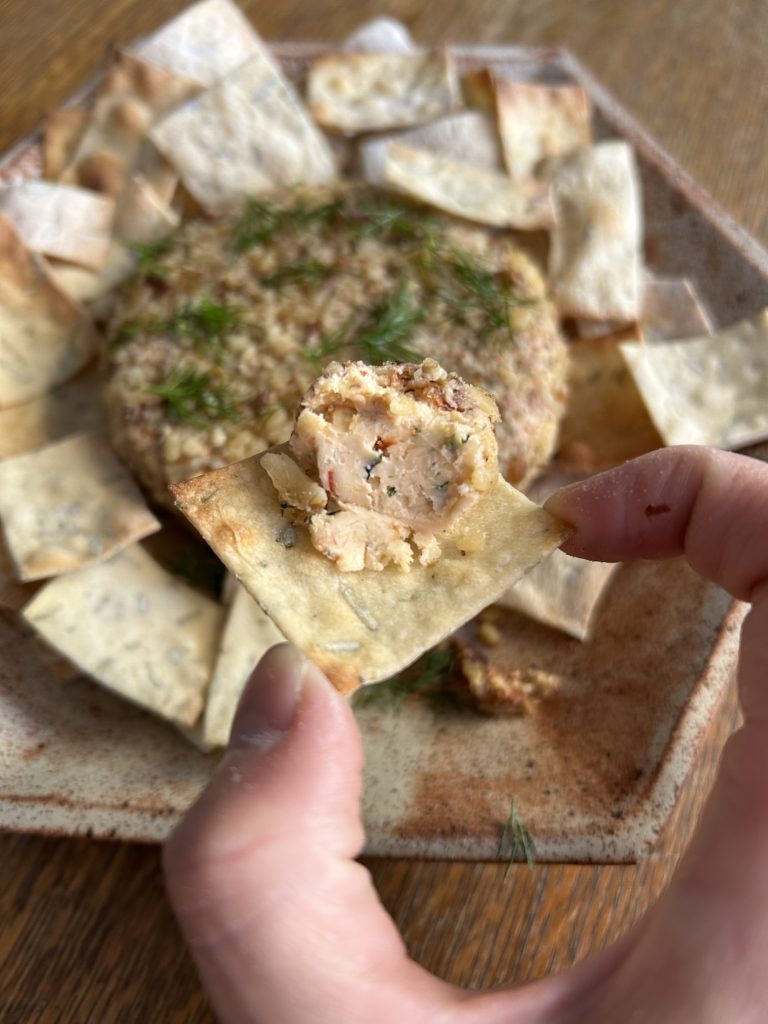
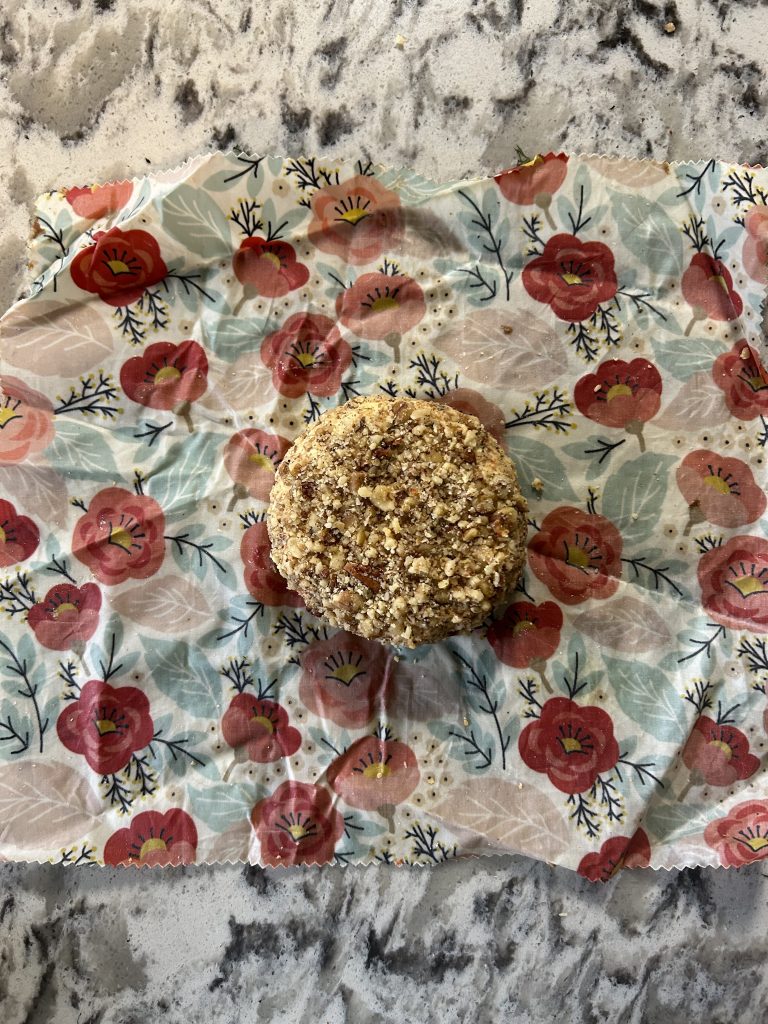
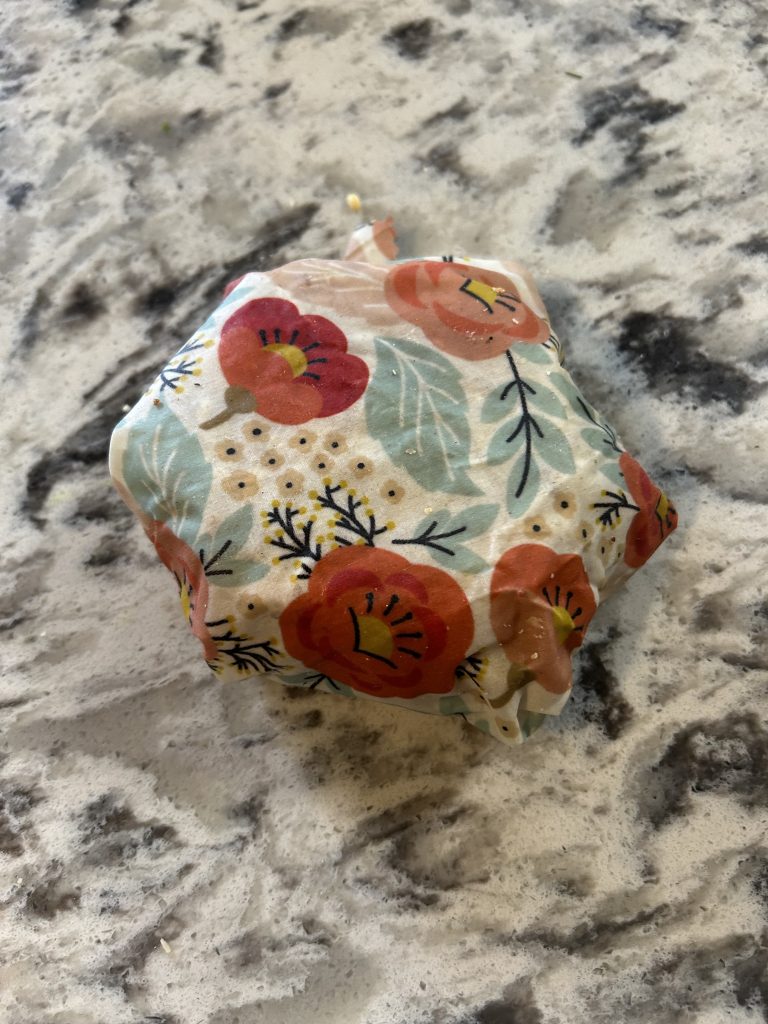
Wrap tightly and refrigerate for at least 1 hour (or overnight) for the flavors to meld. Serve chilled with homemade rosemary crackers, fresh veggies, or a warm sliced baguette.
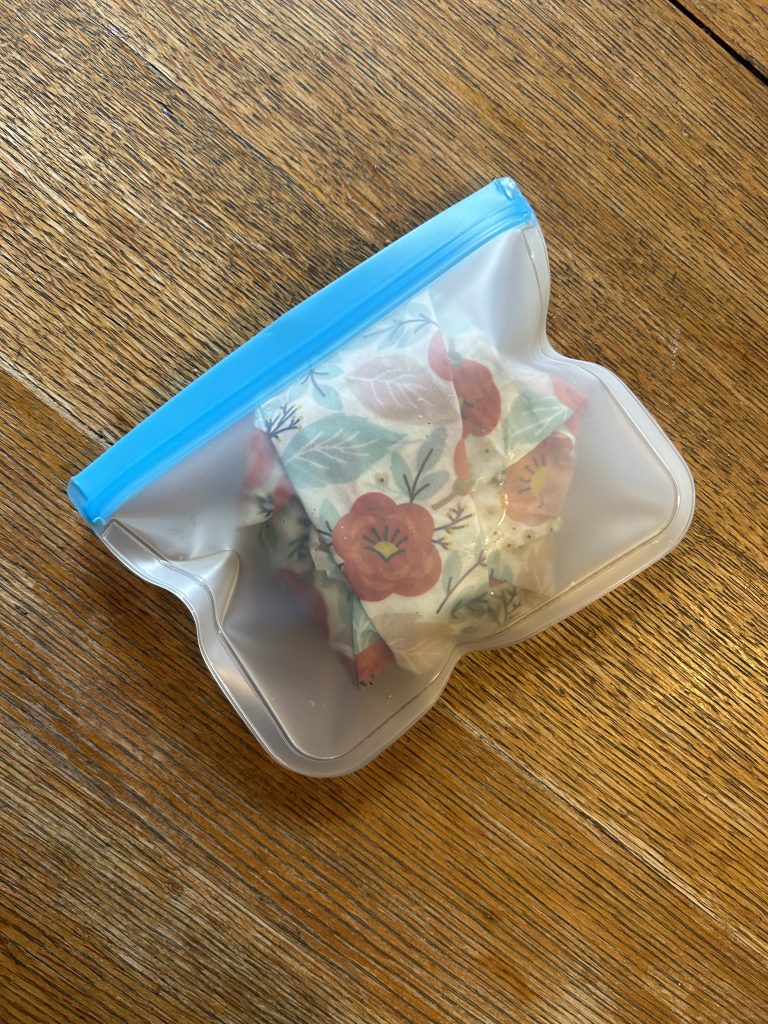
My favorite way to store homemade cheeseballs is in a beeswax wrap placed inside of a silicone resealable bag. It freezes great while also greatly reduces the amount of trash we produce and it so much healthier for the earth and our bodies.
Tips & Variations
- Make it ahead: This homemade cheese ball keeps wonderfully for 3–4 days.
- Swap the nuts: Almonds or pistachios make great coatings too.
- Add a kick: Mix in chopped jalapeños or a sprinkle of smoked paprika.
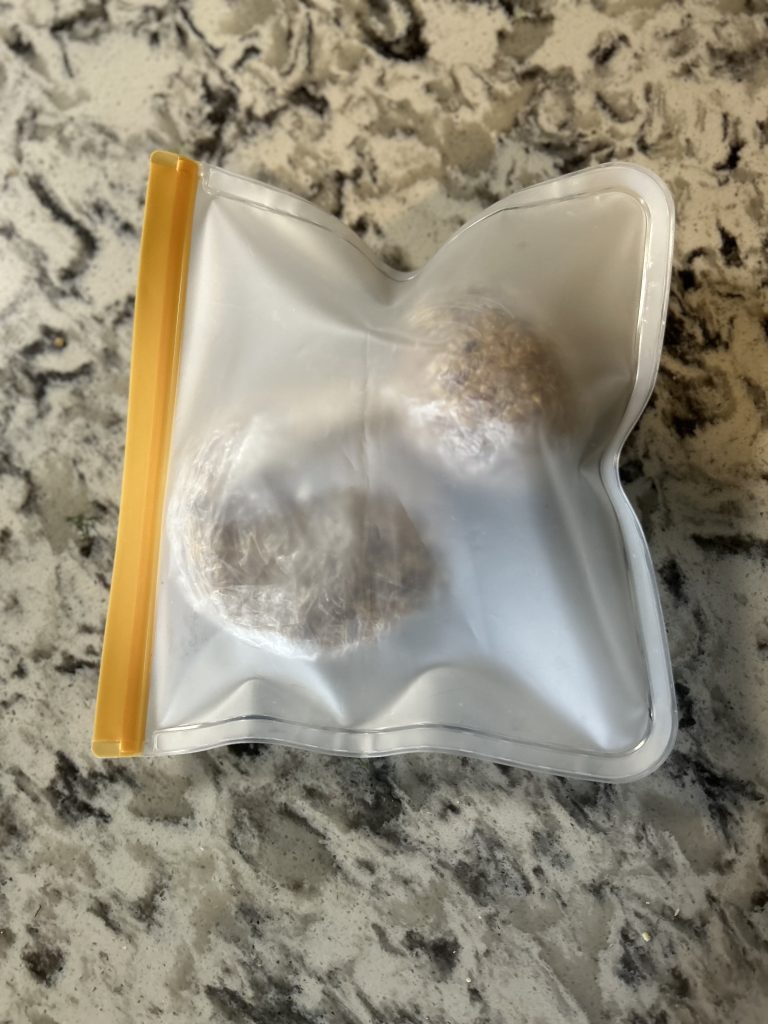
This batch makes three whole cheese balls. I tuck the extra two into the freezer so they’re ready at a moment’s notice — whether a friend pops in unexpectedly or my husband and I are settling in for a cozy board game night.
Leave me a comment below with your favorite homemade cheese ball ingredients!
