
Strawberry Vinegar
Disclosure: This post may contain affiliate links. Learn more here.
How to Make Strawberry Vinegar from Scratch Using Strawberry Tops
One of my favorite ways to reduce food waste and maximize the benefits of our seasonal harvests is by making homemade strawberry vinegar. We love to visit a local U-Pick orchard down the street from our home. When strawberry season is in full swing, little hands are popping the tops off a quart of berries a day! I save every green cap and bit of red flesh left behind.
This easy DIY strawberry vinegar recipe is a wonderful way to turn scraps into something delicious, probiotic-rich, and versatile for your kitchen and apothecary. All you need is strawberry tops, organic cane sugar, water, and time.
Why Make Fruit Scrap Vinegar?
Homemade vinegar is:
- A zero-waste solution for leftover fruit scraps
- Raw and unfiltered, which means it’s full of beneficial bacteria for gut health
- Versatile—you can use it in salad dressings, shrubs, marinades, cleaning, or as a hair rinse
- Delicious—the strawberry flavor is bright, slightly sweet, and fragrant
Ingredients & Supplies:
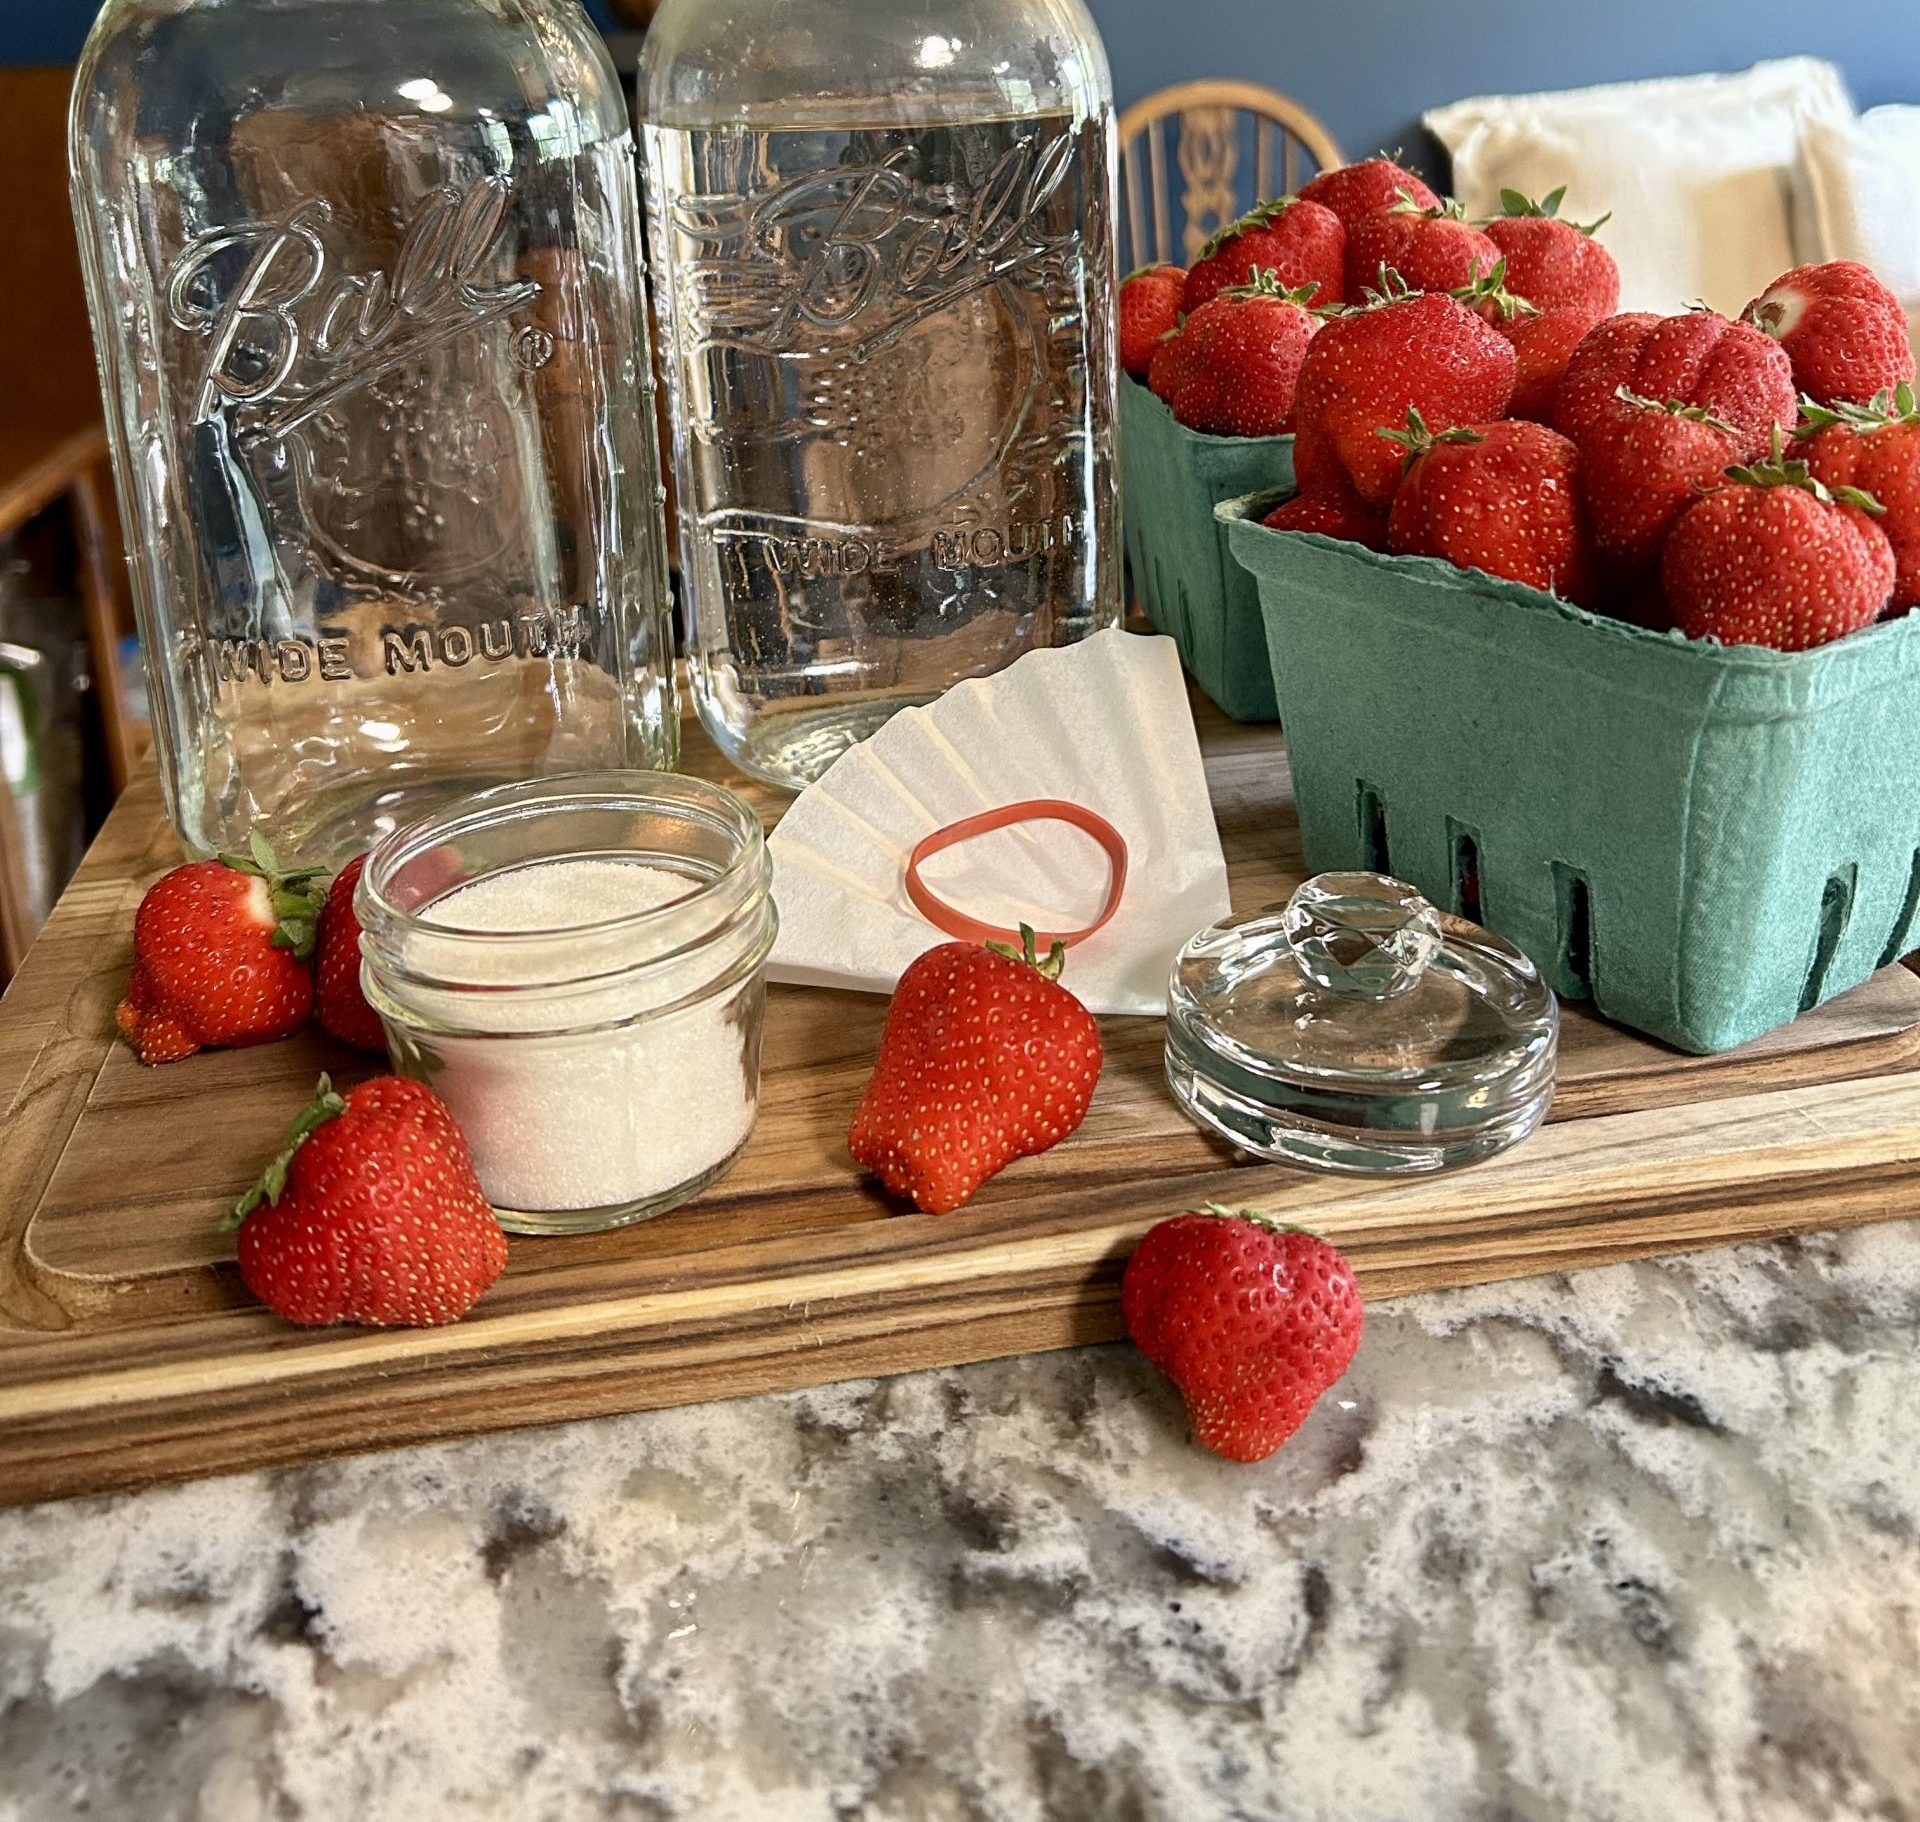
- Strawberry tops (enough to loosely fill your half-gallon mason jar three-quarters full)
- 1/2 cup organic cane sugar
- Filtered or non-chlorinated water
- 1 half-gallon glass mason jar
- Canning funnel
- Long wooden spoon
- 1 glass fermentation weight or pickling stone
- A breathable cloth cover and a rubber band
- Measuring Cups
Instructions:
1. Collect Your Strawberry Tops
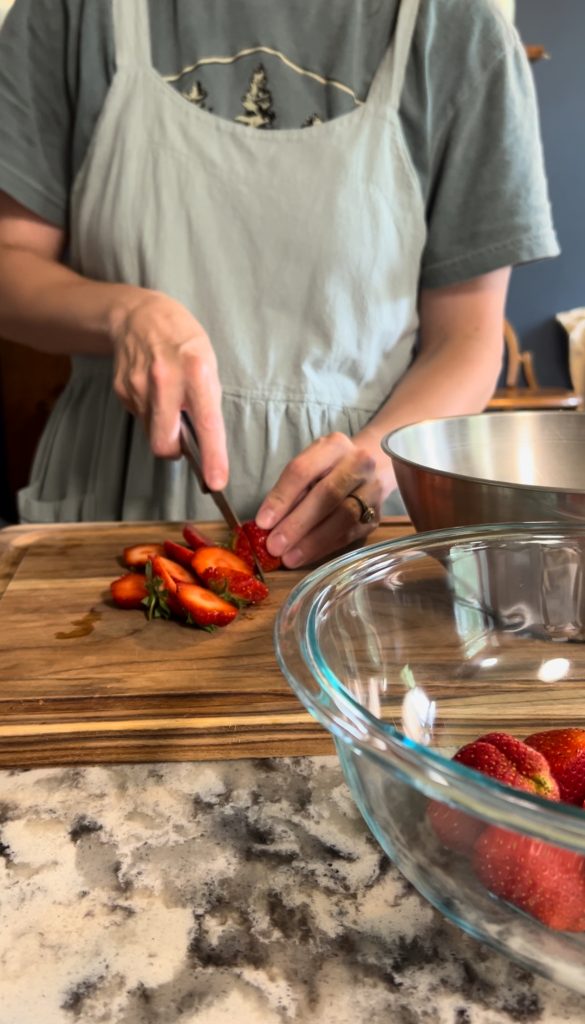
After hulling fresh strawberries, save the tops in a bowl or freezer bag. You can refrigerate them for a few days or freeze them until you have enough to fill your jar halfway.
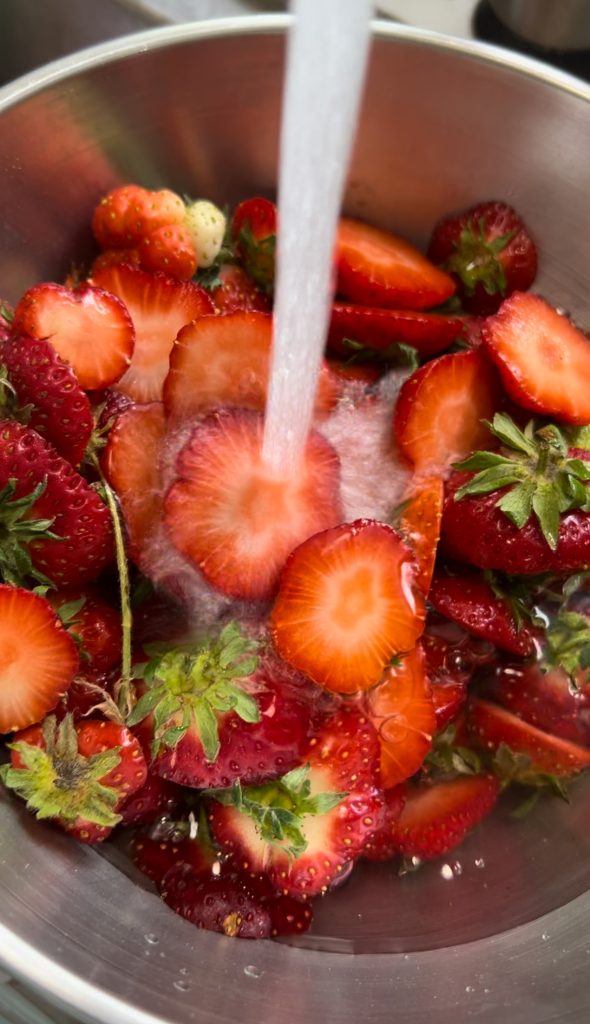
*Rinse with water prior to adding them to the jar at the time of making the vinegar*
2. Add Sugar and Water & Fill the Jar
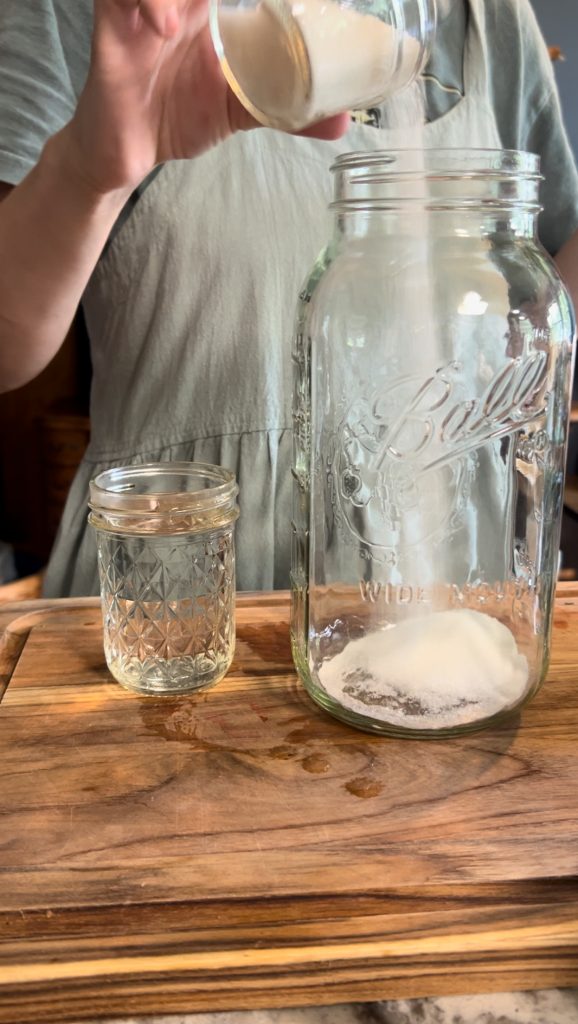
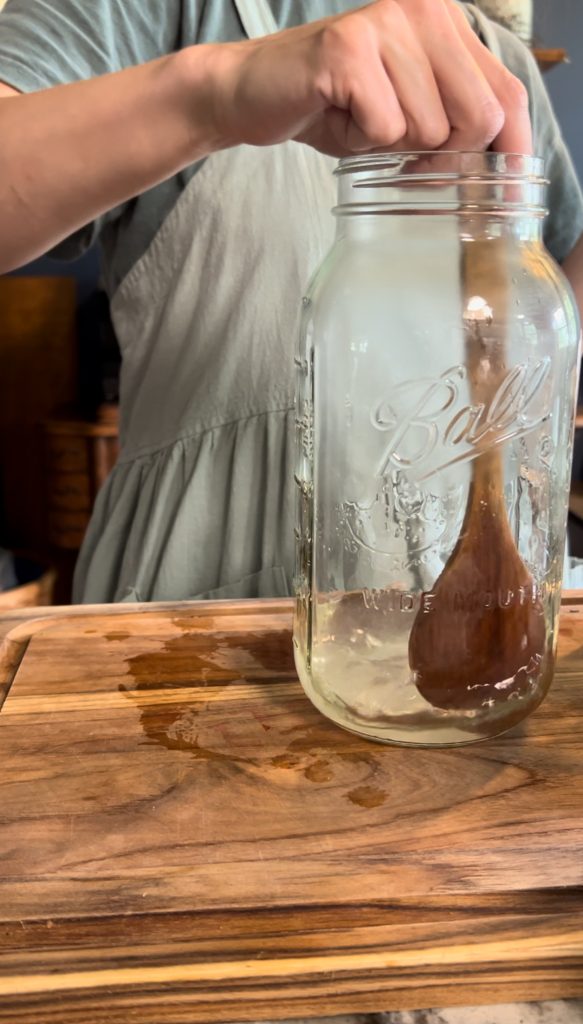
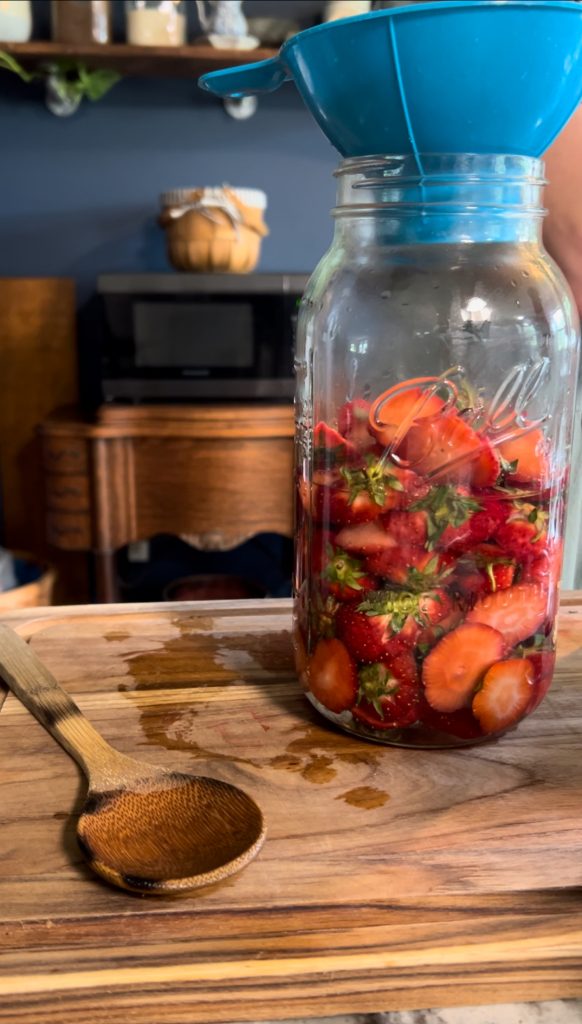
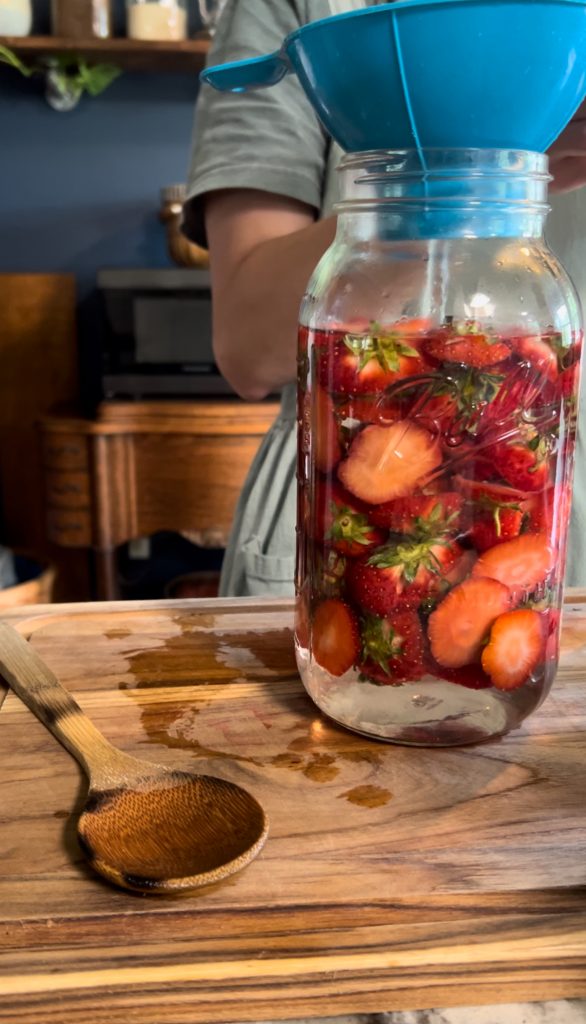
Dissolve 1/2 cup of organic cane sugar in two cups of warm (not hot) filtered water in a clean half-gallon mason jar. Using a funnel, add your strawberry tops to the jar until it's about three-quarters full. Don’t pack them too tightly—they need room to move freely when stirred. Top off the jar with more room-temperature filtered water, leaving at least 1.5 inches of headspace.
3. Weigh It Down
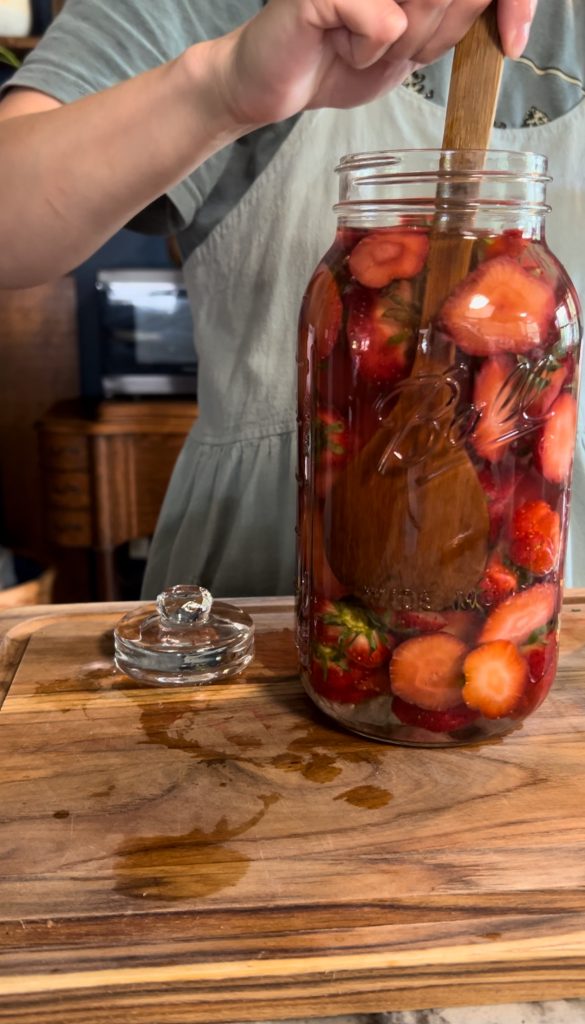
Take a utensil, I use a long wooden spoon and agitate the strawberries to remove all of the air bubbles as this could create pockets for mold to form. Place your glass mason pickling stone on top of the fruit to keep it submerged. This is important—exposed fruit can mold. If you don’t have a glass weight, a small food-safe jar or a clean rock in a bag can work in a pinch.
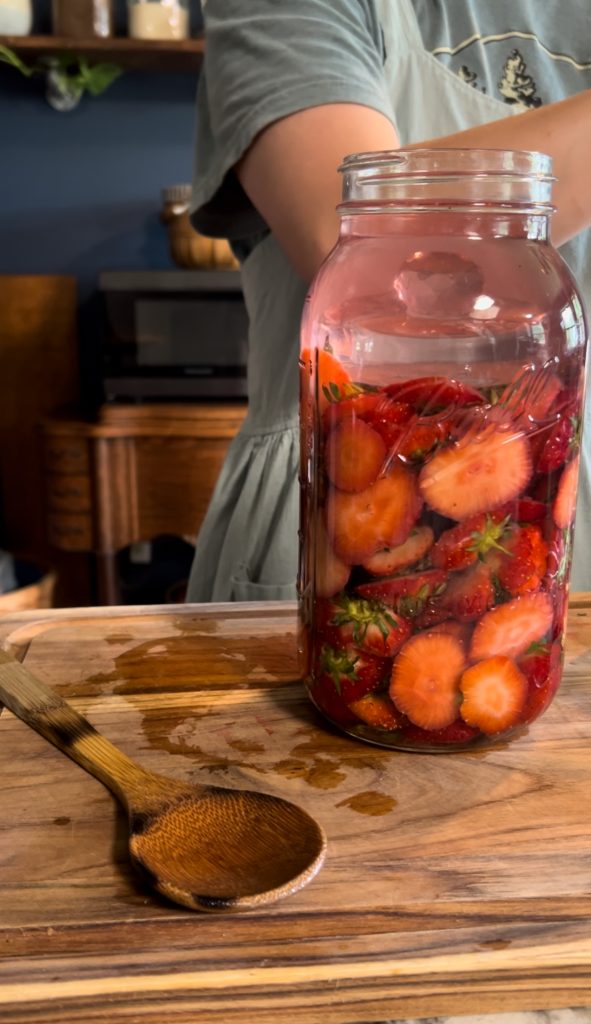
4. Cover and Store
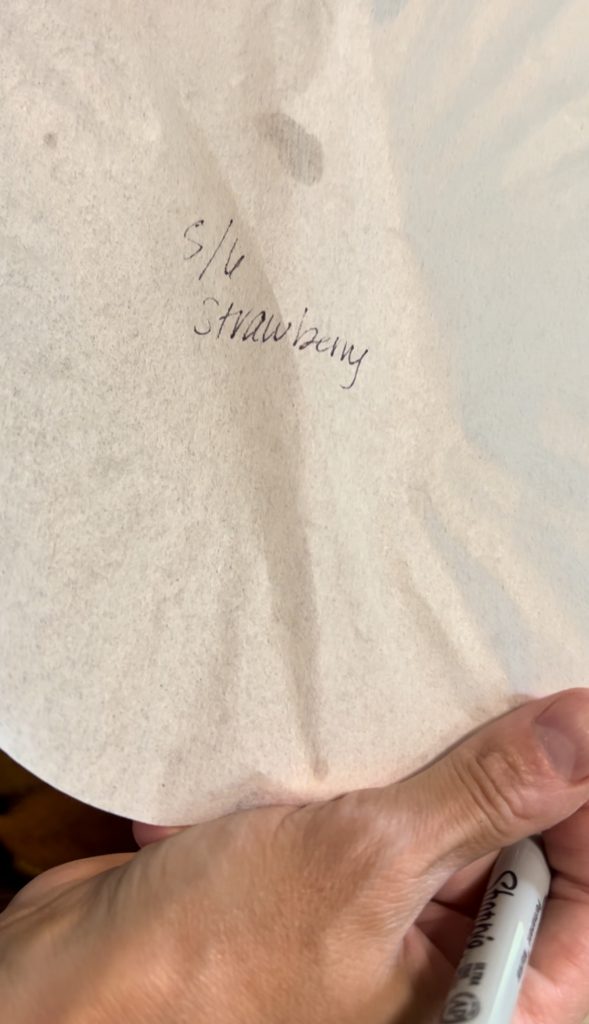
Secure a breathable cloth over the jar with a rubber band. Cheesecloth, a tea towel, or even a clean cotton napkin works well. Store the jar at room temperature, out of direct sunlight. I use a coffee filter that I have written the contents and date on. It is important to date and label everything you create!
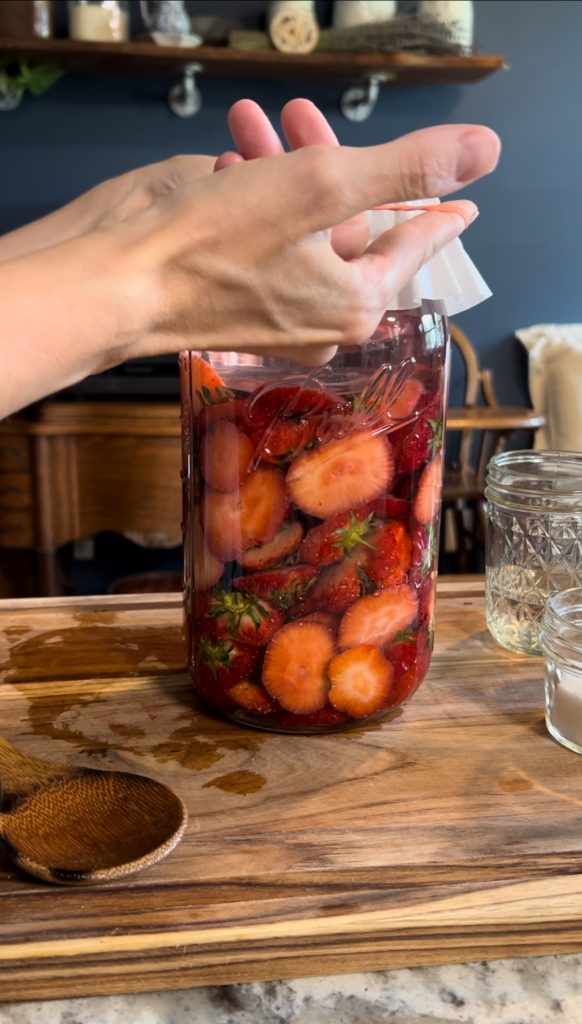
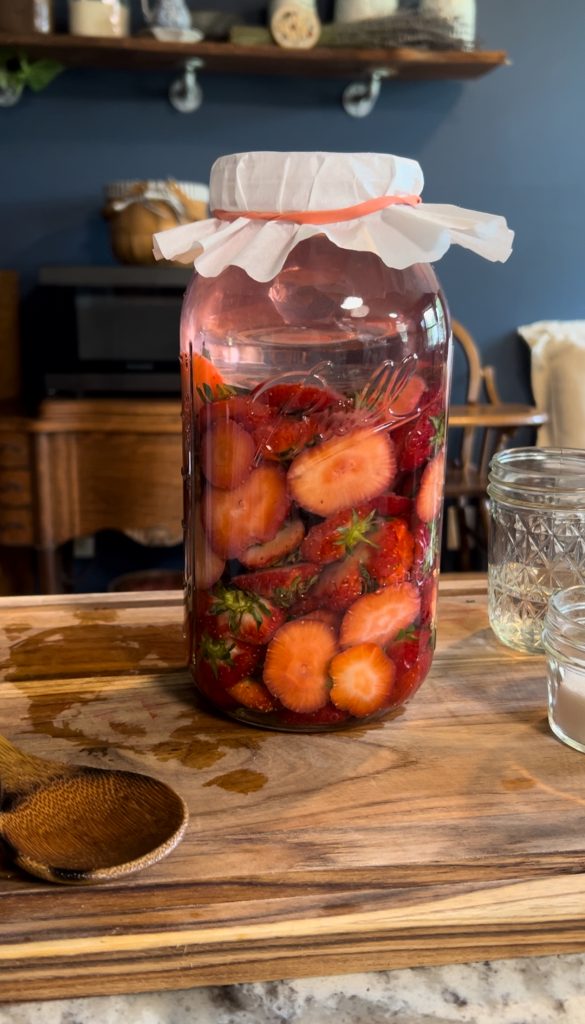
5. Fermentation Timeline
- Days 1–7: Stir daily with a clean wooden or plastic spoon. You’ll see bubbles and smell a sweet, fermenty aroma—that’s a good sign!
- Days 8–30: After the first week, strain out the fruit scraps and compost them. Return the liquid to the jar, cover again with the cloth, and let it ferment another 3–4 weeks. Taste occasionally—when it smells vinegary and tastes tangy, it’s done.
6. Bottle and Store
Once the vinegar tastes sour, bottle it in a clean glass jar with a lid. Store in your pantry or refrigerator. It will continue to age slowly but should stay good for many months!
Tips & Variations:
- Want a stronger vinegar? Let it ferment up to 6 weeks total before bottling.
- You can use this same process with other fruit scraps—peach peels, apple cores, raspberries, and more.
- Add herbs like mint, basil, or thyme for an infused twist during the second fermentation.
- There's a possibility of Kahm's yeast developing on top of the ferment. This yeast is harmless; simply scrape it off with a spoon and discard.
How We Use It on the Homestead:
My favorite way to use homemade vinegar is in Fire "Cider", an herbal remedy for cold and flu season. I also use strawberry vinegar in homemade vinaigrettes, to splash into sparkling water as a probiotic drink, and even as a rinse for my hair when I want extra shine. It’s a humble pantry staple that feels like a gift from the garden, made from what would have been waste.
It’s moments like these—when I’m picking strawberries with my children and later tucking those tops into a jar—that make me grateful for a slower, more intentional way of living.
If you loved this simple recipe, be sure to pin it or share it with another mama who loves getting more out of her harvests.
Do you save your fruit scraps? I’d love to hear what vinegar recipes you’ve tried!
