
Apple Scrap Vinegar
How to Make Apple Scrap Vinegar at Home
Disclosure: This post may contain affiliate links. Learn more here.
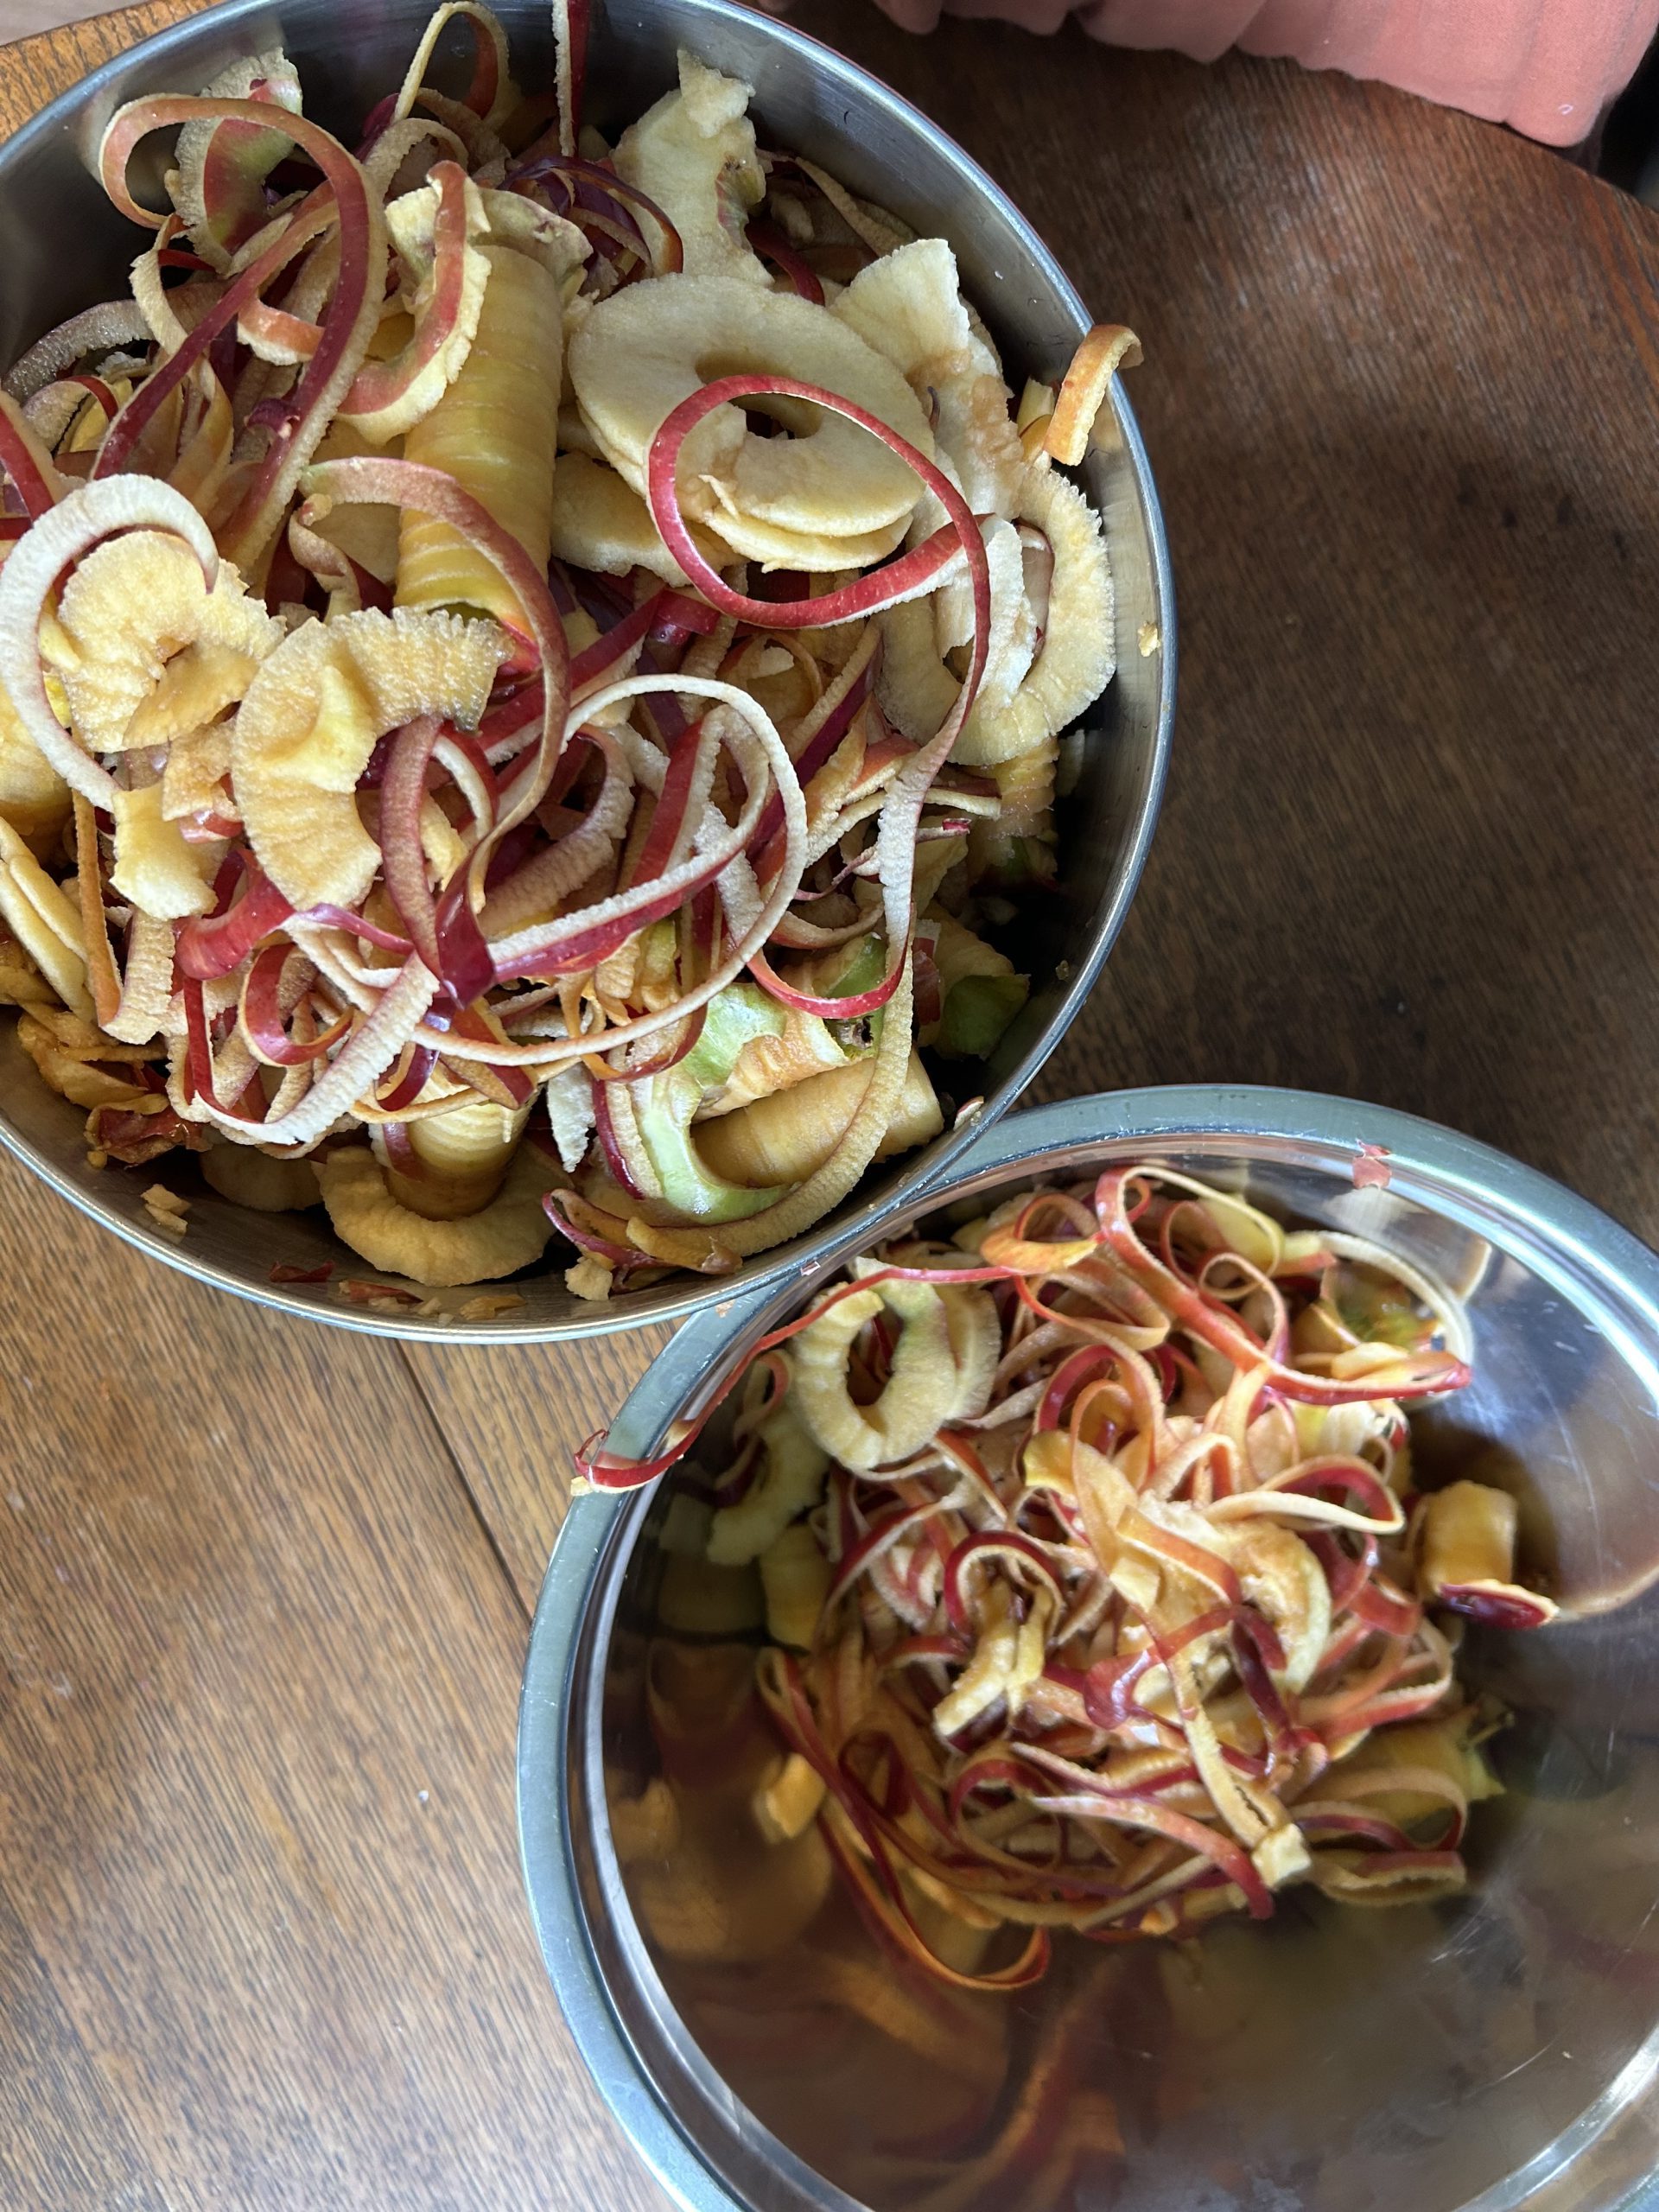
Harvest season is upon us, and with it comes an abundance of apple scraps. Here on the homestead, we like to eliminate as much waste as possible—finding a purpose for something before it ever hits the compost bin. Scrap vinegars are one of my favorite ways to do just that. They’re simple, cost-effective, and surprisingly medicinal, supporting gut health with beneficial probiotics, enzymes, and organic acids.
Apple scrap vinegar (often abbreviated ASV) is an incredibly versatile and healthful product with numerous uses, from enhancing recipes to supporting wellness routines. By making your own at home, you’re not only reducing waste but also engaging in a rewarding, traditional process that’s been practiced for centuries. This step-by-step guide will show you exactly how to make apple scrap vinegar using cane sugar or honey as a natural fermenting agent.
Ingredients & Equipment
Ingredients:
- Freshly harvested apples — any variety or mix (organic preferred)
- Cane sugar or honey — 1–2 tablespoons per cup of water
- Filtered water — enough to fully cover the apples
- (Optional) 1–2 tablespoons of raw apple cider vinegar — as a starter culture
Equipment:
- A large glass jar (I like using half-gallon Mason jars) or a ceramic crock
- A clean cloth or coffee filter
- A rubber band or string to secure the cloth
- A pickling stone
- A wooden spoon for stirring
- A knife and cutting board
Step 1: Prepare the Apples
Start by rinsing your freshly harvested apples thoroughly under running water to remove any dirt or debris. Organic apples are ideal since they haven’t been treated with chemicals that could interfere with fermentation.
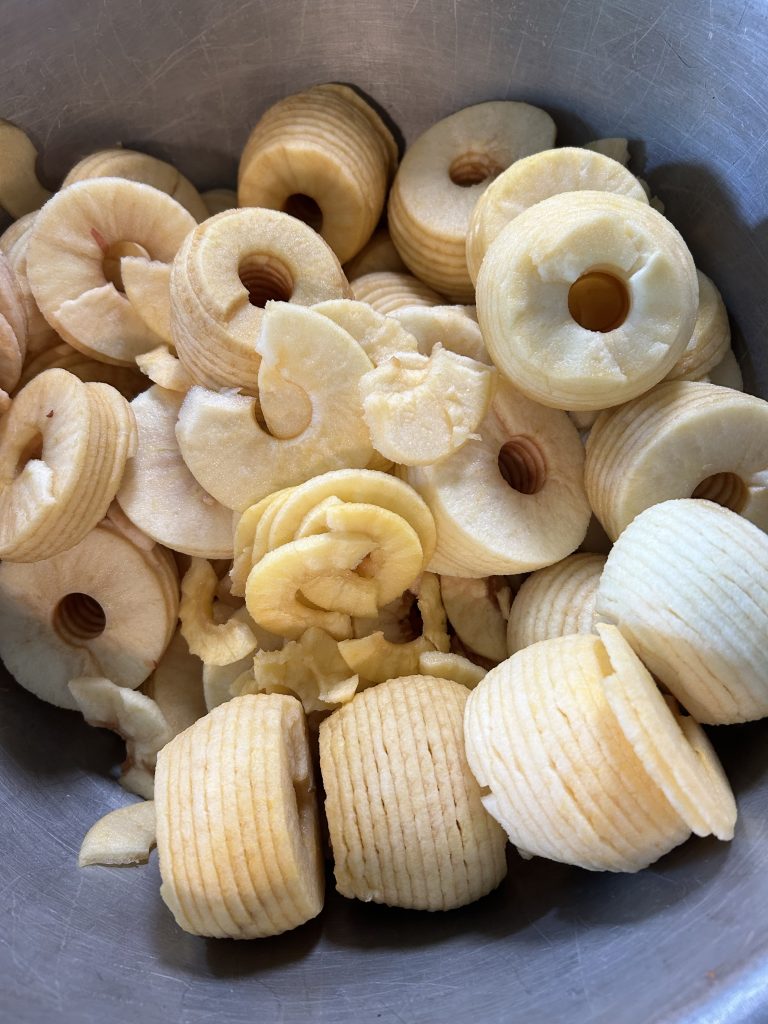
Next, chop the apples into small chunks, including the cores and peels. I only use cores and peels that have come from apples used in pie or frozen for later use. These scraps contain natural yeasts that help fermentation happen more smoothly. If your apples are large, slice them into smaller pieces to increase surface area.
Step 2: Start the Fermentation
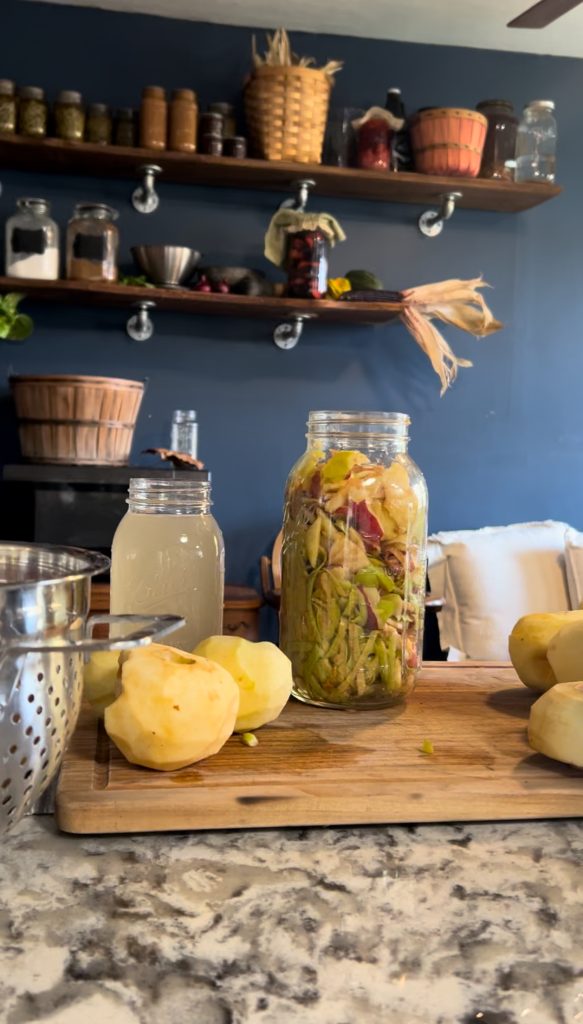
Fill your clean jar about three-quarters full with chopped apple scraps.
In a separate container, dissolve cane sugar or honey into filtered water (1–2 tablespoons per cup of water), then pour this sweetened liquid over the apples until they’re fully submerged.
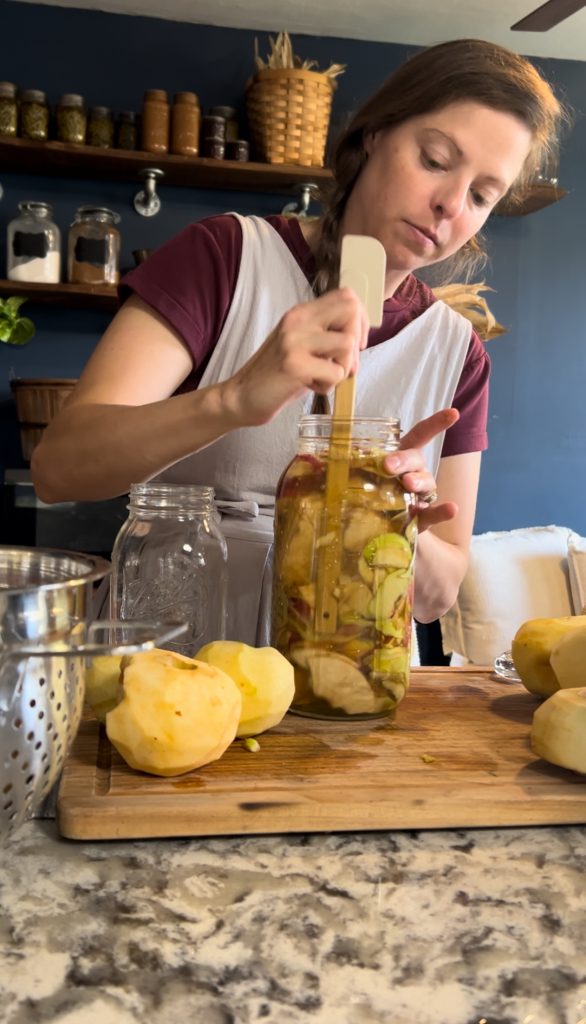
Use a wooden spoon or chopstick to agitate the apple scraps to remove any excess bubbles that have been trapped. Oxygen exposure creates an environment for mold to grow.
For a faster fermentation, you can optionally add 1–2 tablespoons of raw, unfiltered apple cider vinegar to introduce beneficial bacteria right from the start.
Step 3: Cover & Ferment
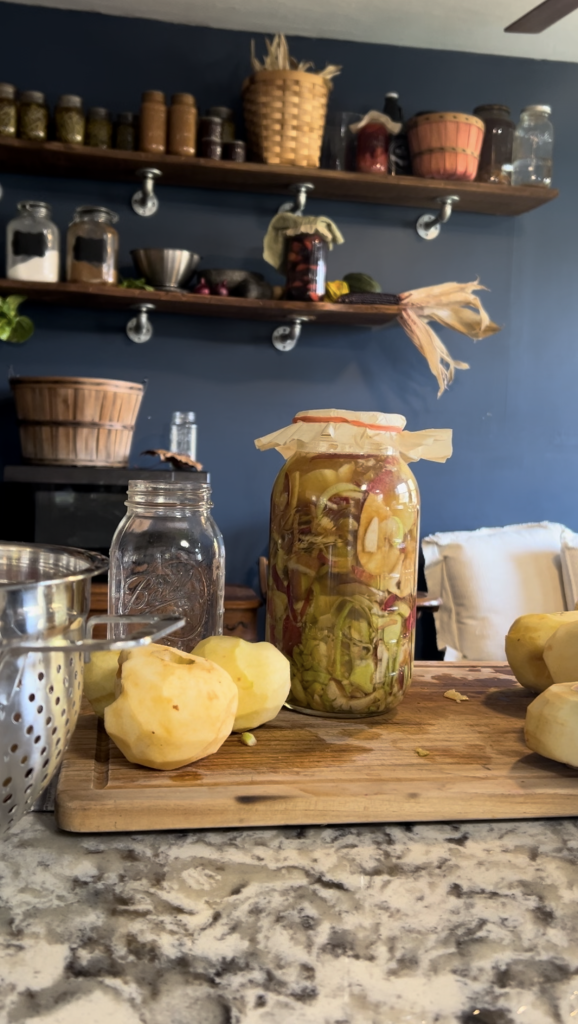
Cover the jar with a clean cloth or coffee filter and secure it with a rubber band or string. This allows air to circulate while keeping out dust and pests.
For the first week, stir the mixture daily with a wooden spoon. This helps prevent mold from forming on the surface and distributes the natural yeasts and bacteria throughout the liquid.
Step 4: Monitor the Fermentation
After about a week, you should notice bubbles forming — this is a sign that the natural fermentation process has begun. Stir the mixture every few days as fermentation progresses.
After 3–4 weeks, the apple pieces will start to sink, and the liquid will darken. At this point, strain out the apple solids and return the liquid to the jar.
Re-cover the jar and allow it to ferment for another 3–4 weeks. Taste periodically until the vinegar reaches your preferred tanginess.
Step 5: Finish & Store
Once the vinegar has a pleasant, tangy acidity, it’s ready to bottle. Transfer the liquid into clean glass bottles or jars with tight-fitting lids. Store them in a cool, dark place.
Your vinegar will continue to mature over time, developing more complex flavors. Properly stored, it keeps indefinitely.
Ways to Use Apple Scrap Vinegar
Homemade apple scrap vinegar is surprisingly versatile. Here are a few favorite ways to put it to use:
- In the kitchen: Use it in salad dressings, marinades, quick pickles, or as a splash of acidity in soups and stews.
- For cleaning: Dilute 1:1 with water for an all-natural household cleaner.
- In the apothecary: Use as a base for herbal oxymels, tincture extractions, or hair rinses.
- For animals: A small splash in chicken or livestock waterers can support gut health (research proper ratios before use).
Tips for Success
- Patience is key: Fermentation is a slow, natural process. Don’t rush it.
- Avoid metal: Stick to glass, wood, or ceramic — metal can react with vinegar and spoil the batch.
- Keep it clean: Sanitize your tools and jars to prevent contamination.
- Watch for mold: Keep all apple pieces submerged. If mold appears, skim it off. If it smells rotten, start over.
Conclusion
Making apple scrap vinegar at home is simple, satisfying, and incredibly practical. With just apples, water, and a bit of natural sweetener, you can create a tangy, living vinegar that supports wellness and eliminates waste. It’s one of those traditional skills that connects us to the rhythms of harvest and the resourcefulness of our ancestors.
Once you make your first batch, you’ll wonder why you ever threw apple scraps away.
